
The Nextbase 212 Lite Dash Cam is an affordable, everyday vehicle dash cam with some high-spec features that would put more expensive camera’s to shame.
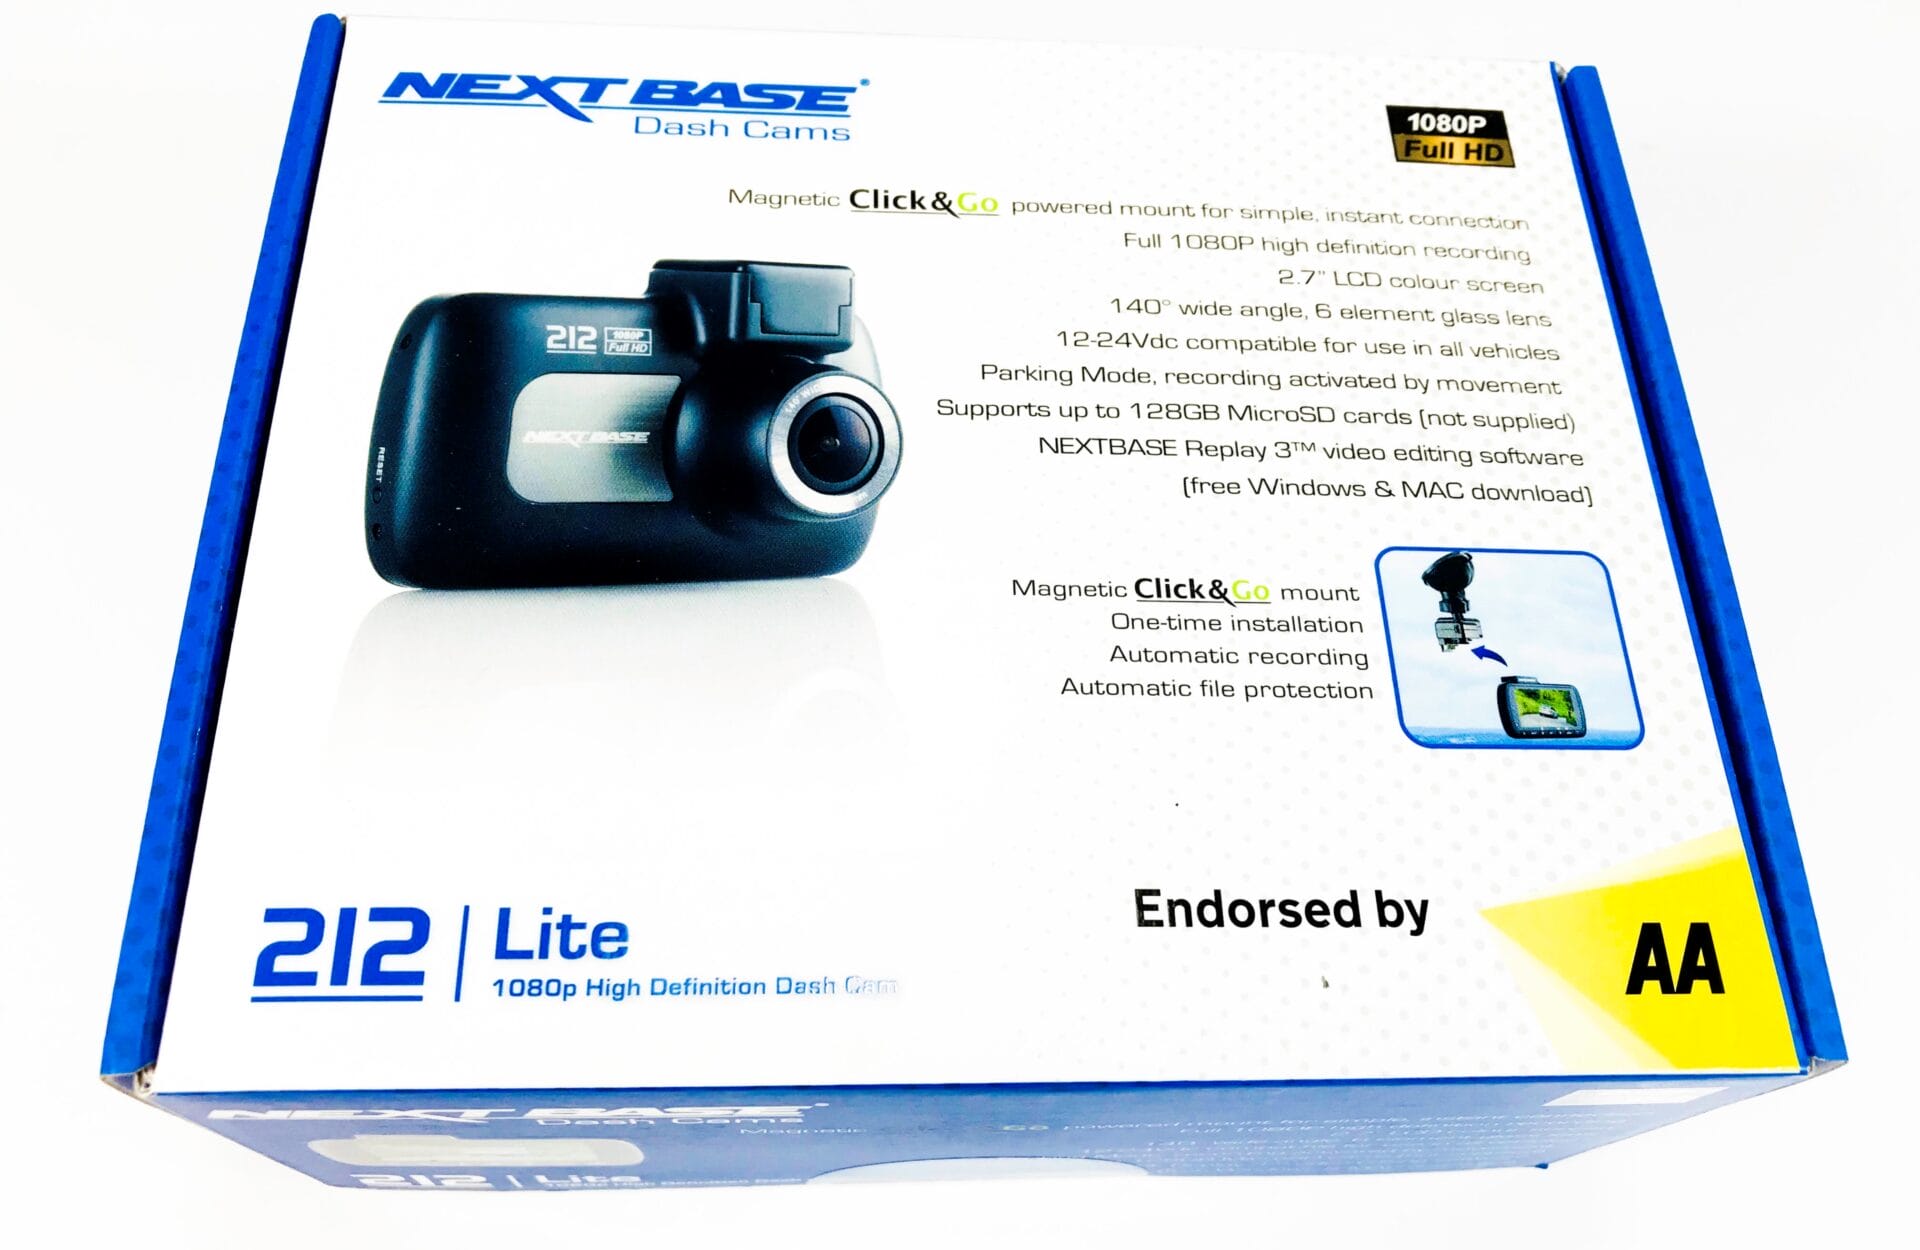
For around the £66.00 mark you get full 1080P HD recording, a 140° wide angle lens, a simple magnetic windscreen mount and a full endorsement from the AA.
If that wasn’t enough this Nextbase camera also features an Intelligent Parking Mode, which in the event motion being detected will automatically record.
But is this dash cam any good? What is the quality like? Time to test it out!
Packaging.
The Nextbase 212 Lite Dash Cam comes packaged in a Blue and White cardboard box. The box measures 17.0cm x 13.5cm x 7.0cm and weighs 410G.

Contents.
Upon opening the box, you will find the following items. 1x Dash Cam, 1x Powered Mount, 1x Car Power Cable, 1x USB Cable, 1x Window Sticker, 1x Quick Start Guide. (The Micro SD Card is available to purchase separately).

Nextbase 212 Lite Dash Cam.
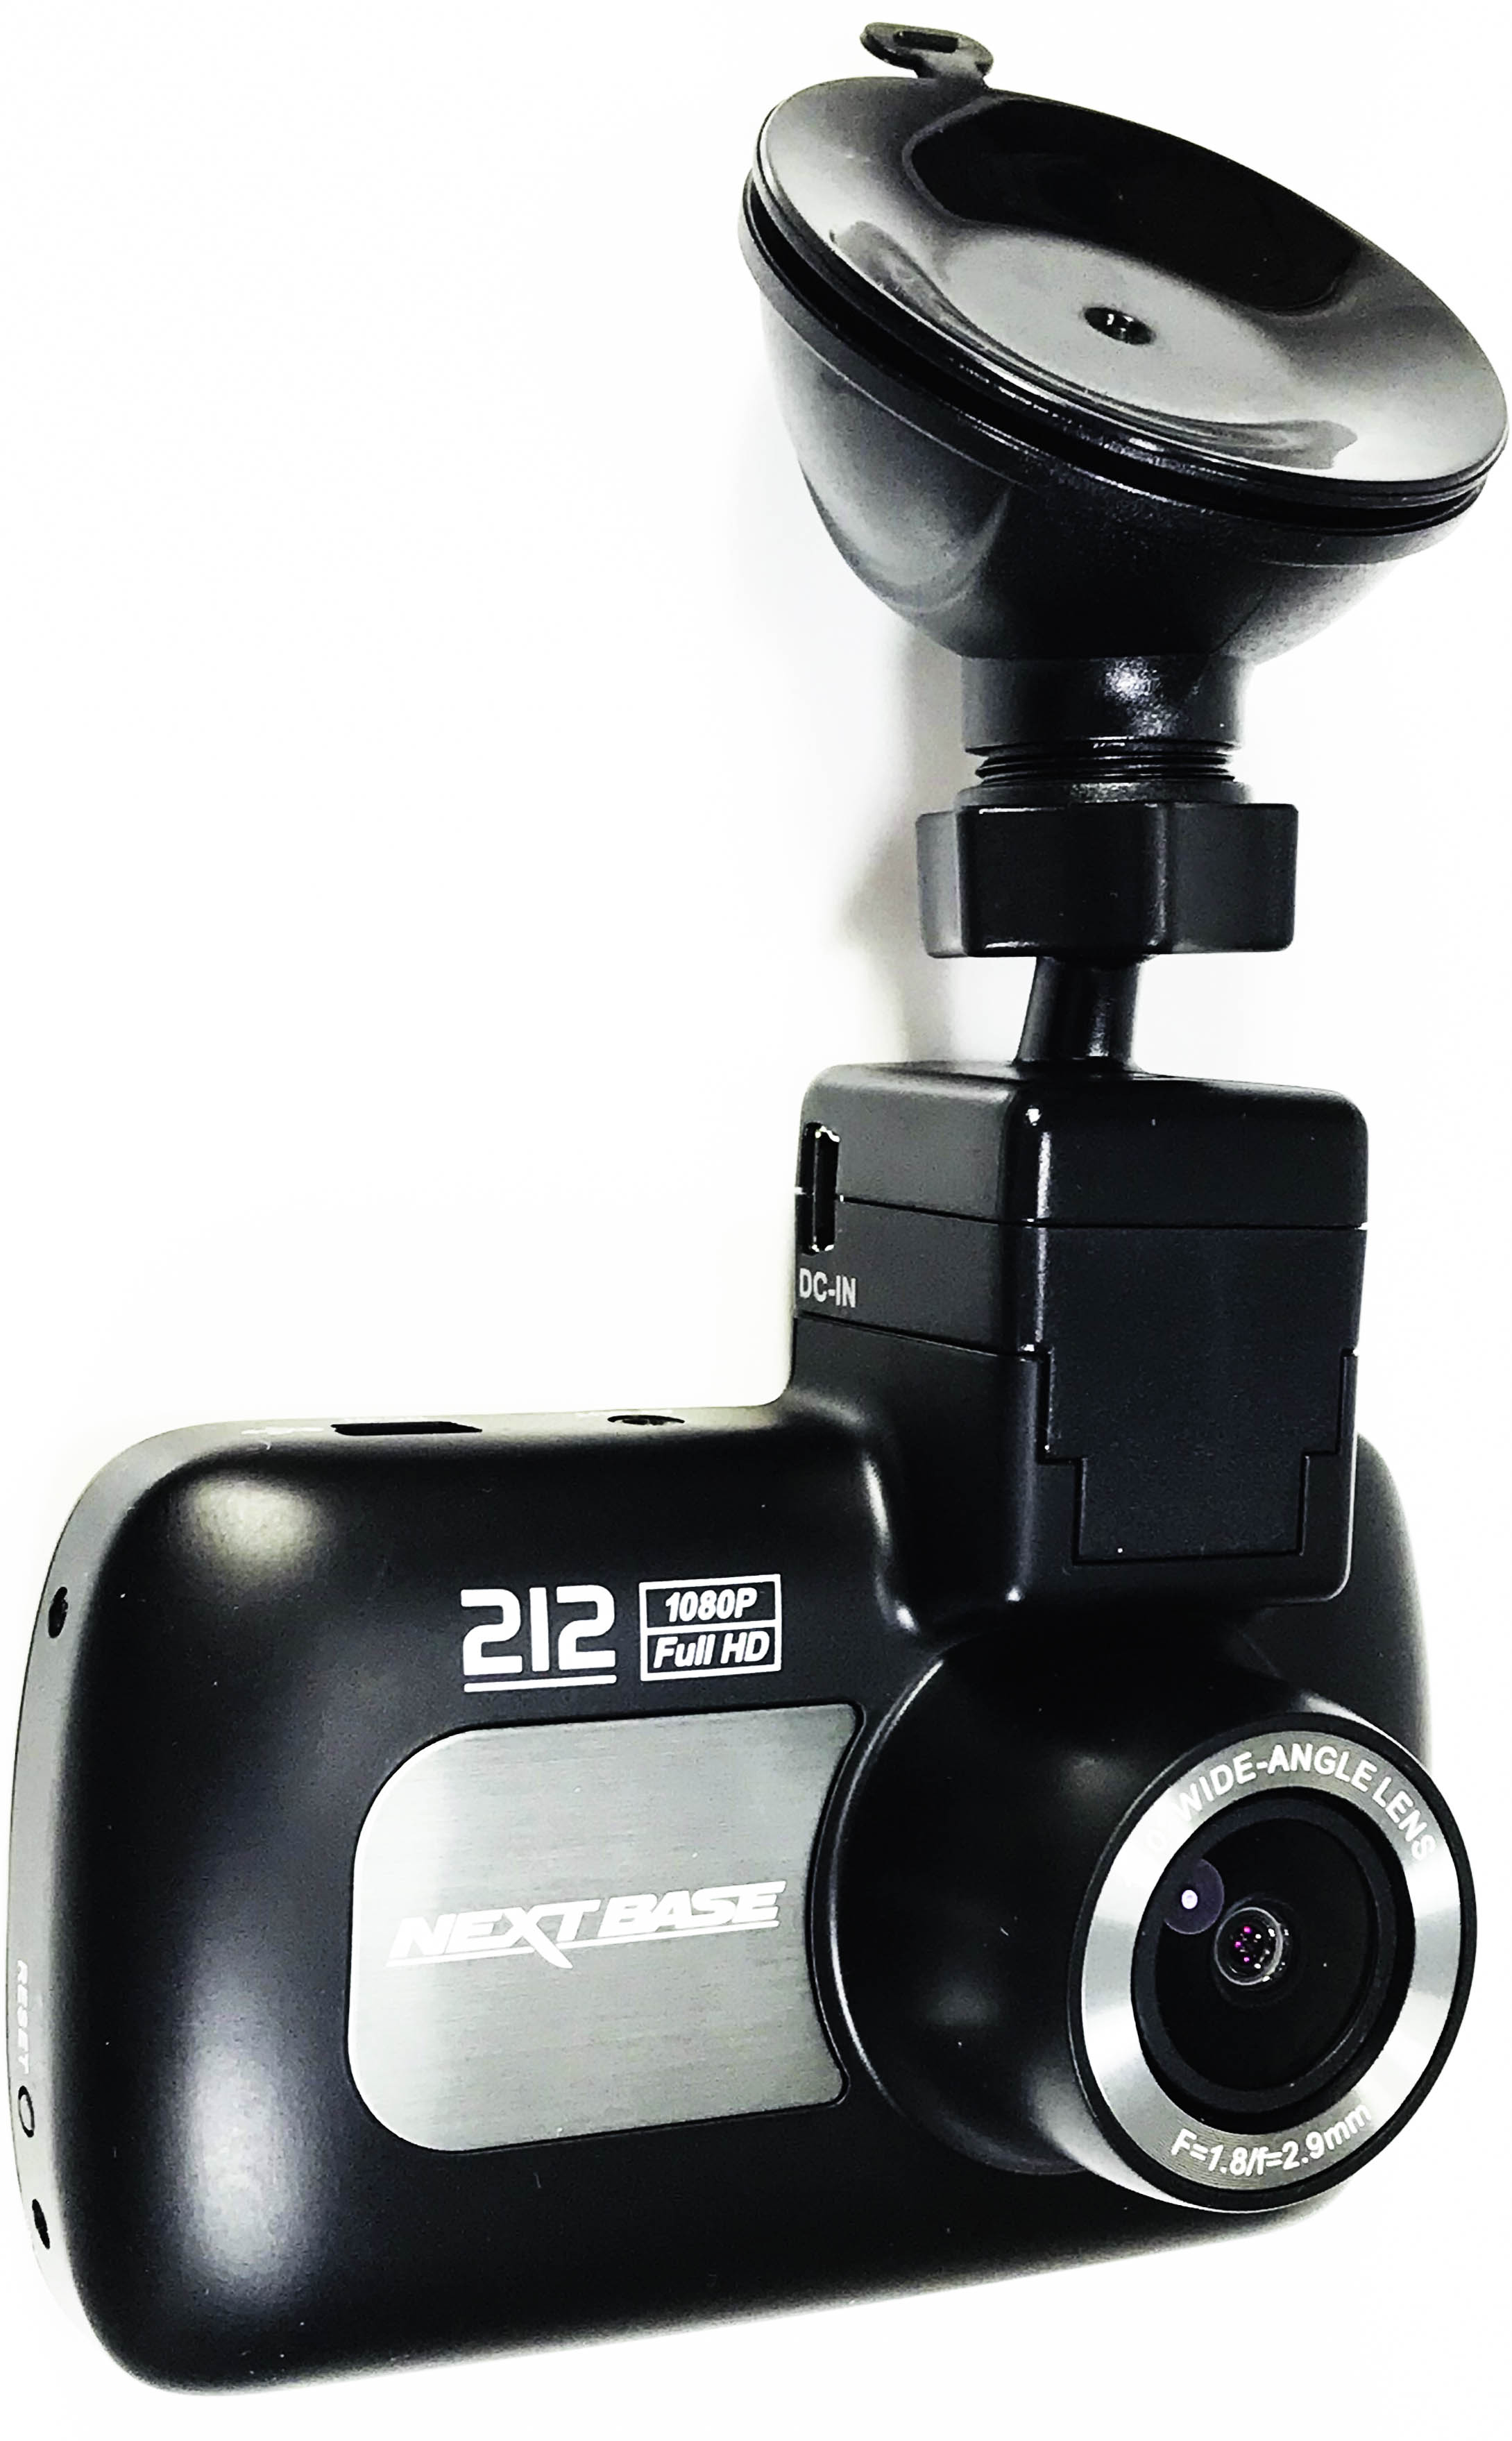
The Nextbase 212 Lite Dash Cam is Black in colour with a brushed Gunmetal Grey finish to the front. The camera measures (Without any mounts) 8.5cm in width x 5.5cm in height x 3.7cm in depth and weighs 75G.
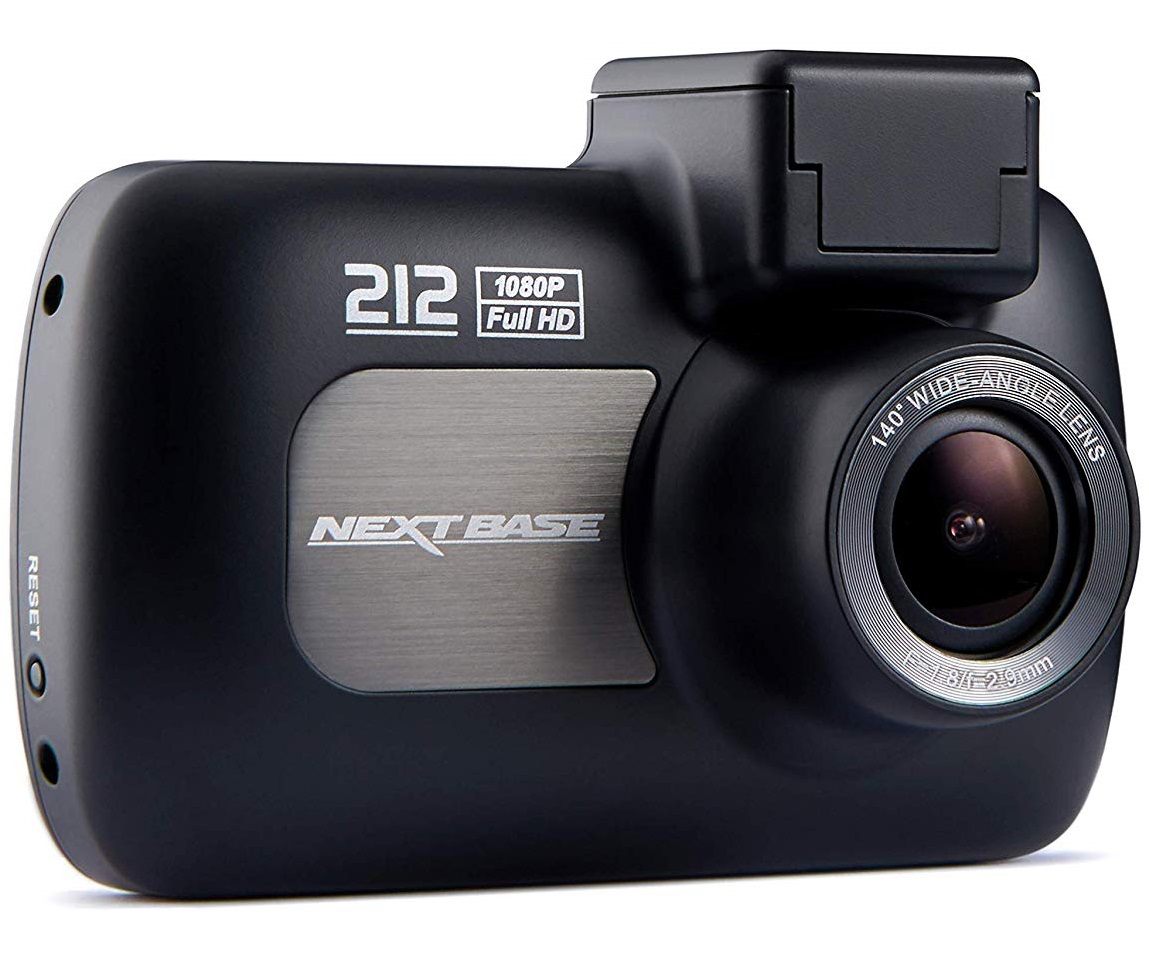
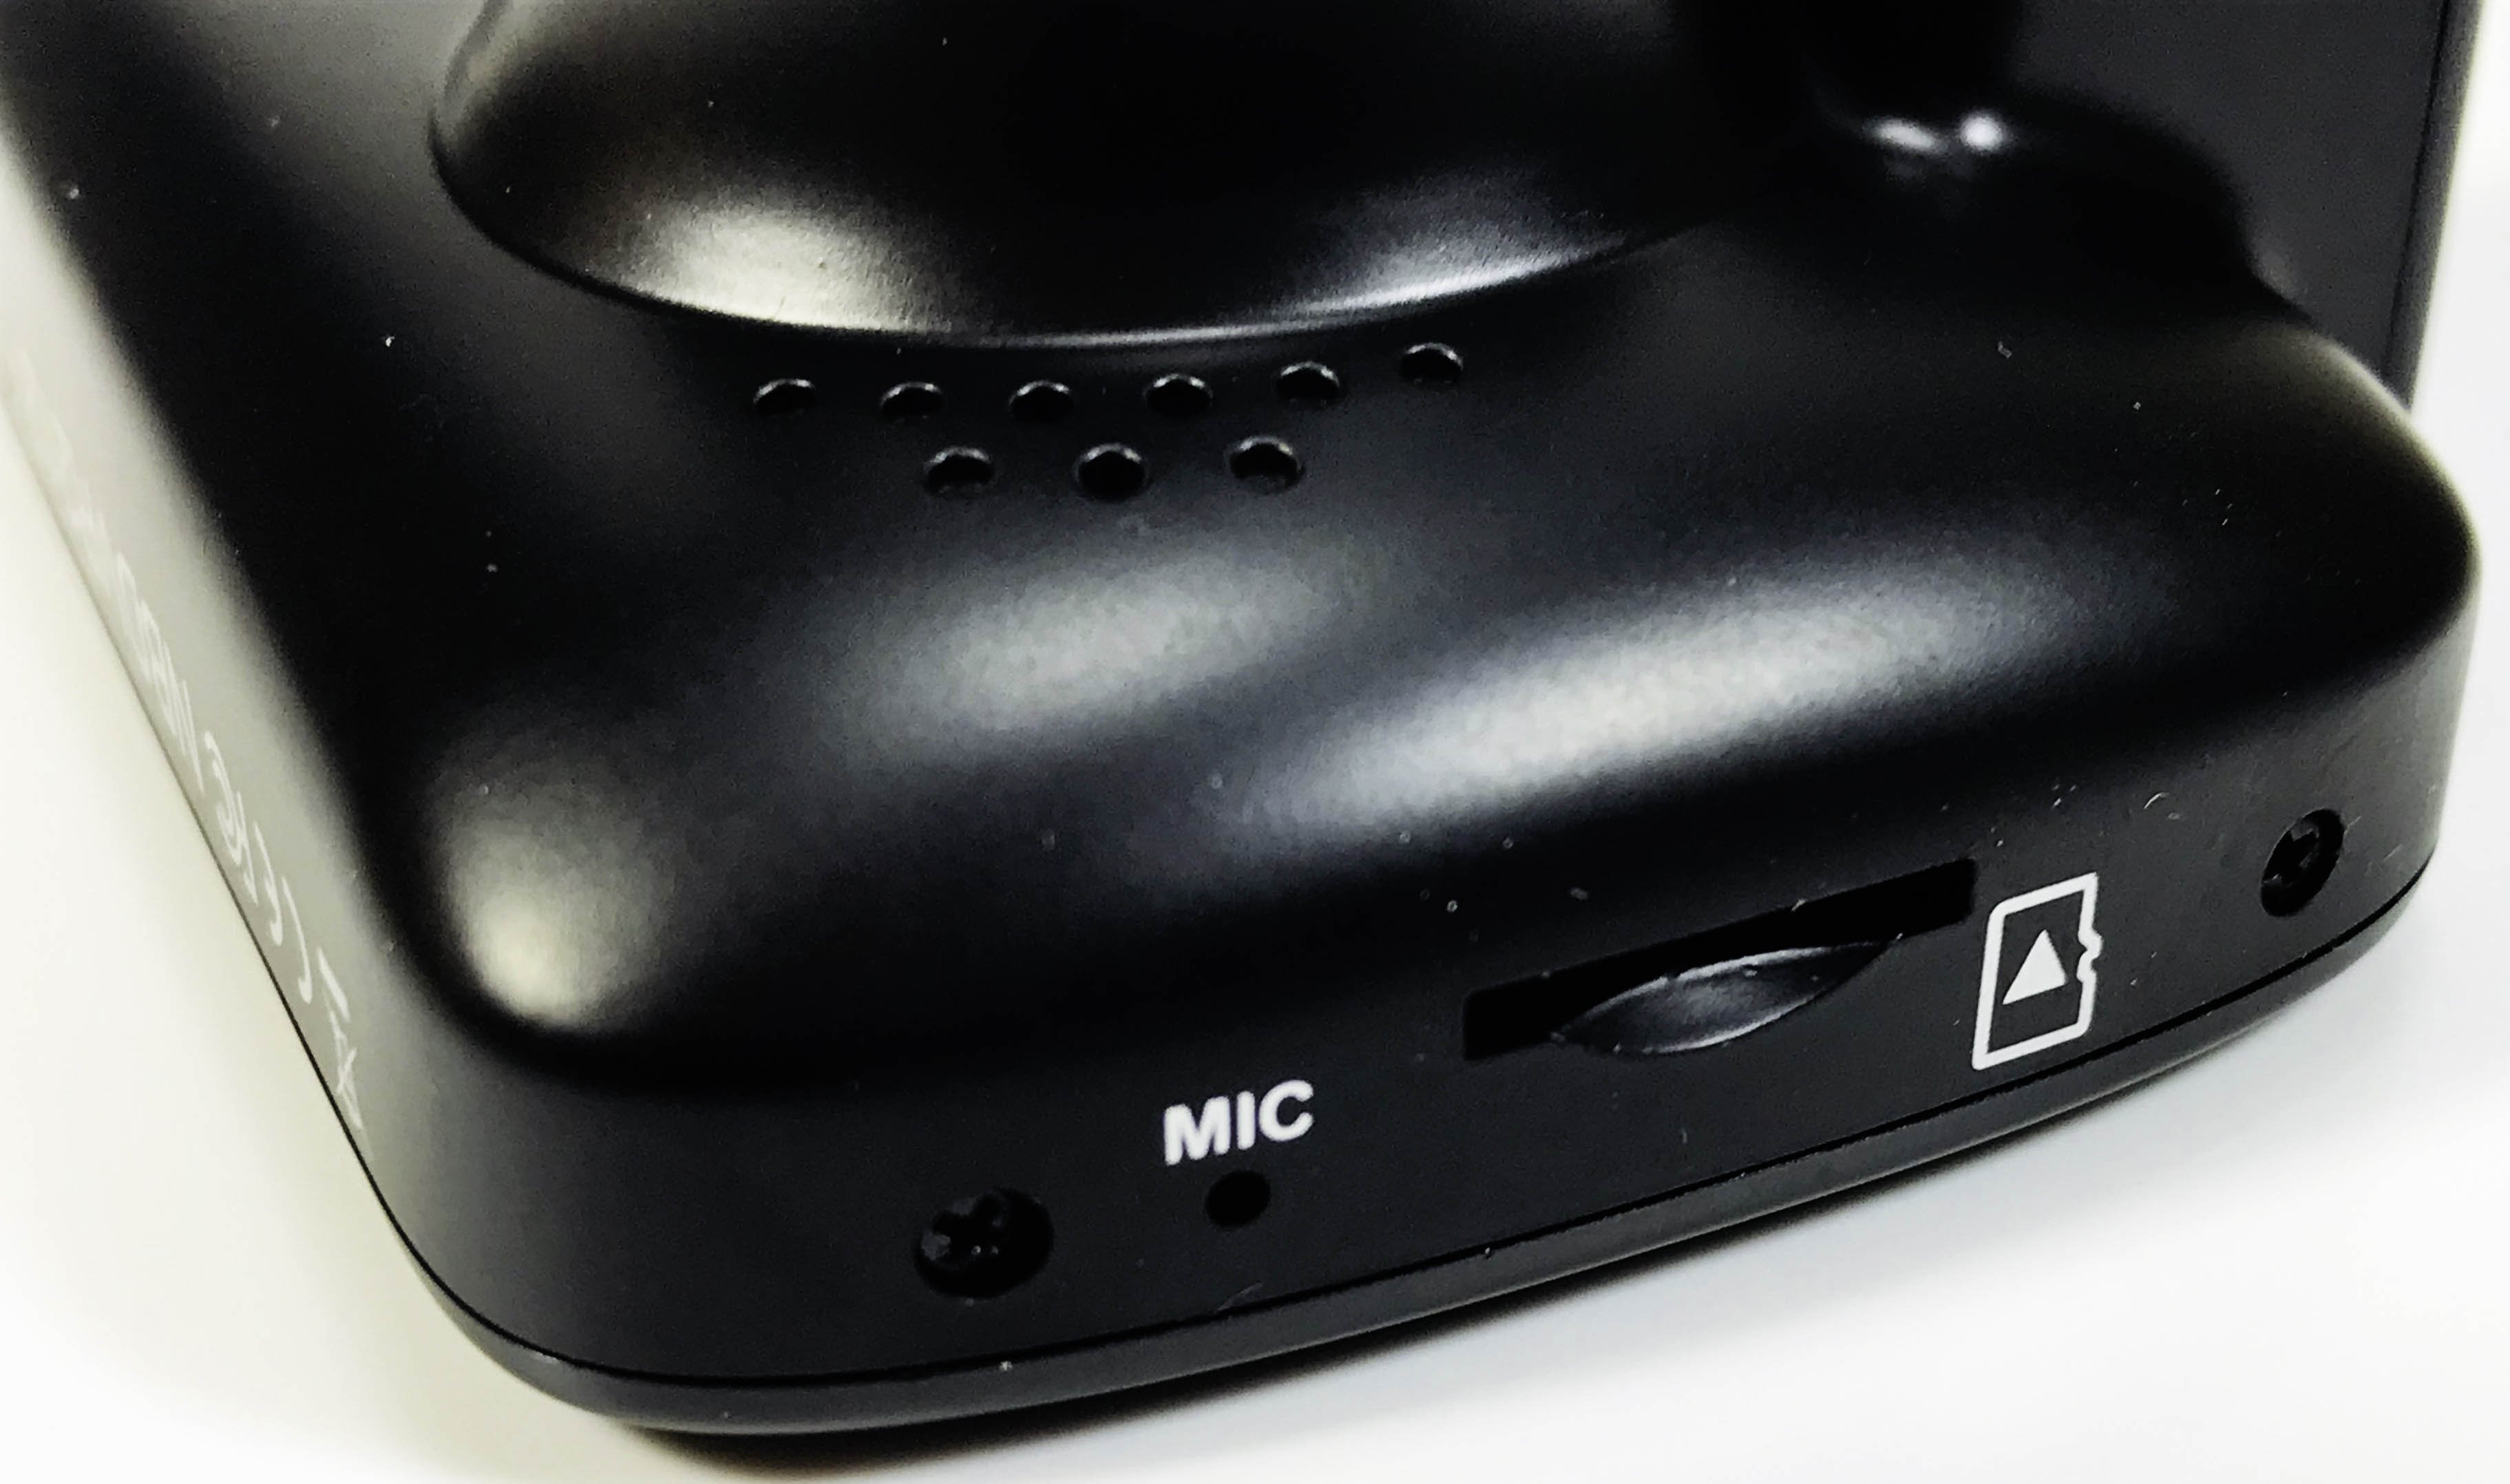
On the front is where you’ll find the F=1.8/f=2.9mm lens with a 140° wide-angled view, just above the lens you’ll see the magnetic catch where you can attach onto the windscreen mount. The above is a dust cap that can be used whilst the camera is removed from the mount. On the left-hand side there’s a reset button, that will set your Nextbase 212 Lite back in to its factory defaults. The right-hand side is where you’ll need to insert a Micro SD card, Nextbase do not supply one with the 212 Lite, but these can easily be purchased. The 212 Lite can support a Micro SD card upto 128GB (Class 10).
Controls.
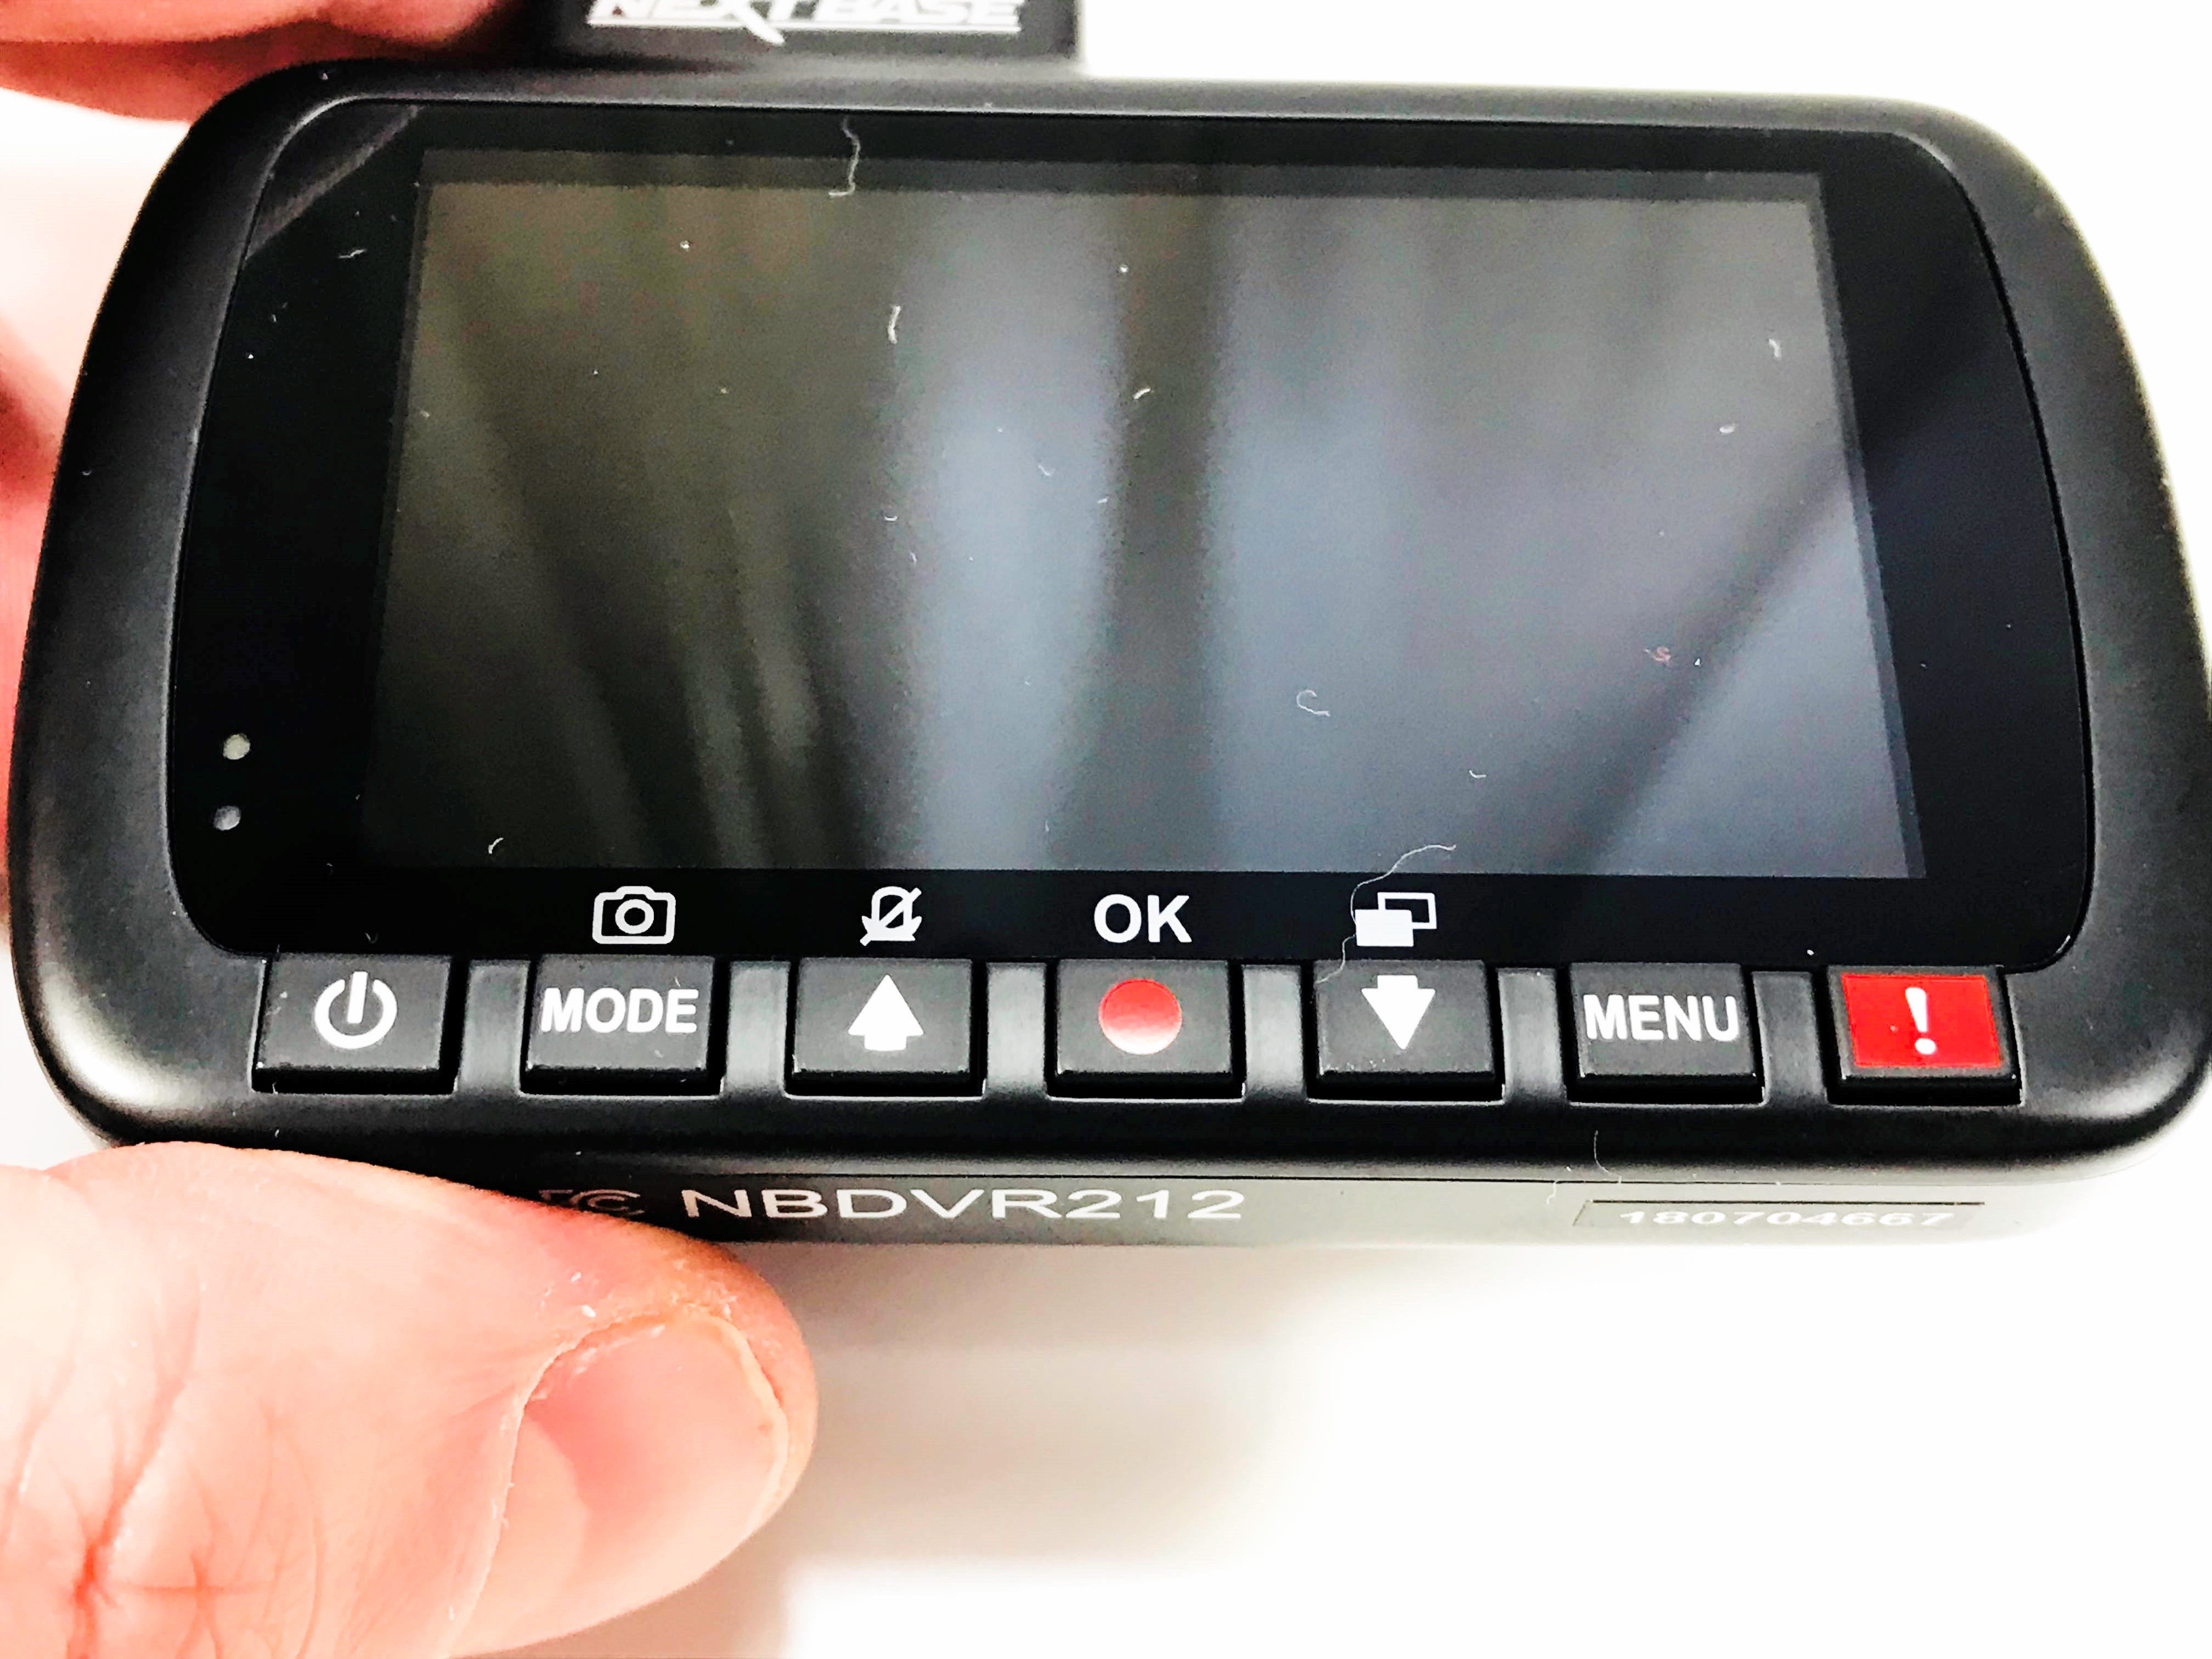
On the back you’ll see a large LCD screen, this screen measures 6.0cm x 3.5cm. You also get 7 different control buttons located just underneath of the screen, these buttons are (From left to right):
- Power Button: Press and hold to power on/off.
- Mode Button: Press to change between video, photo or playback modes.
- Up/Microphone Button: Use as the up button on menu’s and press to mute the microphone.
- Record/OK Button: Press to start/stop recording and use it as an OK button on menu’s.
- Down/Screen Off Button: Use as the down button on menu’s, turns off screen during recording.
- Menu Button: Brings up the menu/settings menus.
- Protect File Button: Press this during recording to protect a file and stop it being overridden.
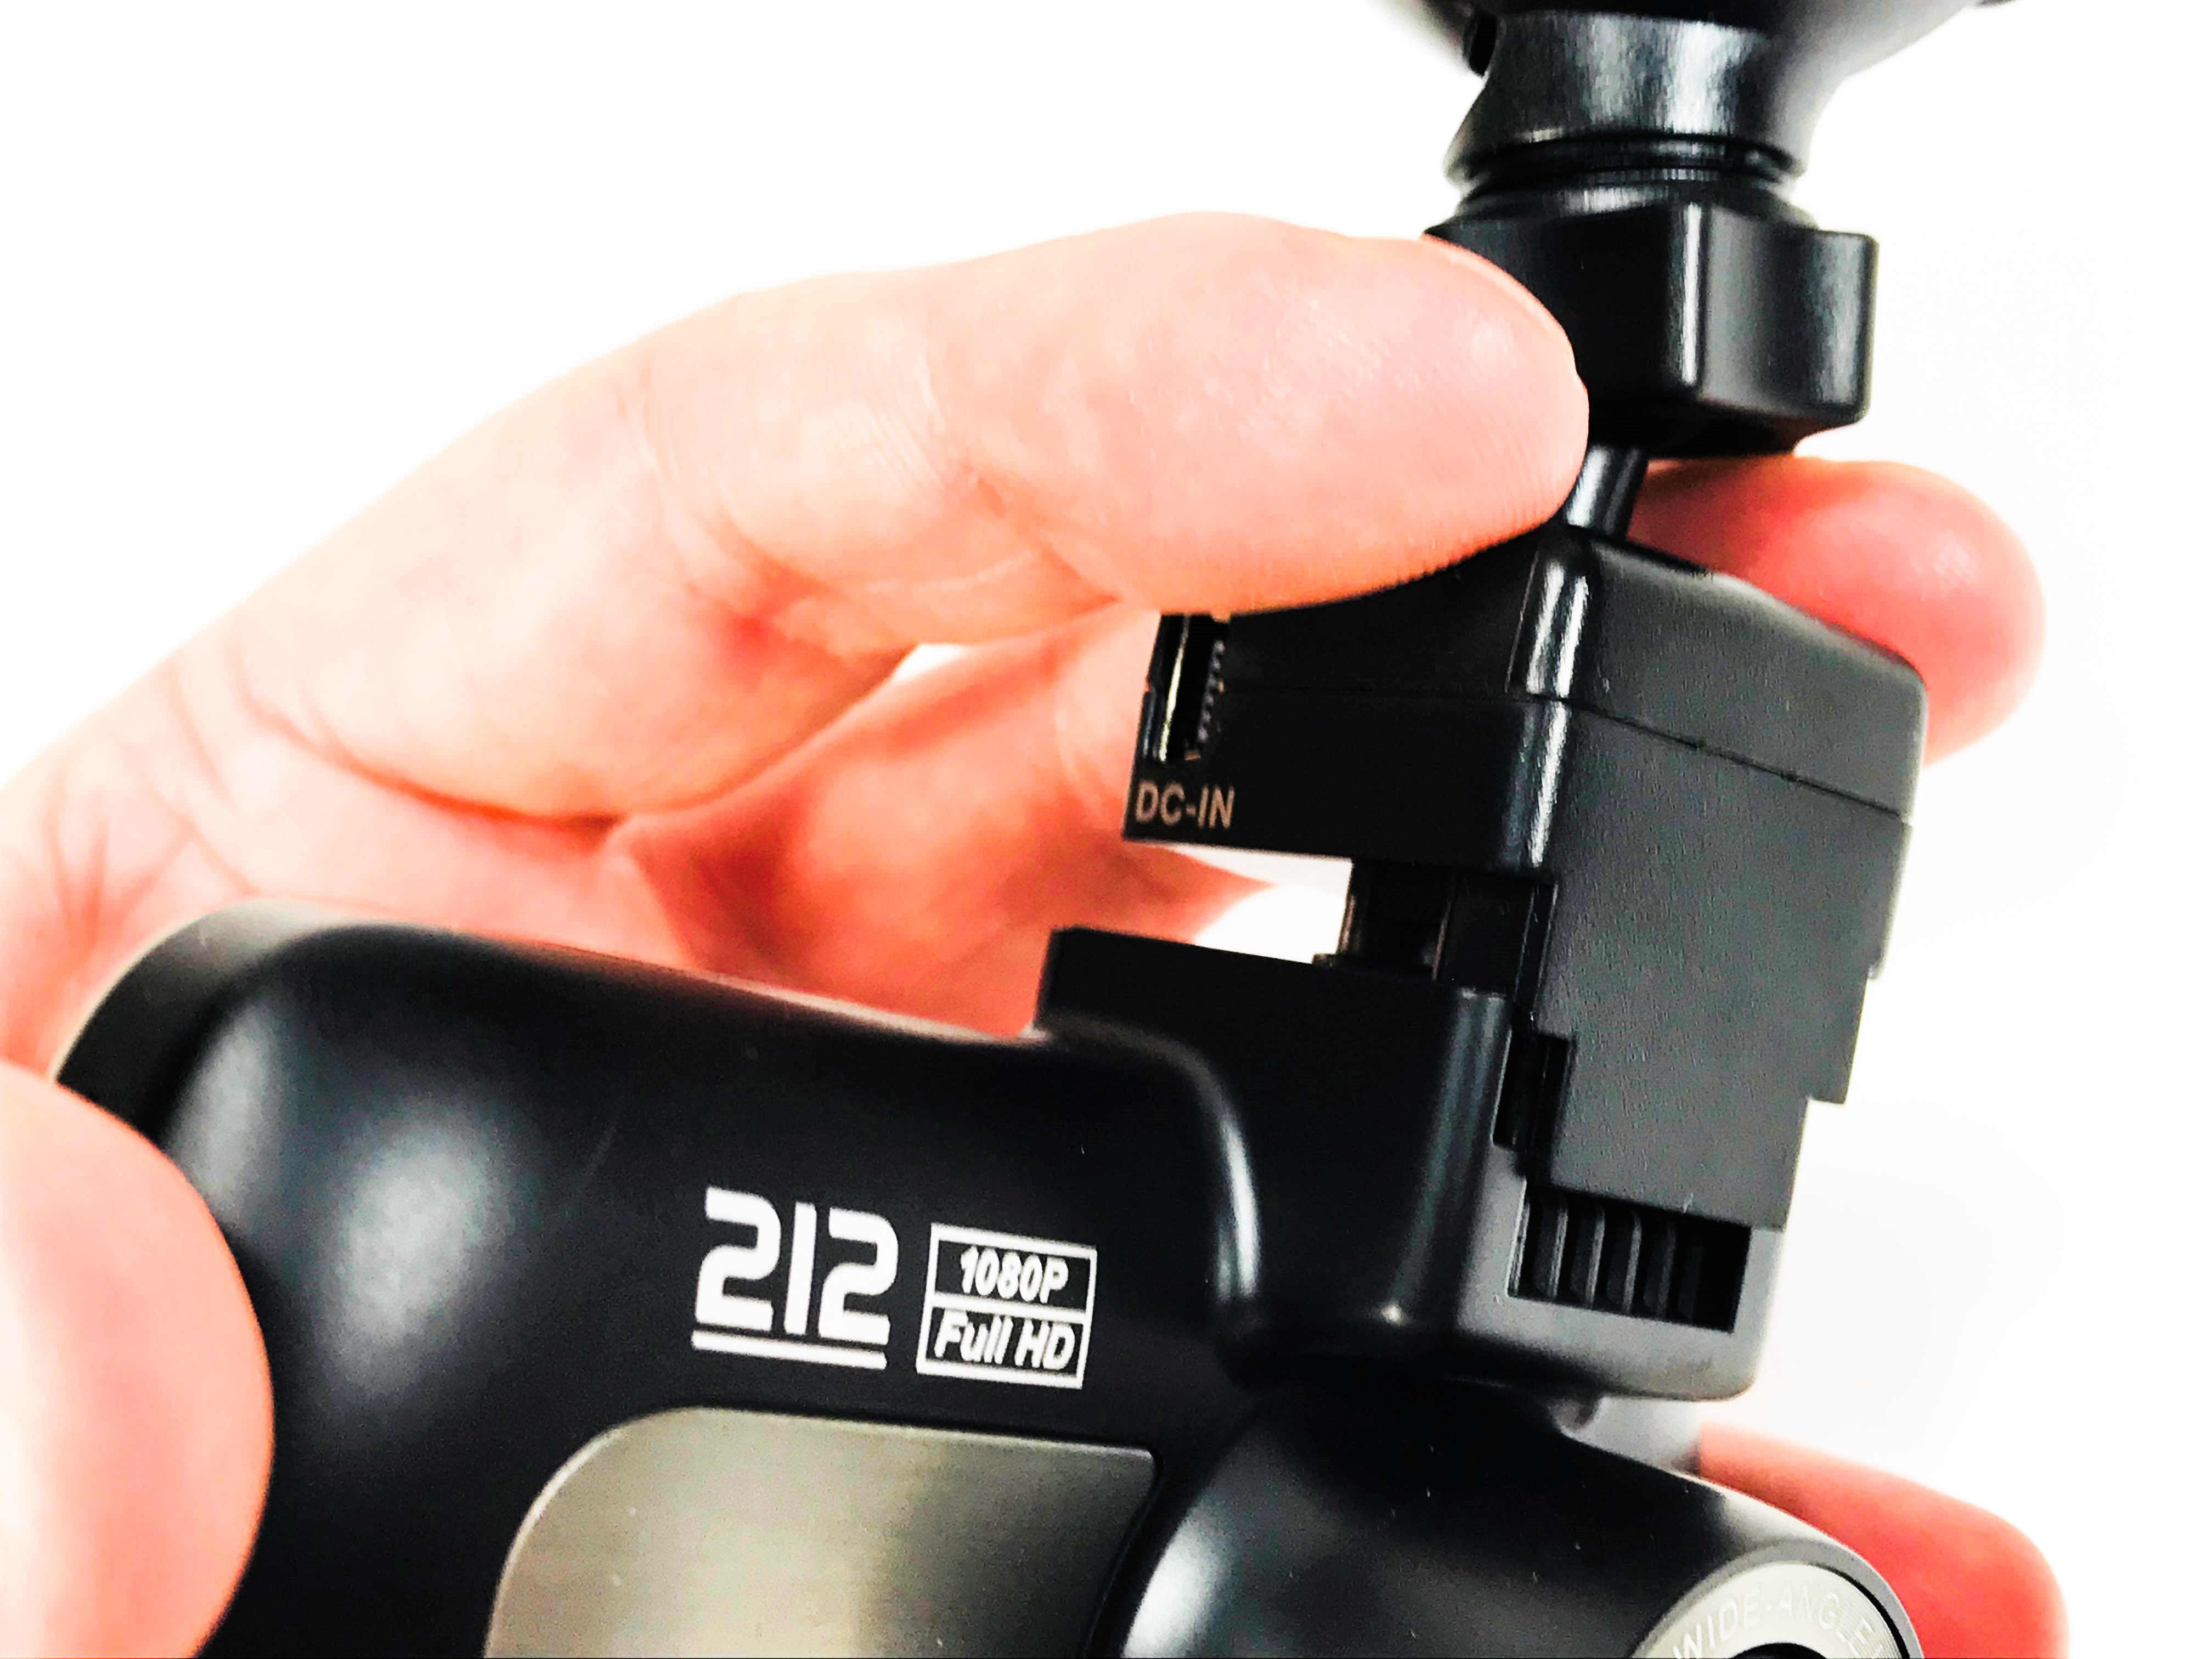
On the top of the Nextbase 212 Lite Dash Cam there’s an AV out port, and a power input port, which can be used if you’re not powering on the dash cam using the port on the windscreen mount, or if you’re using at home to replay your recordings.
Setting up the Nextbase 212 Lite.
The thing you’ll notice is the lack of a paper manual being supplied with the Nextbase 212 Lite. But setting up with a manual is easy enough for someone with technical knowledge. But, if you do require a little help you can view an online manual, this online manual will give you every step-by-step instruction to get you up and running. I didn’t use this manual and managed to set my Nextbase 212 Lite up without it, but I’ve now downloaded it as it makes for some interesting reading.
Before I get into the different settings and menu’s it’s highly recommended you give the dash cam a charge for around 2 hours prior to using, this is to ensure all date/time data can be saved. You can use the supplied USB cable (which measures 1M) and insert the Mini USB end into the top of the dash cam and the other end into any 5V DC power outlet, such as a laptop or mobile phone charger.
Now power on the Nextbase 212 Lite by pressing and holding the power button. The LCD screen should come to life. Press the Menu button once and you see a few menu options, press it again to jump to the setup menus. Pressing it again will take you back to the main recording screen.
Making Changes.
Probably the first thing you’ll want to change is the date/time settings, to do this press the menu button, and then press it again to go to the settings page. The option for Time/Date is the second option down, to go to this press the down button until it’s been highlighted and press OK to enter this menu. You can now change the data/time using the 24-hour clock and setting the date in DD/MM/YY format, press OK to confirm.
Another thing to input is your vehicle’s registration number, this can be found again within the settings menu and is the 7th option down, simply scroll through each option pressing the OK button each time to go onto the next letter/number. Press the menu button to exit and your data will be saved.
You can go through all the different option and change/amend things like the recording resolution, exposure, audio recording, video length, time/date stamp, G-Sensor, language, screen saver, device sounds, parking mode, system info and an option to restore your dash cam back to the default settings.
Using the Nextbase 212 Lite.
Firstly, you’ll need to remove the dust cap from off the top of the camera, now simply insert the windscreen mount onto the magnetic clips and place this onto your vehicle’s windscreen ensuring you’re not blocking your field of view. To secure it to the glass use the locking lever on the mount to firmly secure onto the windscreen. You can with this model leave the mount permanently attached to your windscreen as the dash cam simply pulls away from the mount magnetically.
You’ll now want to set up the power cable for use inside your vehicle, it’s a standard cigarette lighter attachment and the Nextbase 212 Lite features a very long cable (which measures 4M in length).
As soon as you input power into the dash cam the camera automatically starts to record, this can be changed in the menu options if you prefer or by pressing the recording button to toggle recording on/off.
Recording Quality.
I found the recording quality to be very good. You’re able to easily see the vehicle registration number of the vehicle in front without any blurring. I found the daytime recording the best all round version of recording, although night recording is OK the glare from LED street lamps can make the recording less clear and you’re not able to read a number plate unless you get close to the vehicle in front. But the actual recording is still clear, and the bigger picture is of a high enough quality.
The microphone is OK too, but doesn’t have a very high audio quality, but again you’re able to hear audio, it’s just a little tinny.
The mount is very good and doesn’t move at all, not even a little bit! So, there’s no motion blur when in use. And the 140° angle is just about right, this angle capture both sides of a standard A road without any issues and you’re able to record what’s in front of you and record oncoming traffic too!
Other Features.
The Nextbase 212 Lite isn’t done just yet, it has a few more party tricks up its sleeve. These great additional features are:
- Intelligent Parking Mode: When this option is in use the dash cam enters a standby mode. Should any physical movement of the vehicle be detected, the dash cam will power on and start recording a 1-2-minute protected video.
- Software: You can play, edit and share your recordings using the Nextbase Replay 3 software. This is free to download.
Technical Specifications.
- Brand: Nextbase
- Model: Dash Cam
- Model Code: 212 Lite
- Manufacturer Code: NBDVR212
- EAN: 5060384252377
- ASIN: B01ELSINJQ
- Power Requirements: 5V / 1.5A
- Power Supply: 12-24V DC Car Power Cable
- Sensor Resolution: 3M Pixel (3,000,000 Pixel)
- Lens Type: 6G / 140° / F1.8
- Recording Resolution: 1920 x 1080 @ 30fps (default)
- Screen Size: 2.7″
- Screen Resolution: 960 (W) X 240 (H) pixels x RGB
- Ratio (Screen): 16:9
- Card Reader: MicroSD, Class 10, up to 128GB
- SD Card Recorded File Capacity: 8GB MicroSD = 60 minutes of recording, 16GB MicroSD = 120 minutes of recording, 32GB MicroSD = 240 minutes of recording, 64GB MicroSD = 480 minutes of recording, 128GB MicroSD = 960 minutes of recording
- Recording Format: MOV
- Video / Audio Out: 2.5mm Jack (Video / Audio)
- Internal Battery: Lithium-ion 3.7V / 450mAh
- Compliance: CE, FCC, RoHS
Conclusion.
I’ve really enjoyed reviewing the Nextbase 212 Lite Dash Cam. The recording quality is very good and although the nigh recording can become effected from bright LED street lamps, it’s still good enough in terms of quality to see what’s been recorded. Having no paper manual supplied was strange for me, as this is usually supplied with all goods, but again on a positive note, it’s better for the environment. And, if there’re any changes the instruction manual it can be done instantly, and everyone can see the latest updates. The magnetic mounting system is very good indeed, in a quick flash you can install the dash cam and remove it again just as easy.
Overall, I cannot recommend this dash cam enough, it’s very easy to use and set up. The recording quality is very good. For around £66.00 in price you get a lot of camera for your money.
If you want the Nextbase 212 Lite Dash Cam for yourself, it’s available for purchase only on Amazon. The RRP for this product is £69.99.
Product sample provided by Nextbase in exchange for a detailed, unbiased review.
Thank you for taking the time to read my post. If you’d like to add a comment or thought on this post, please use the section below. I can also be contacted via the online contact form. Please subscribe for the latest reviews, news, and discounts. Please follow My Helpful Hints on Twitter, Instagram & Facebook too!