The Spy Pen Camera is a realistic looking pen with a built-in HD camera that can record audio, video and photographs.
You get HD video, 1920x1080P video resolution, 2560×1440 photographic resolution, and a great working biro pen too!
The in-built 180mAh lithium battery can support 60 minutes of HD recording.
But is this pen any good? What does it record like? Time to test it out!
Packaging.
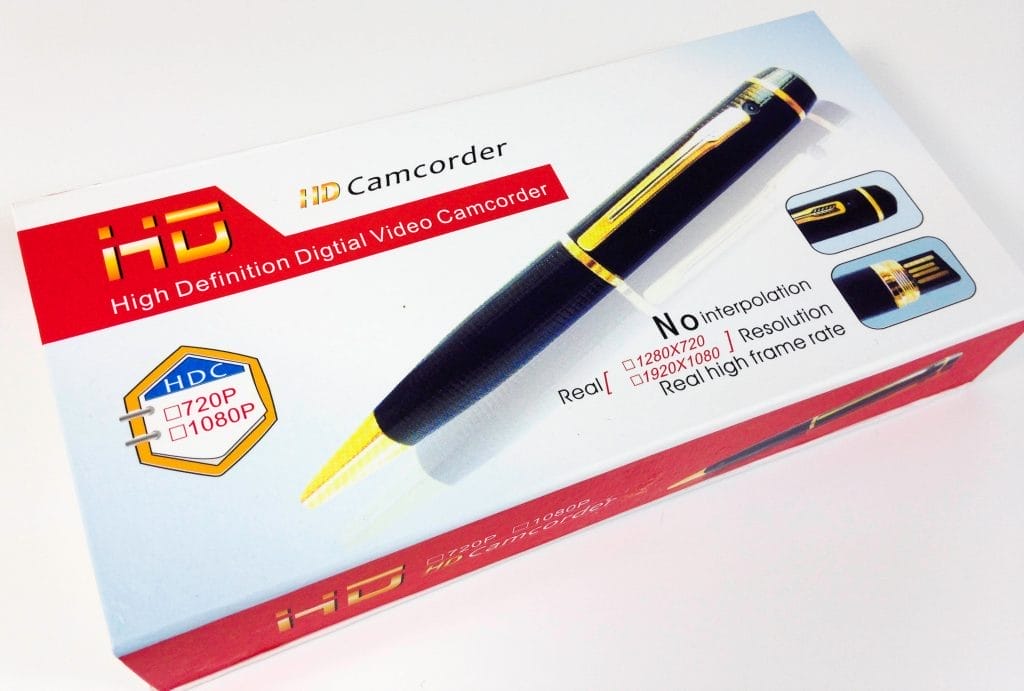
The Spy Pen Camera comes neatly packaged in a magnetic closure box. There’re product images and written specifications on the box. The box measures 18.0cm x 8.5cm x 3.0cm and weighs 146G.

Contents.
Upon opening the Spy Pen Camera box you’ll find the following items. 1x Pen, 1x Carry Pouch, 1x USB Charger Cable, 10x Pen Refills, 1x Mini Screwdriver, 1x Reset Tool, 1x English User Guide.

Spy Pen Camera.
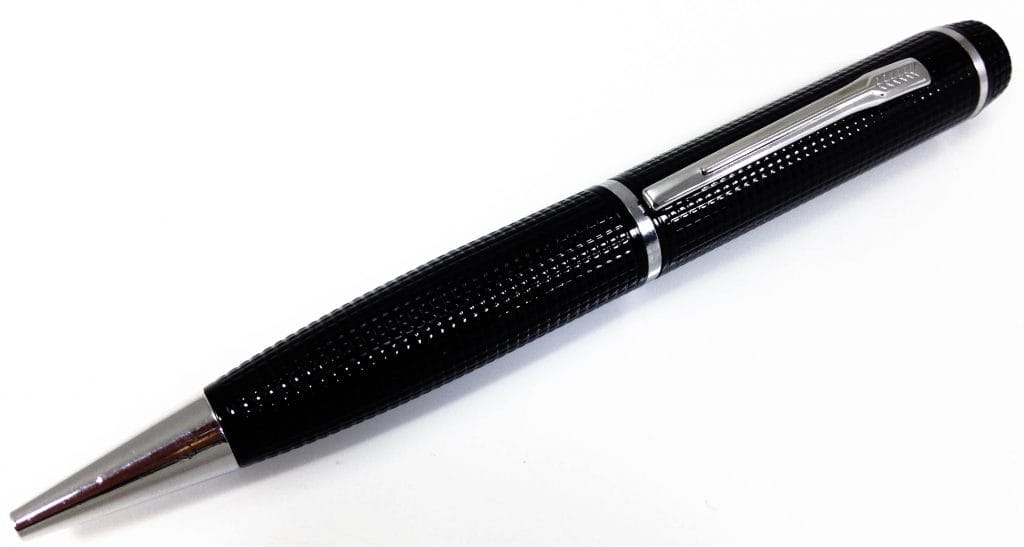
The Spy Pen Camera is Black in colour with Silver detailing. The pen measures 14.5cm in length x 1.5cm in diameter and weighs 50G. You’ll need a Micro/TF Card to use the pen, you can use a card upto 32GB.

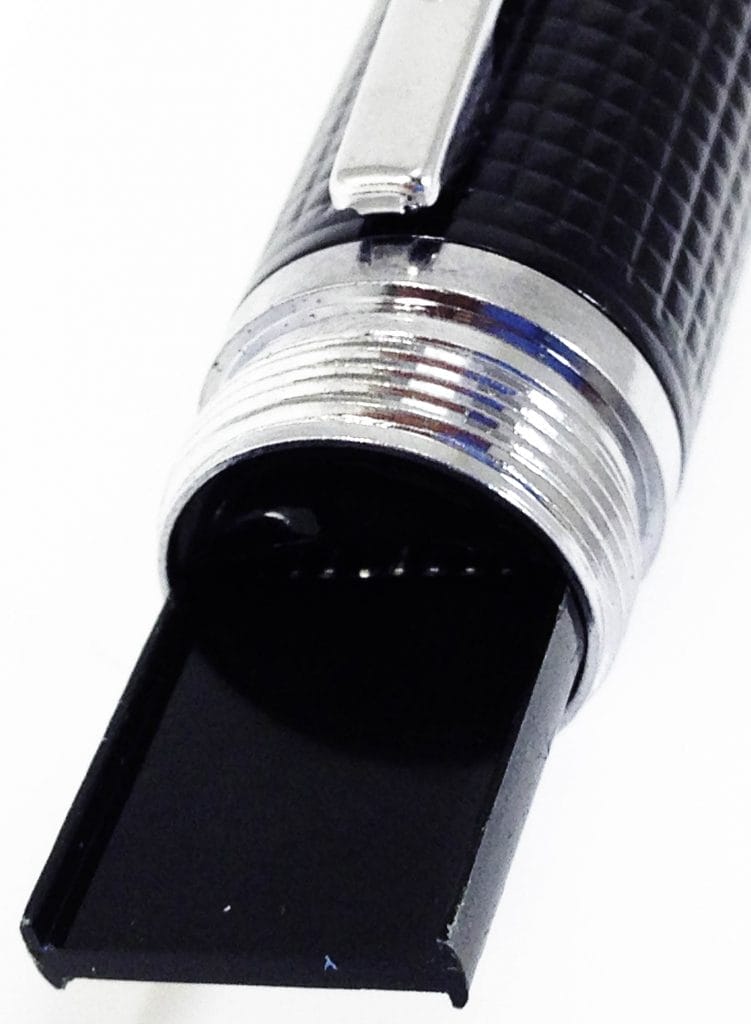
The camera lens is located on the cap area, a microphone is located on the pen clip and the other side of the pen is 2 LED status lights. If you unscrew the main body of the pen you’ll reveal the memory card input area, mode selection switch and the main USB charging/data transfer contacts.

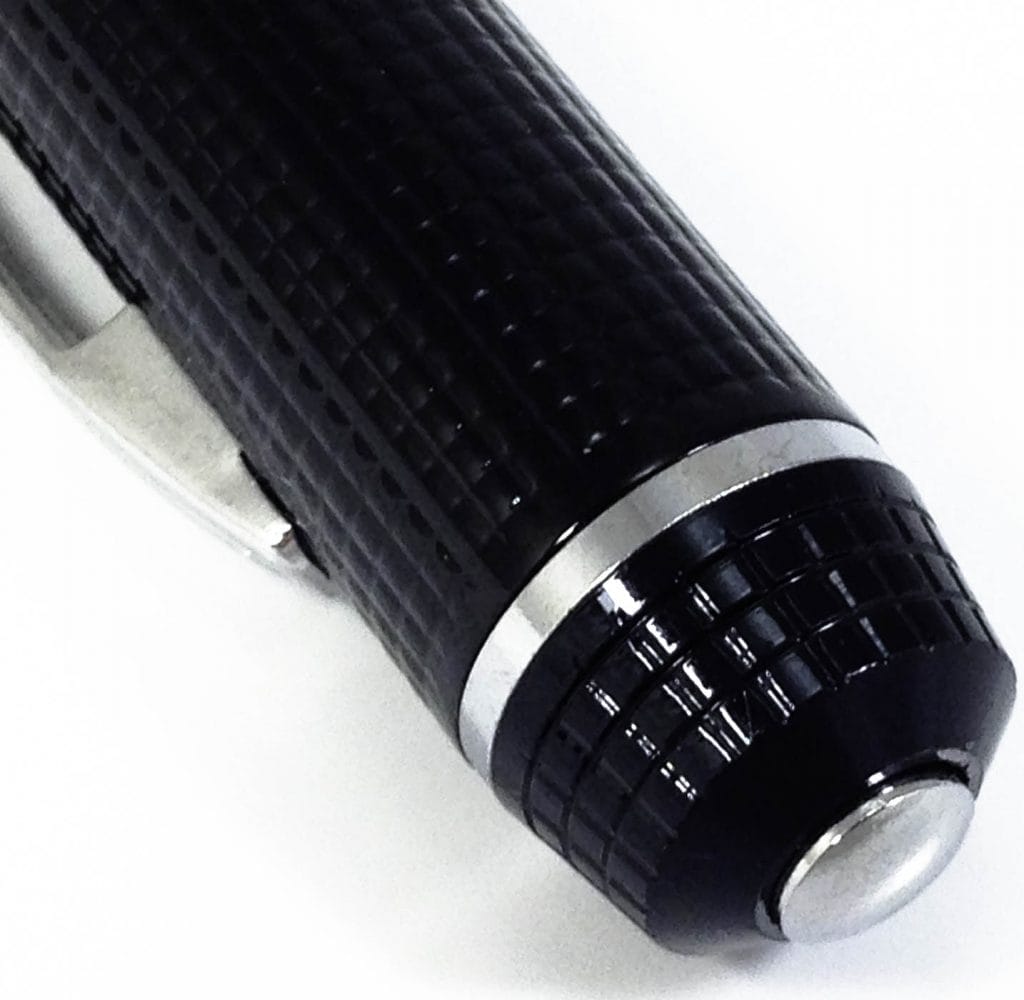
The power on/off button is located at the top of the pen.

Setting up the Pen.
You’ll need to charge the pen before you can start using it. You can charge it directly using the USB contacts of the pen and insert into your laptop/pc. Or, you can use the USB cable (Which measures 60.0cm in length) and charge the pen into any 5V DC power adapter, or even a powerbank!
The pen will blink with an Orange LED light to indicate charging, when the in-built battery is fully charged the light Orange light stays on with no blinking. Charging takes around 2 hours to fully charge the lithium battery.
You’ll now need to insert your own Micro/TF memory card. Unscrew the main body of the pen and insert your card into the insertion area. You’ll also see two modes, mode 1 and mode 2, these modes change the pen from video recording to photograph taking.

The supplied user guide although written in English is very hard to read and understand. I mean it’s really hard to get your head around the over-complicated phrases and obvious cut and paste job from Google Translate. I will try my best to give a better instruction on how to operate this pen.
Using the Pen.
You’ll need to select your chosen mode using the mode selection switch which is located on the charging area of the pen. Mode 1 records photo and audio, Mode 2 records video with audio. So, both modes will record any background noises.

Mode 2.
Step-by-Step guide to record Video with Audio –
- Ensure you’ve selected Mode 2.
- Press and hold the power on button.
- The LED lights will flash very quickly Yellow, and then Blue twice.
- All LED light indicators will now switch off to indicate recording.
- To stop a recording, short press the power on button.
- The LED indicator will now light up Orange.
- When this light goes out, your recording will have saved to the card
The Orange light does take some time to go out, and in many cases takes over 5 minutes to fully save the recording onto the card. Don’t press any button or do anything until this light powers off by itself, or you’ll delete or corrupt the recorded file.
Mode 1.
Step-by-Step guide to record Photo and Audio –
- Ensure you’ve selected Mode 1.
- Press and hold the power on button.
- The LED lights will flash very quickly Yellow.
- This is now recording audio.
- To stop recording audio, short press the power button.
- The Orange light will illuminate to indicate saving of the recorded audio file.
- Press the power on button whilst this Orange light is on to take a photo.
- A Blue light will indicate a photograph has been taken.
- You can continue to take as many images whilst the Orange light is on.
- Audio and photo’s will have saved onto the card when the Orange light goes out fully.
If you’re not really interested in the audio method and wish to take photos, carry out steps 2-5 quickly and start snapping away.
Viewing your recordings.
You have two methods to view what’s been recorded onto the Micro/TF memory card. You can insert the pen’s USB contacts directly into a USB port on your laptop/pc and open the file. Or, you can remove the card and insert this directly into your laptop/pc. Both methods will allow you to see your secret recordings.
Photos are saved as JPG, Audio is saved as WAV, and Video is in AVI format.
The quality of both video and the images are OK. You can clearly see what has been recorded without any blurry images or unfocused video recordings. You do need some level of natural lighting though as the pen does not feature infrared for low lighting levels.
Changing the date/time stamp.
You can change the date/time stamp on your recordings using a simple technique. When you launch the above menu options for your recordings you’ll see a text document called ‘time’. Open this document and edit it to suit your desired time zone. Remember to save and overwrite this file to change the date/time stamp.
Technical Specifications.
- Brand: WBESEV
- Model: Spy Pen Camera
- EAN: N/A
- ASIN: B075F5D1CX
- Video Format: Full HD 1920*1080 AVI
- Photo Format: Full HD Photo 2560*1440 JPG
- Lens: HD 9712, 8 Mega Pixel
- Supporting System: Windows 98/98SE/ME/2000/XP/WIN10, MAC OS, LINUX
- Battery Type: Built-in Lithium 180mAh Battery
- Micro/TF Slot: Upto 32GB
- Charge Voltage: 5VDC
- Compliance: CE, FCC, RoHS
Conclusion.
The Spy Pen Camera is OK. The supplied user guide is very hard to understand, but once understood the process is a simple one. You do get very good recording for audio, photo, and video and the quality of these are good. The pen feels a bit chunkier compared to a regular pen, but still is great for covert recording. You can also use this as a real pen, and it works very well! Changing the ink refills is a simple process involving the supplied mini screwdriver.
Overall, despite the poor written instructions I’m very impressed with the product and would recommend it for a fun spy gadget.
If you want the Spy Pen Camera for yourself, it’s available for purchase only on Amazon. The RRP for this product is £32.99.
Product sample provided by WBESEV in exchange for a detailed, unbiased review.
Thank you for taking the time to read my post. If you’d like to add a comment or thought on this post, please use the section below. I can also be contacted via the online contact form. Please subscribe for the latest reviews, news, and discounts. Please follow My Helpful Hints on Twitter, Instagram & Facebook too!

