I’m looking forward for today’s review, it’s for the Bare Conductive Electric Paint Circuit Kit. I love kits of all kinds and anything electronic is a big draw for me.
This kit teaches about simple electrical circuits using LED chips, conductive paint, and a 9V battery.
Simply draw a circuit with the paint and connect your battery, that’s it!
But is this any good? Is it good value for money? Time to test it out!
Packaging and Contents.
The Bare Conductive Electric Paint Circuit Kit comes packaged in a small cardboard box, the box measures 21.5cm x 15.5cm x 3.0cm and weighs 125G.
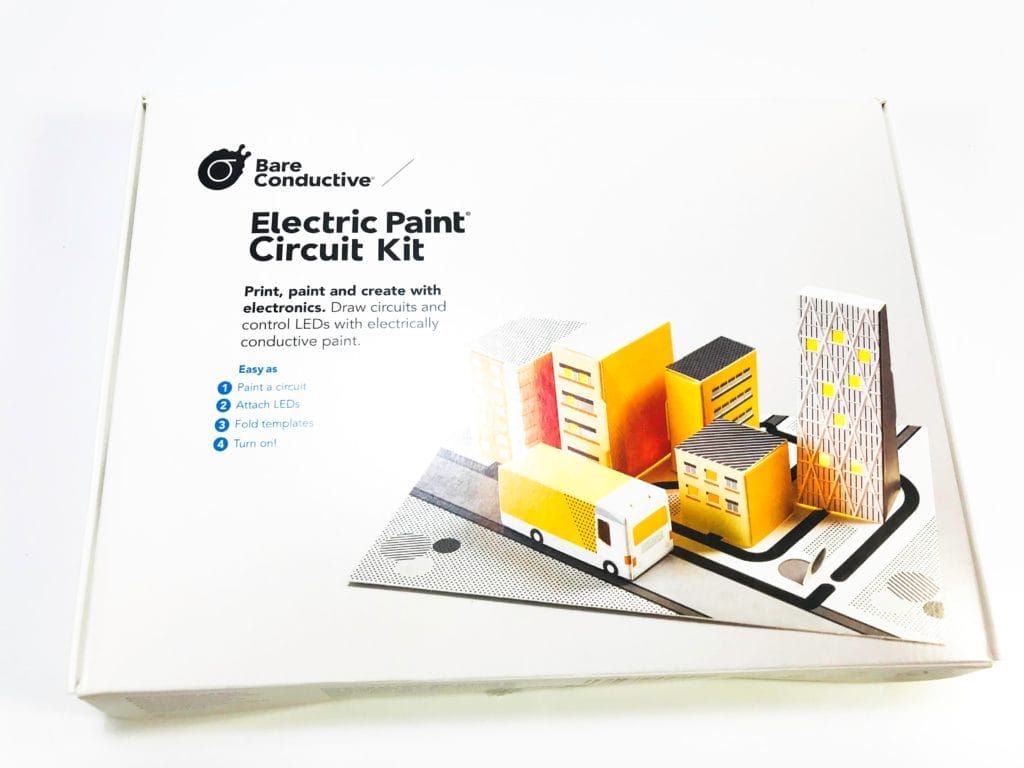
Inside the box you’ll find; 1x Electric Paint, 5x LED Chips, 3x Sheets of Card.

Bare Conductive Electric Paint Circuit Kit.
The Bare Conductive Electric Paint Circuit Kit is the latest amongst other great kits that’s currently available from their online store. Bare Conductive was founded 10 years ago (2009) and since then has developed their easy-to-use paint for all sorts of technology applications and kits, just like this one!
This kit teaches how to create a circuit using only conductive electrical paint, you even learn how an open-circuit effects a circuit and get to make some cool pop-up card objects.
The surface mount LED chips come packaged in anti-static packaging and have larger than usual polarity symbols printed on them, this is great for beginners to learn and identify correct polarity.
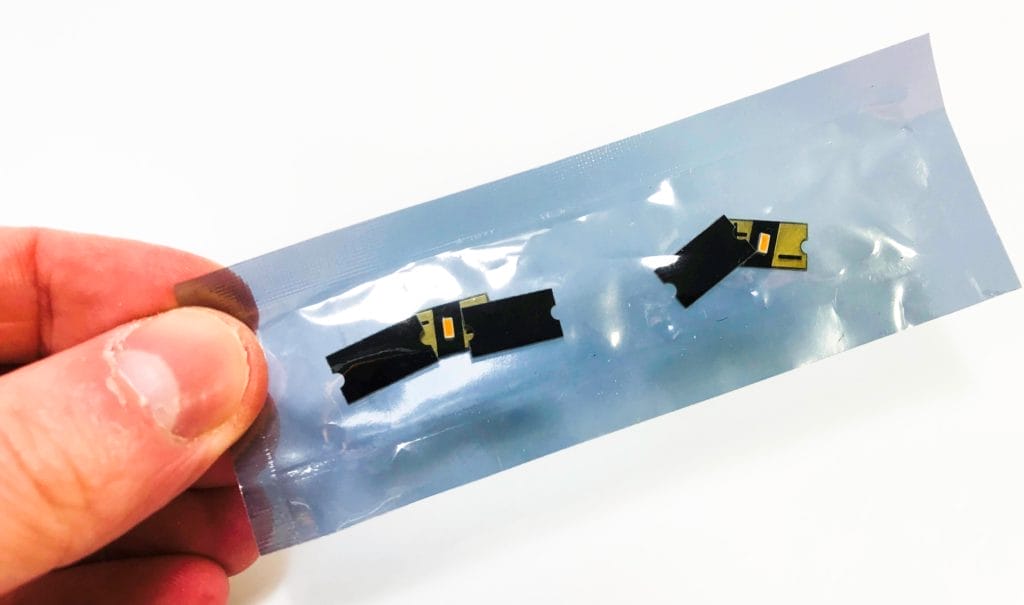
All you need to supply is a standard 9V battery.
And that’s it, you’re ready to create a simple but educational electronic circuit.
Using the Kit.
Before starting I recommend you get used to the electric paint, try using it out on a scrap piece of cardboard or something first to get used to the flow. I didn’t do this, and my first attempt was directly on the main cardboard sheet, I made a mess to start with. Also, the flow rate is very similar to using decorative cake icing that you get in one of those small tubes. Once mastered you’ll get the hang of how much paint to use.
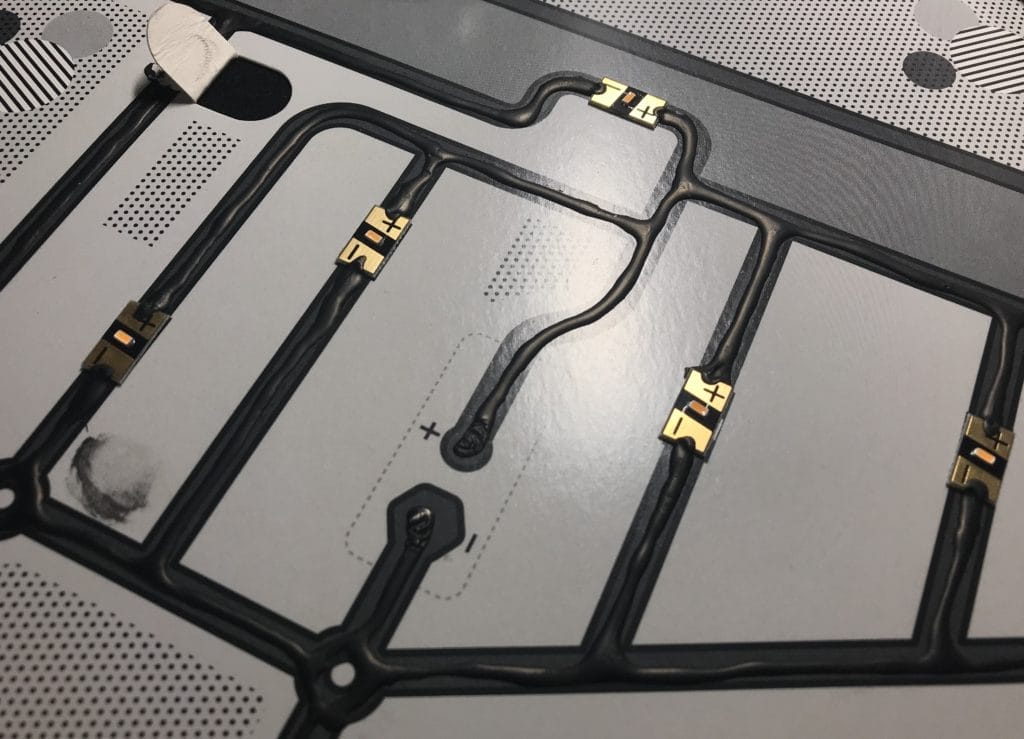
A little amount goes a long way.
You firstly need to align the LED chips on the cardboard sheet making sure to observe correct polarity. Use the paint to secure them in place. You need to go slightly over onto the LED contact to make a circuit.
Now repeat for all the other LED chips, you’ll notice a section missing on the circuit, this is done deliberately, you need to blob a small amount on the tab, this teaches you open/closed circuits. The instruction manual printed on the box says the paint needs around 20 minutes to fully and become conductive, but I found I needed around 2 hours!
This extra drying time might’ve been my fault as I think I used a bit too much. The kit was OK to build but I think a novice might struggle to understand what is needed, possibly the addition to some step-by-step illustration on what to do would be great, especially showing how much paint to use!

The pop-up card objects were easy to build, and I didn’t mess those up.
Improvements.
There’re are few much needed improvements to the Bare Conductive Electric Paint Circuit Kit. The first being a more clear and possible illustrated step-by-step instruction. I feel a complete novice in the world of electronics might struggle to understand what task is required. For example, the instruction tells you make a raised blob of paint on the LED surface contacts but fails to inform you to complete a painted line around the whole cardboard sheet following the road markings. This might sound silly, but I bet there’ll be people who will paint a blob on the surface of each LED and fail to light them up as they’ve failed to complete a circuit.
Another improvement if it’s at all possible is the way a 9V battery is installed whilst you’re using the kit, I found my battery kept toppling over due to the uneven surface I’d created, even using the cardboard objects failed to keep the battery in an upright position without needing my support.
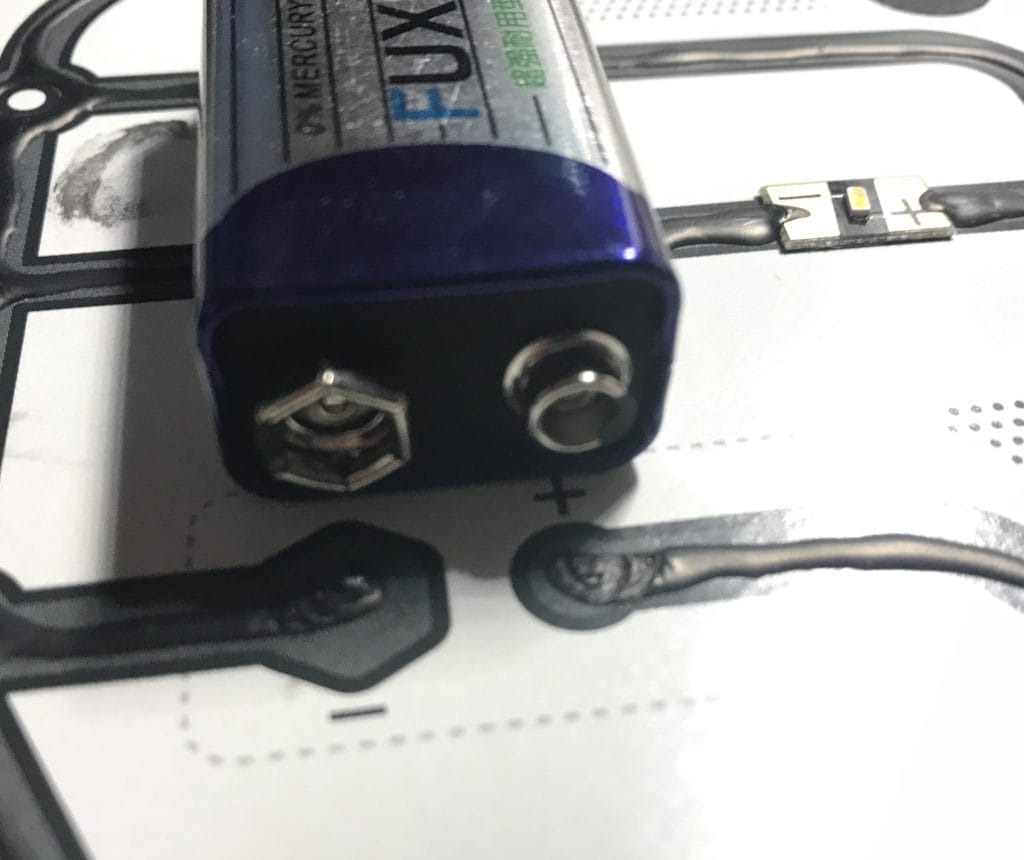
Maybe Bare Conductive could supply a version 2 with battery surface mount contacts already on the board, this would produce some stability for the 9V battery.
Other than that, the kit is very good. My 9-year-old daughter was pleasantly surprised and thought the kit was a ‘magic trick’. It’s also very good value for money too. You’ll also find you have enough paint left over to play about and create your own designs. The Bare Conductive paint has only been tested to a maximum rating of 12V/50mA and higher voltages are not recommended.
Technical Specifications.
- Brand: Bare Conductive
- Model: Electric Paint Circuit Kit
- Model Code: 3009
- EAN: 5060322451510
- ASIN: B07LBR9Y2L
- Ages: 14+ Years
- Power Source: 9V Battery (Not Included)
- Compliance: CE, FCC, RoHS
Conclusion.
I really like this Bare Conductive Electric Paint Circuit Kit. It’s very simple to create a working electrical circuit. This kit is also very educational too, which is great. It’s amazing to watch your creation come to life using nothing but conductive paint, no wires or anything like that.
Obviously, there’s a couple of improvements which I’ve mentioned above. Other than that, it’s a great product and for the price it’s great.
If you want the Bare Conductive Electric Paint Circuit Kit for yourself, it’s available for purchase only on Amazon and on the Bare Conductive website. The RRP for this product is £18.37.
Product sample provided by Bare Conductive in exchange for a detailed, unbiased review.
Thank you for taking the time to read my post. If you’d like to add a comment or thought on this post, please use the section below. I can also be contacted via the online contact form. Please subscribe for the latest reviews, news, and discounts. Please follow My Helpful Hints on Twitter, Instagram & Facebook too!
