
VANiGO A3
£159.99
Pros
- Great Vacuum Cleaner
- Easy to Use
- Easy Maintenance
- Great Looking
- Vaccum and Mopping in One
Cons
- Limited Programmes
- No APP Control
- Only 1 Mopping Cloth
The VANiGO A3 Smart Robot Vacuum Cleaner is an automatic vacuum cleaner and moping system that can assist you in keeping your home neat and tidy.
This intelligent vacuum cleaner creates a virtual house mapping system at a rate of 2000 times per second and can vacuum 99.9% coverage in a defined area.
You can use the VANiGO A3 on carpet, tiles, wood flooring (Including Laminate) and the twin brush and motorised brush bar will pick up pet hair, dust, and small crumbs/debris.
Another great feature is the mopping function, simply attach the clever water tank and the VANiGO will perform your mopping tasks too.
But is this vacuum any good? How will it perform? Time to test it out!
Packaging.
The VANiGO A3 comes packaged very neatly in a plain looking cardboard box which features the VANiGO logo on the front. The box measures 56.5cm x 37.5cm 13.0cm and weighs 4405G.

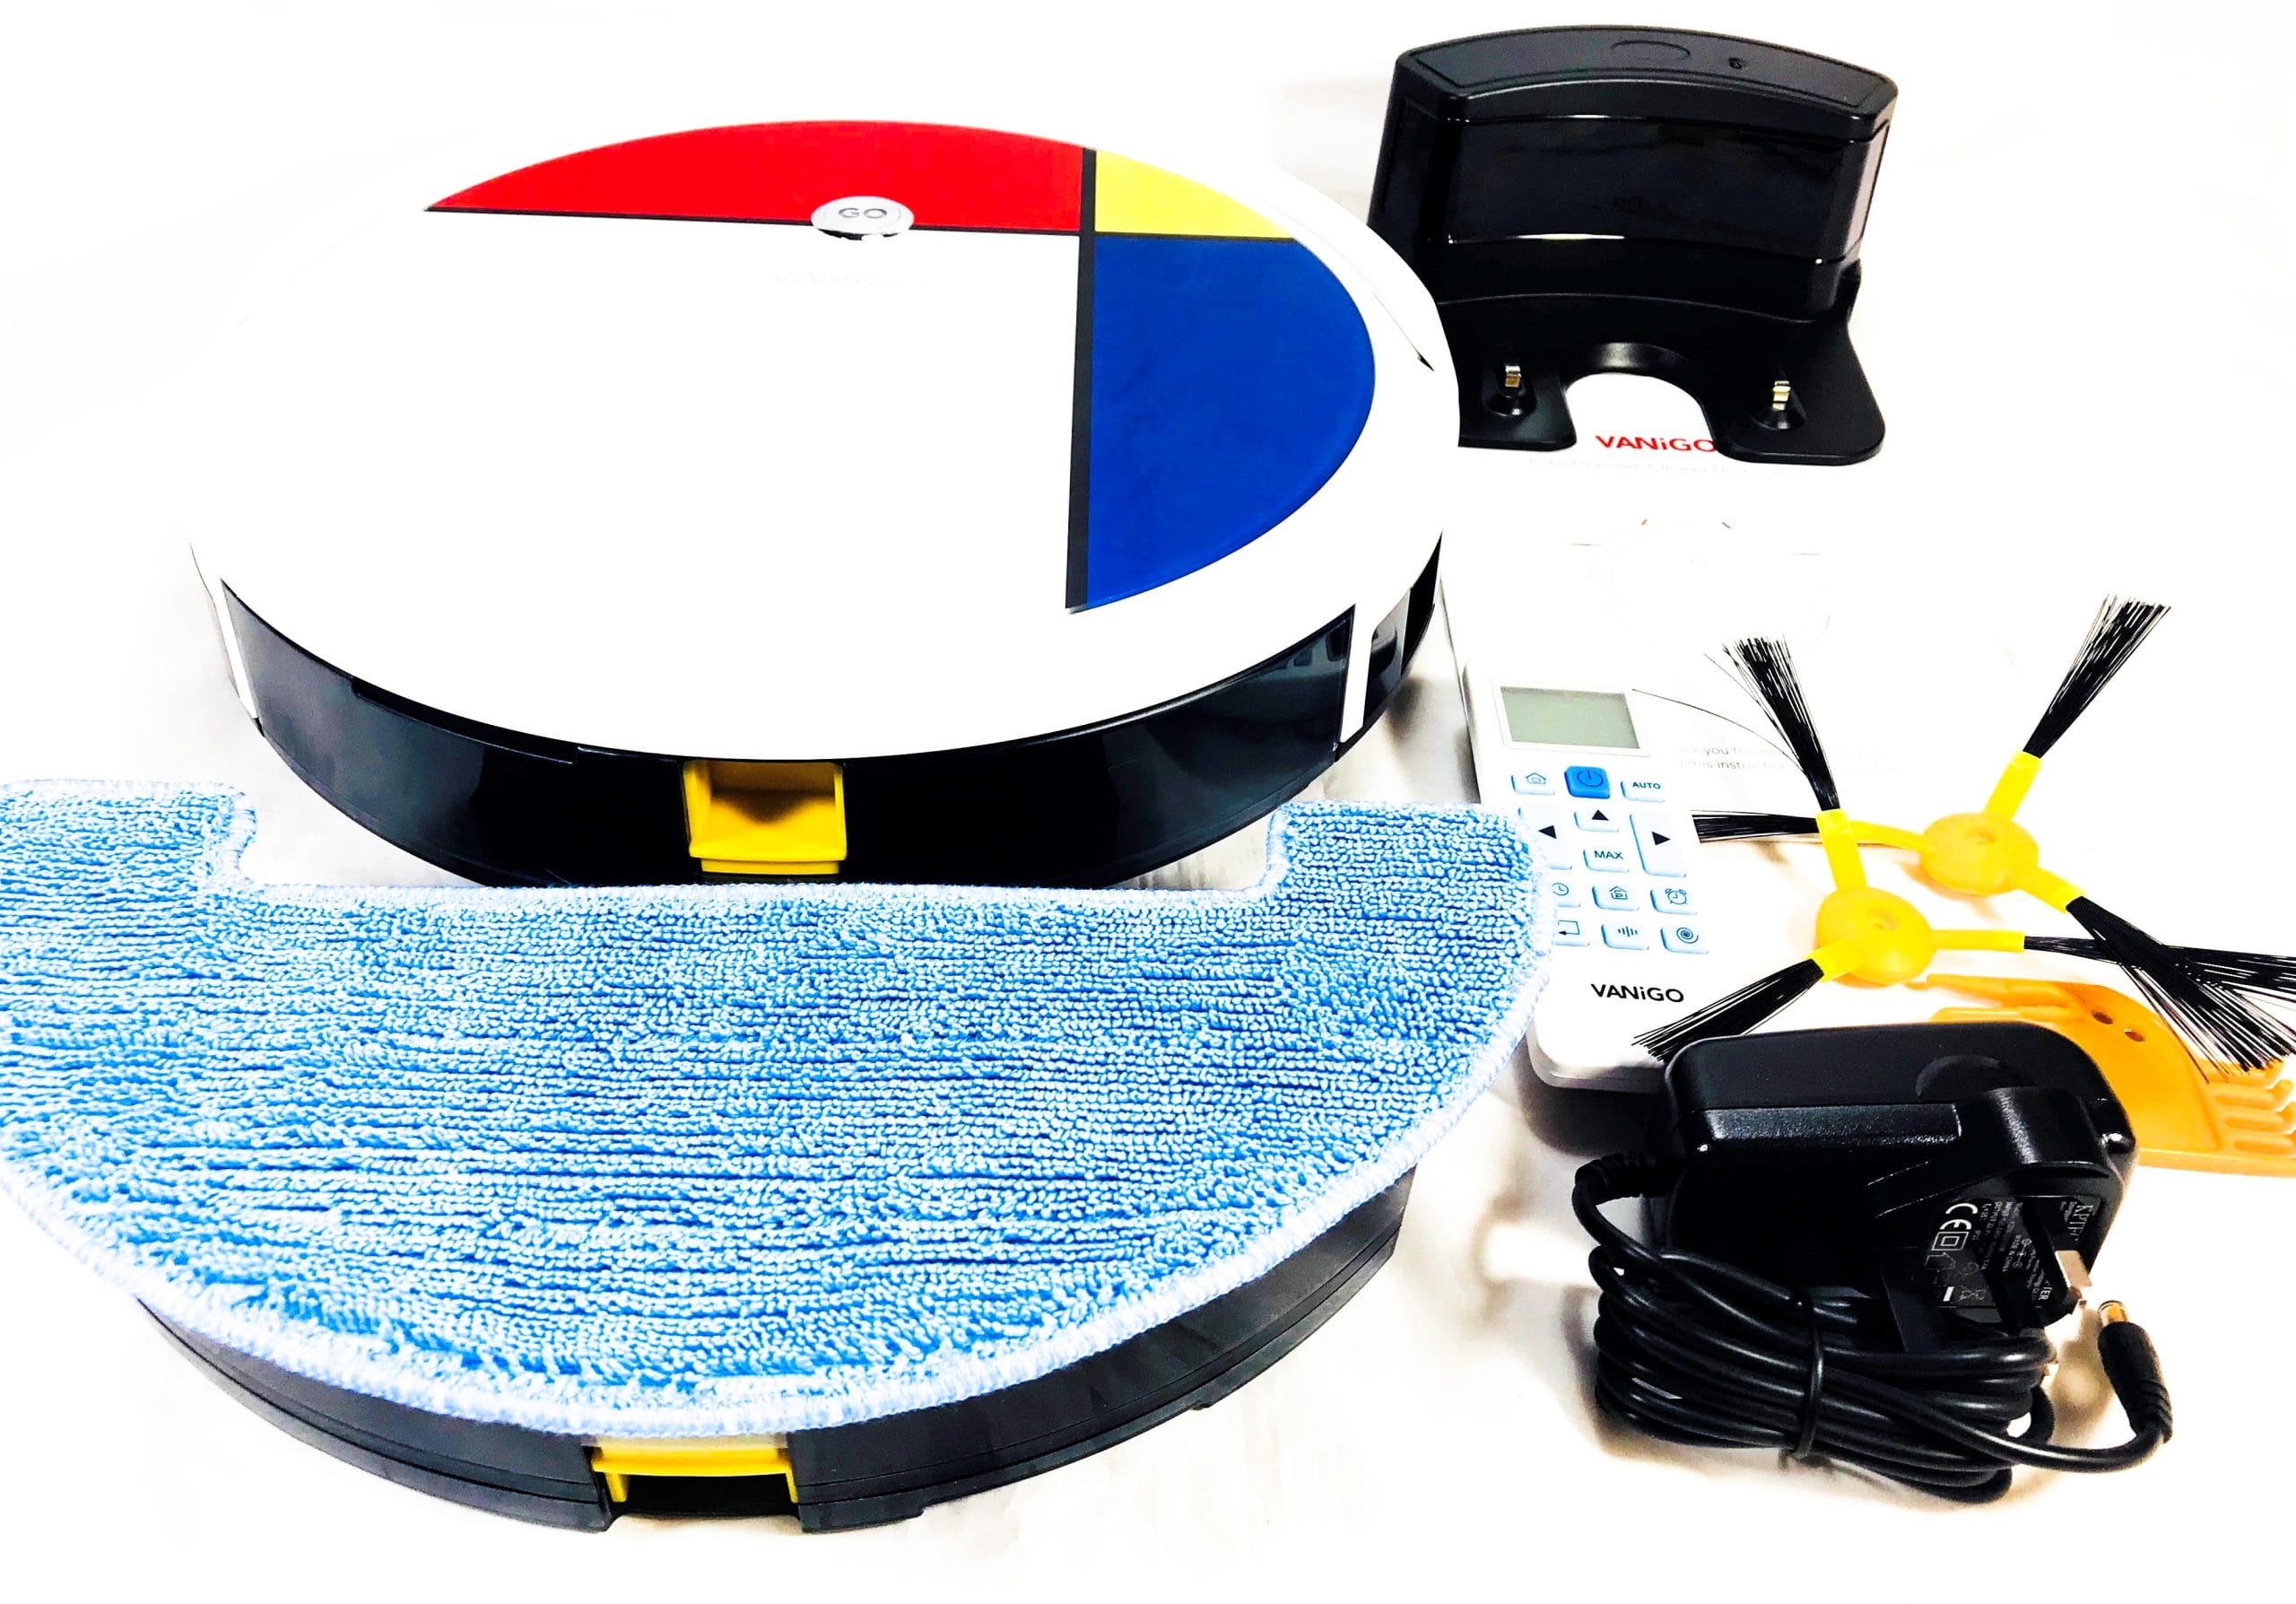
Contents.
Upon opening the VANiGO A3 box you’ll find the following items: 1x Vacuum Cleaner, 1x Dustbin Attachment, 1x Mop Attachment, 1x Microfibre Mopping Cloth, 1x Remote Control, 1x Docking Station, 1x AC Power Plug/Lead, 2x Additional Cleaning Brushes, 1x Maintenance Cleaning Brush, 1x English User Guide.
VANiGO A3.
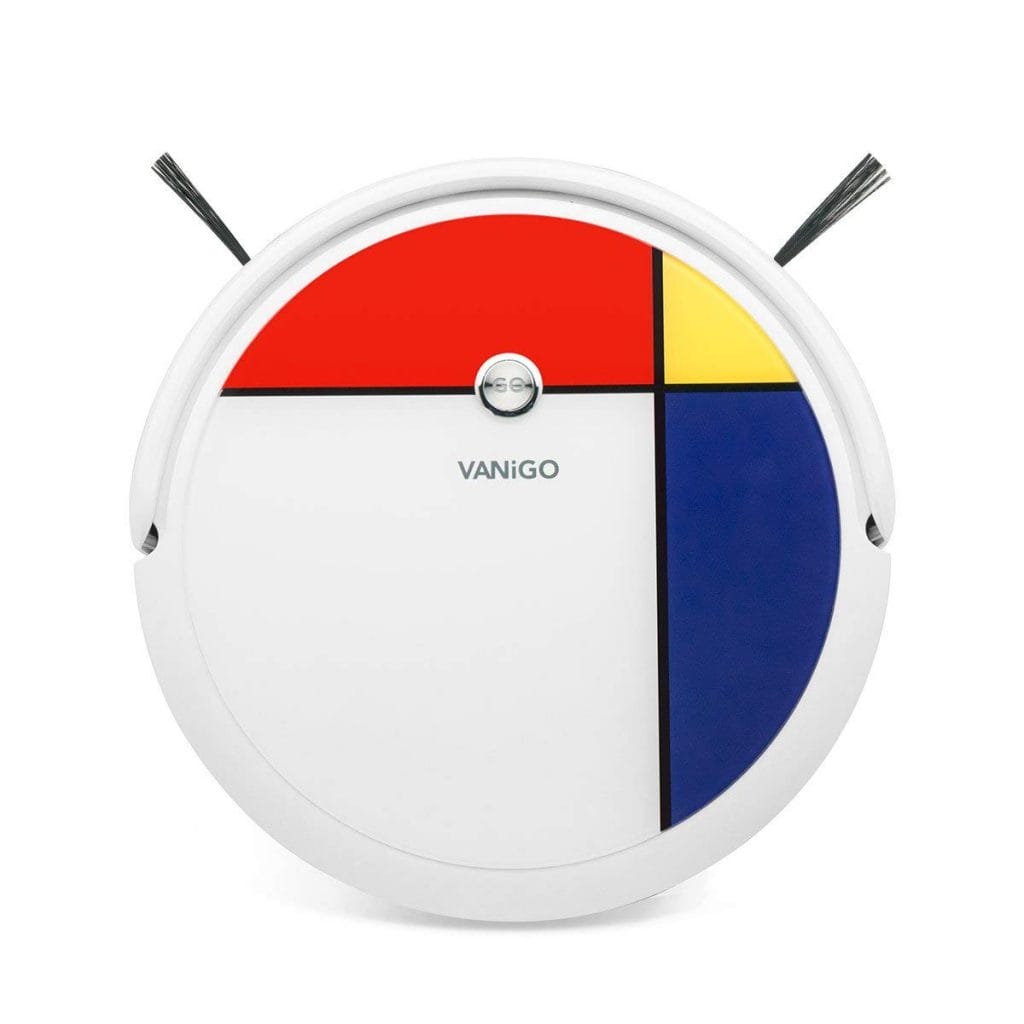
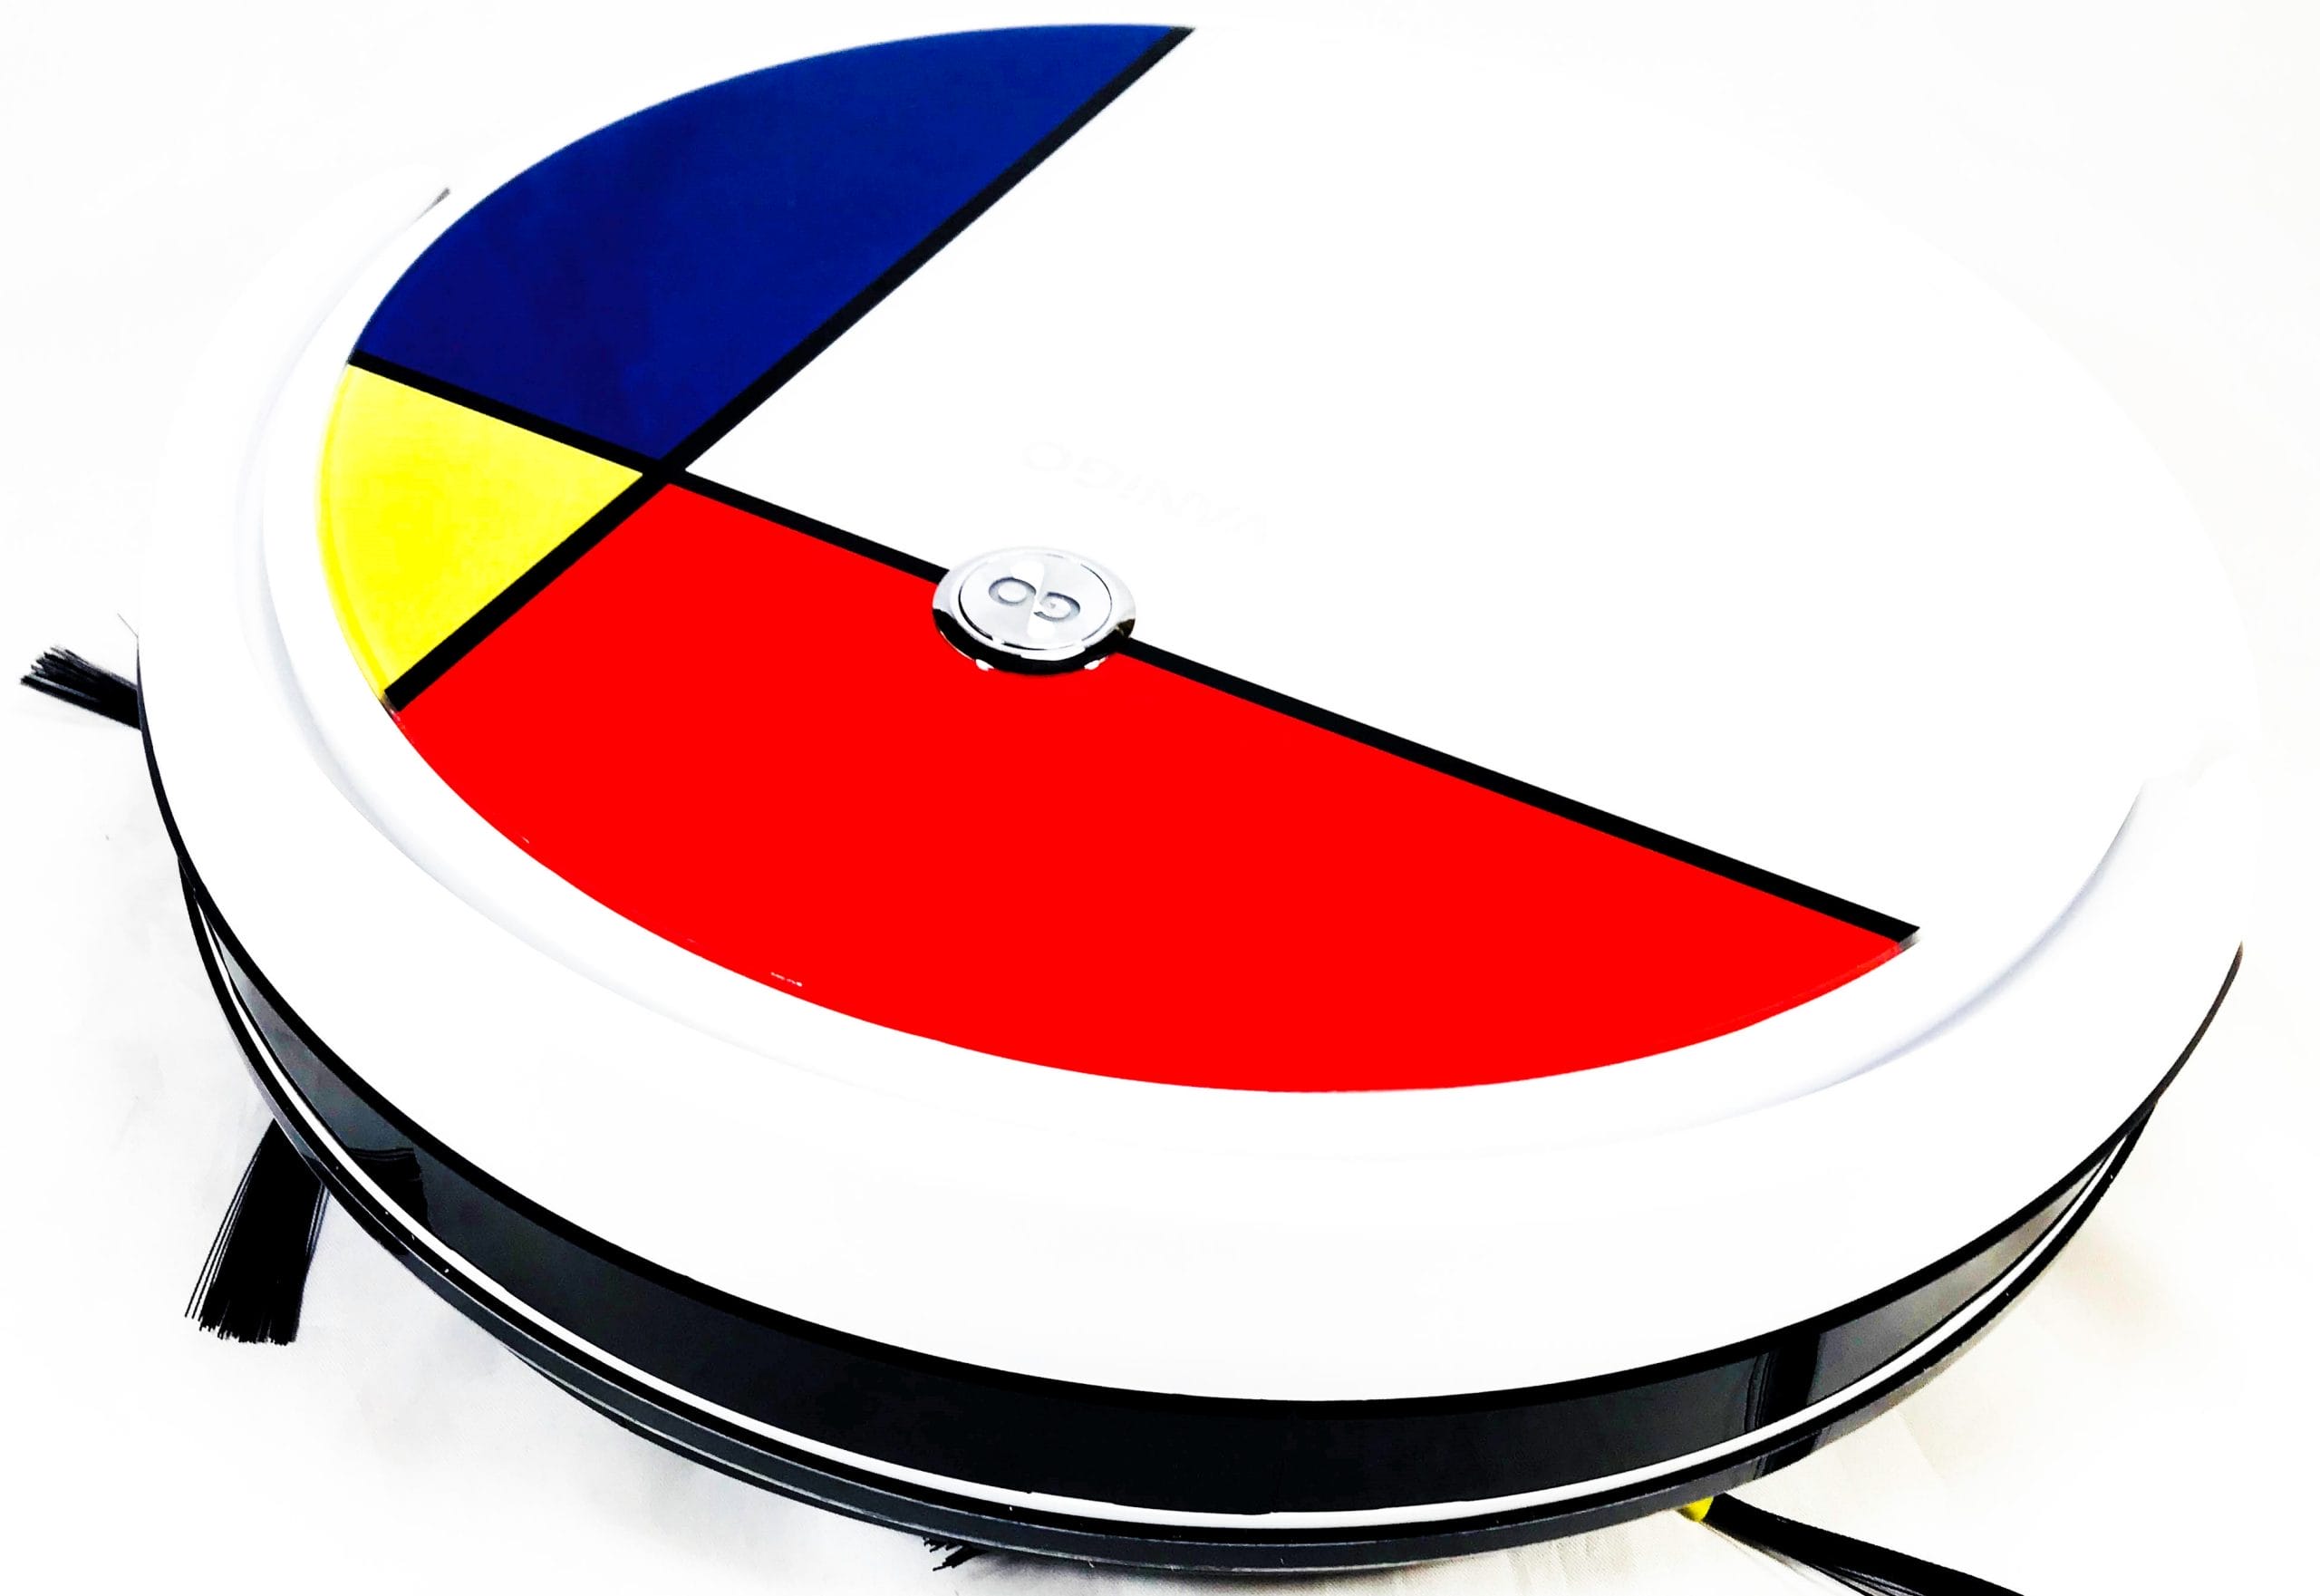
The VANiGO A3 is mostly White in colour with a tri-colour design of Red, Yellow, and Blue. The vacuum cleaner itself measures 31.0cm in diameter and has a height of 7.0cm (When placed down onto a floor), the VANiGO also weighs (With dustbin attachment attached) 2430G. Tempered Glass is used on the top area, this provides the necessary weight to help your vacuum function correctly.
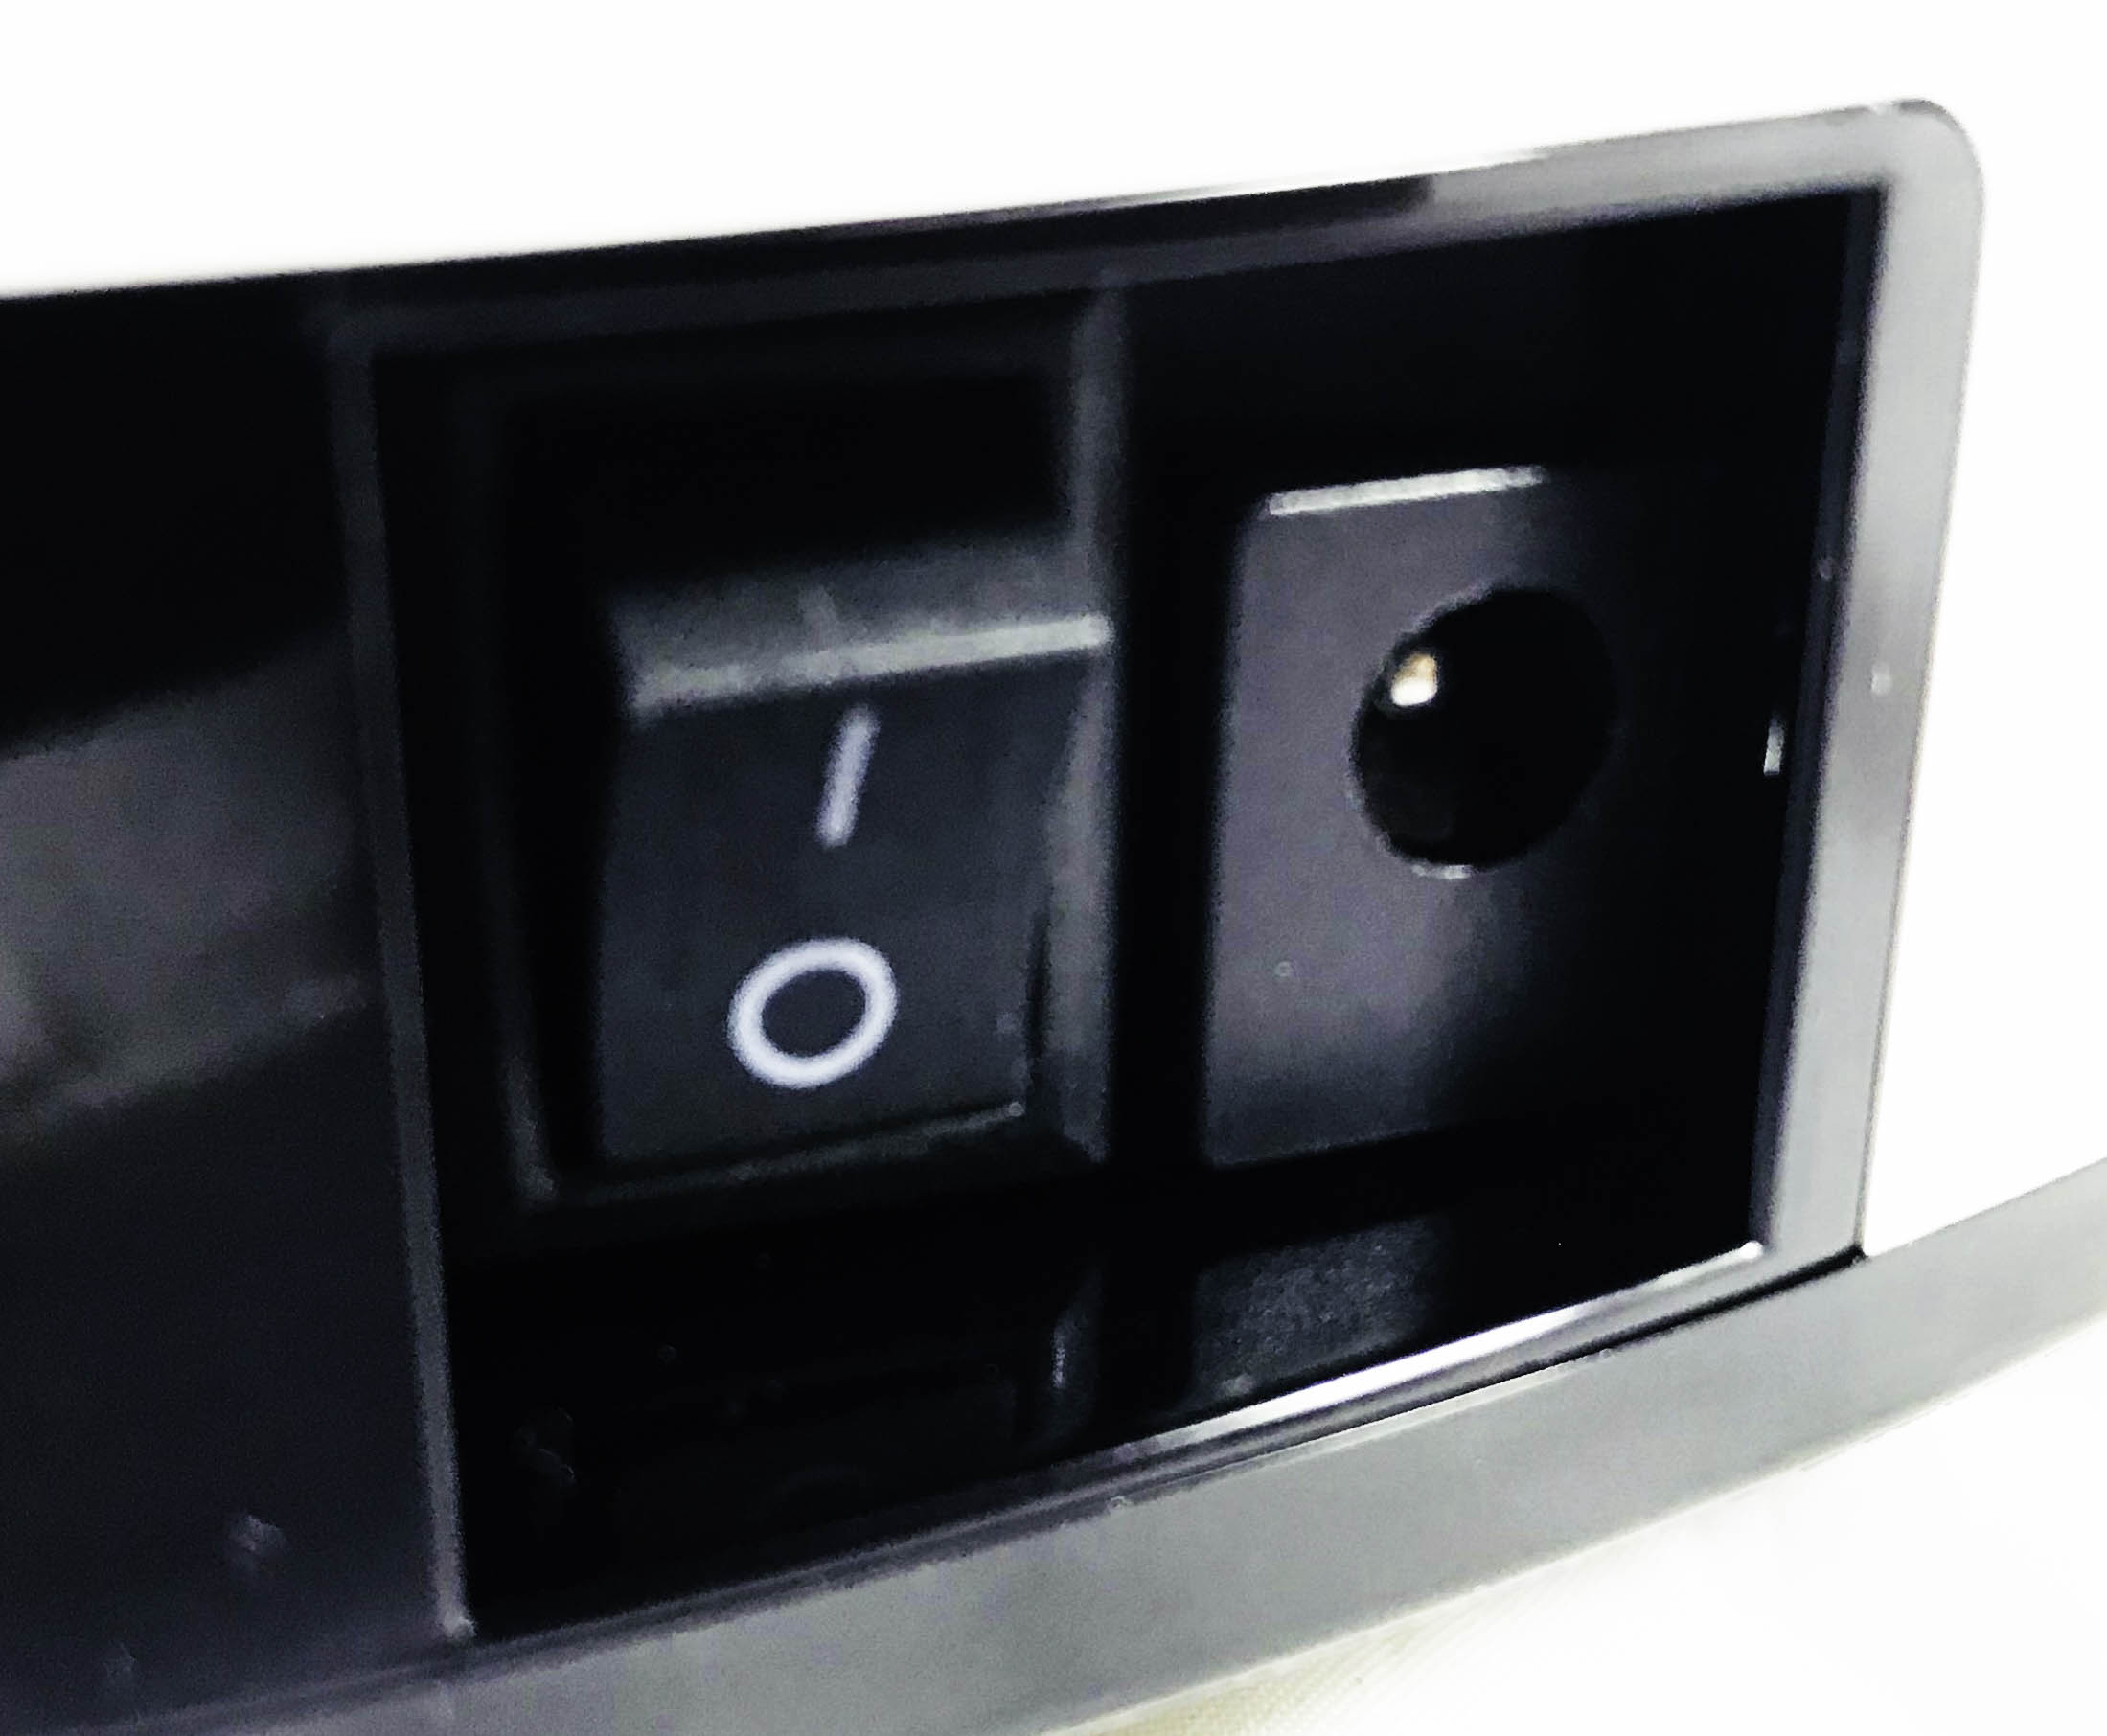
On one side you’ll see a main power on/off rocker switch and a direct charge input port. This port is needed if you wish to charge the vacuum cleaner without using the charging dock.
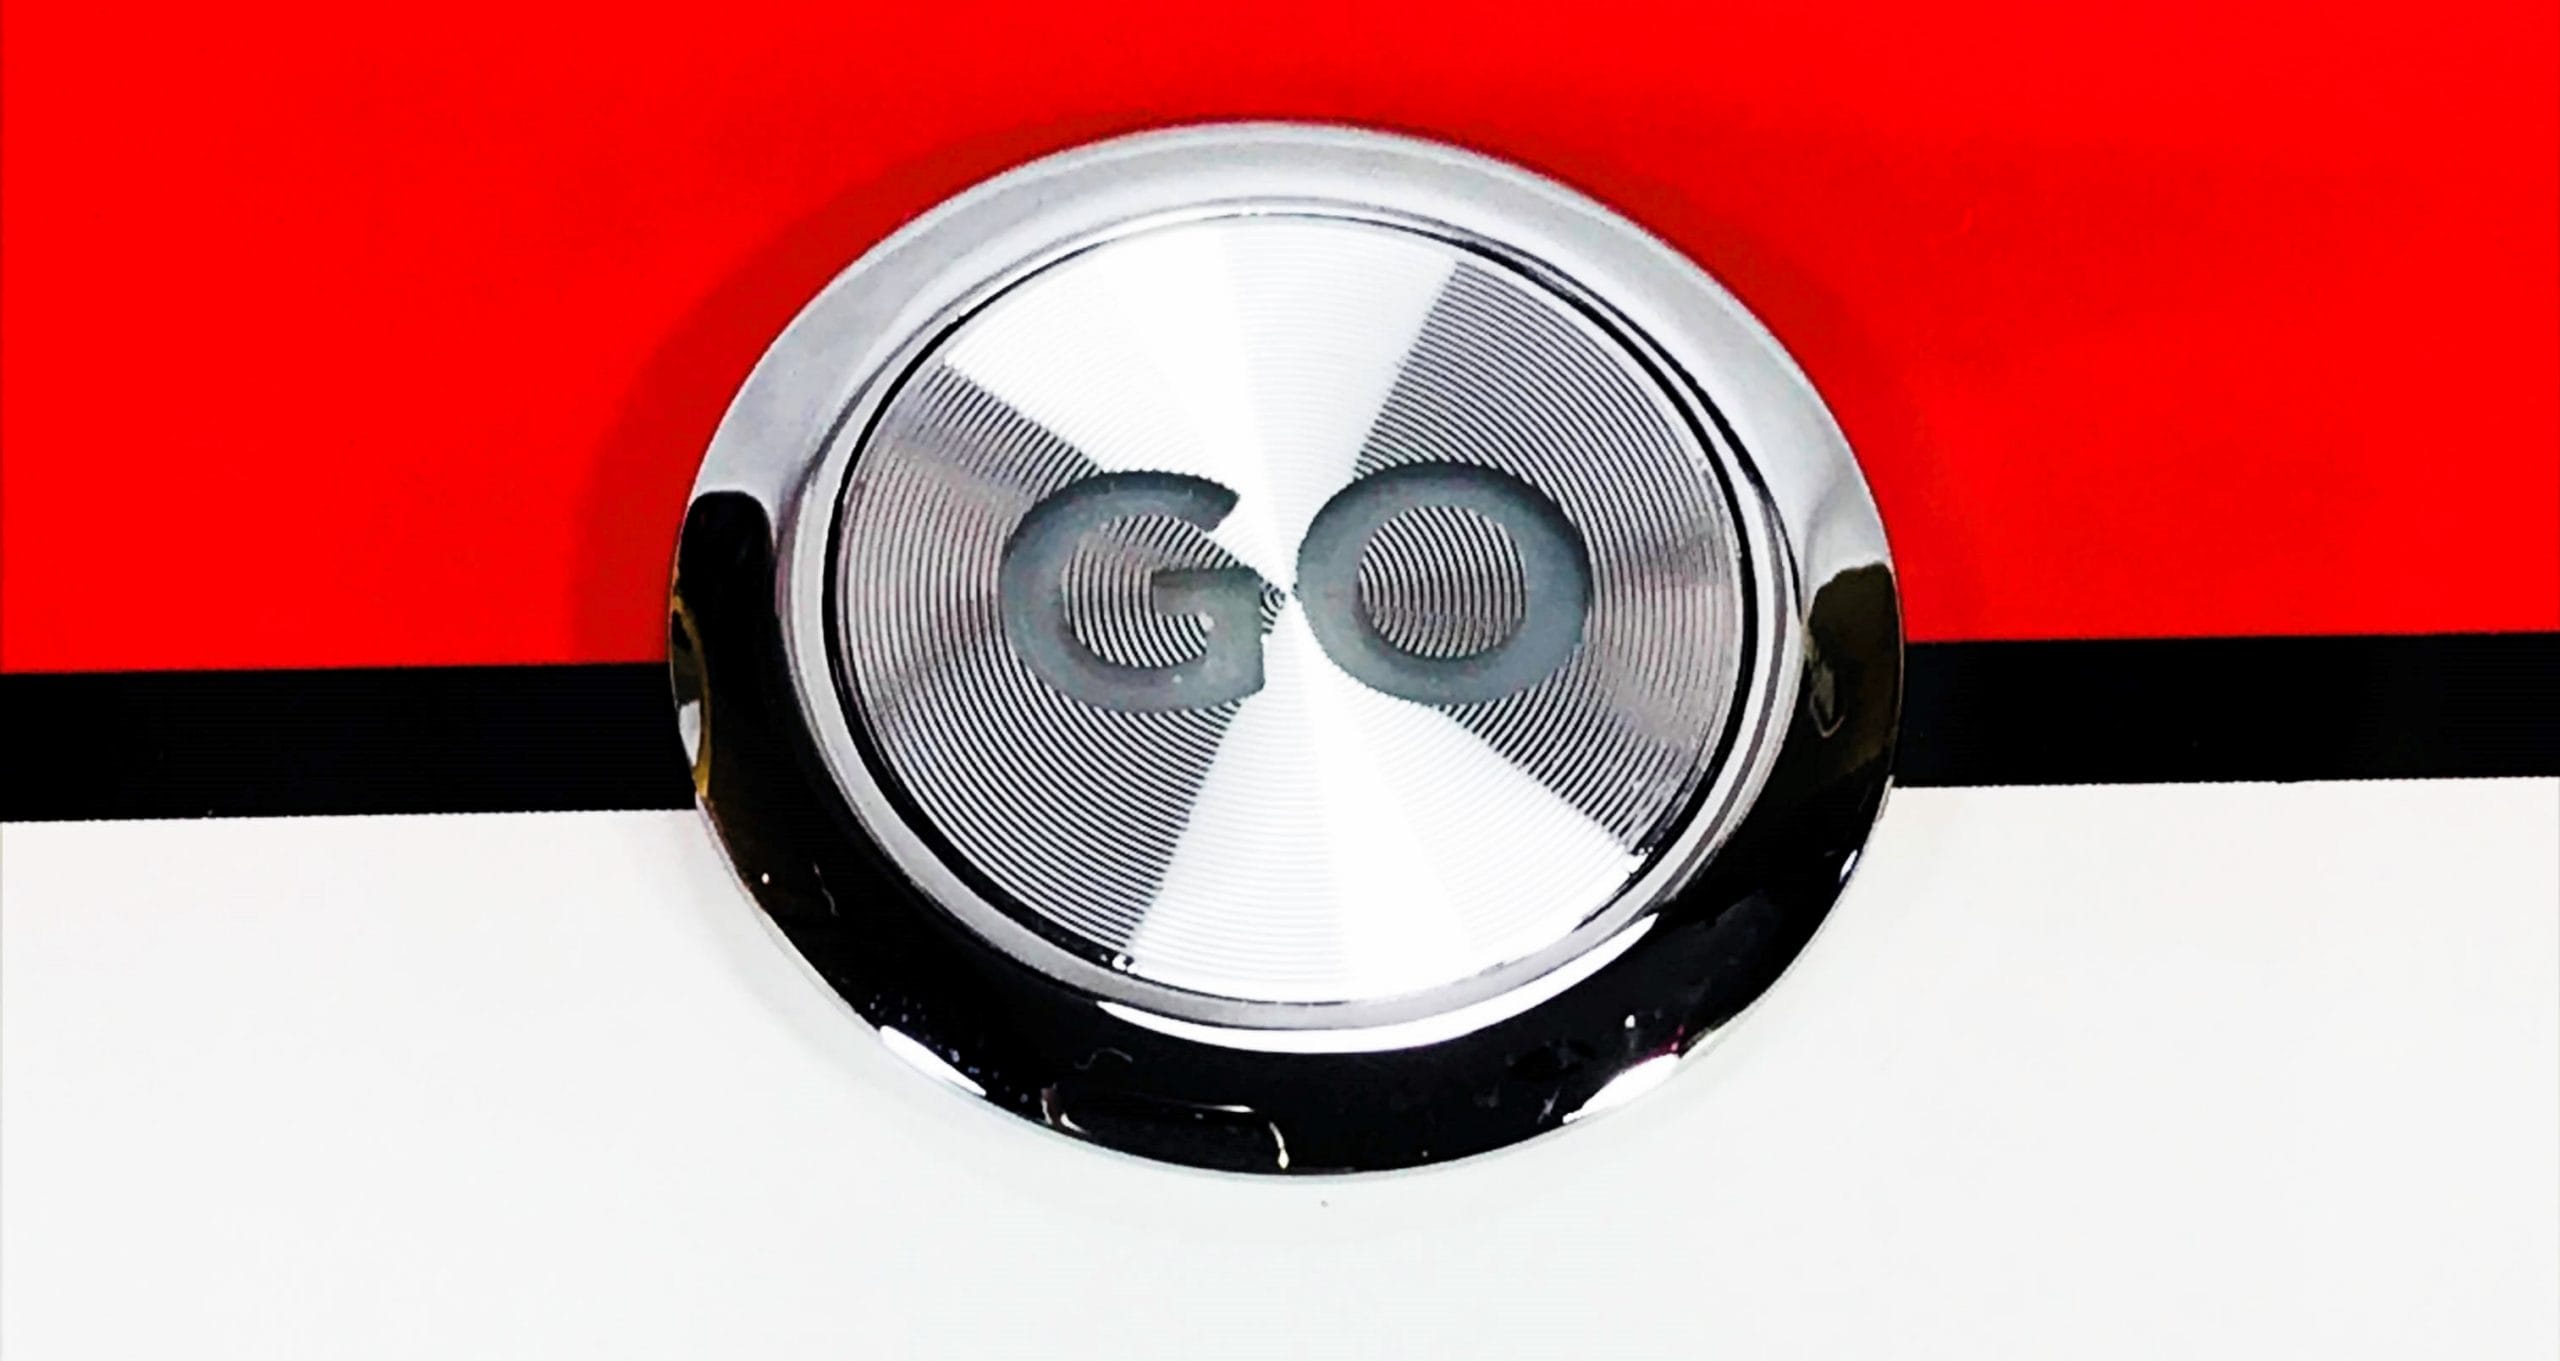
On the top you’ll see a metal “GO” button, you can power on the VANiGO A3 via this button. This is also a LED indicator too to alert you to different status and cleaning modes.
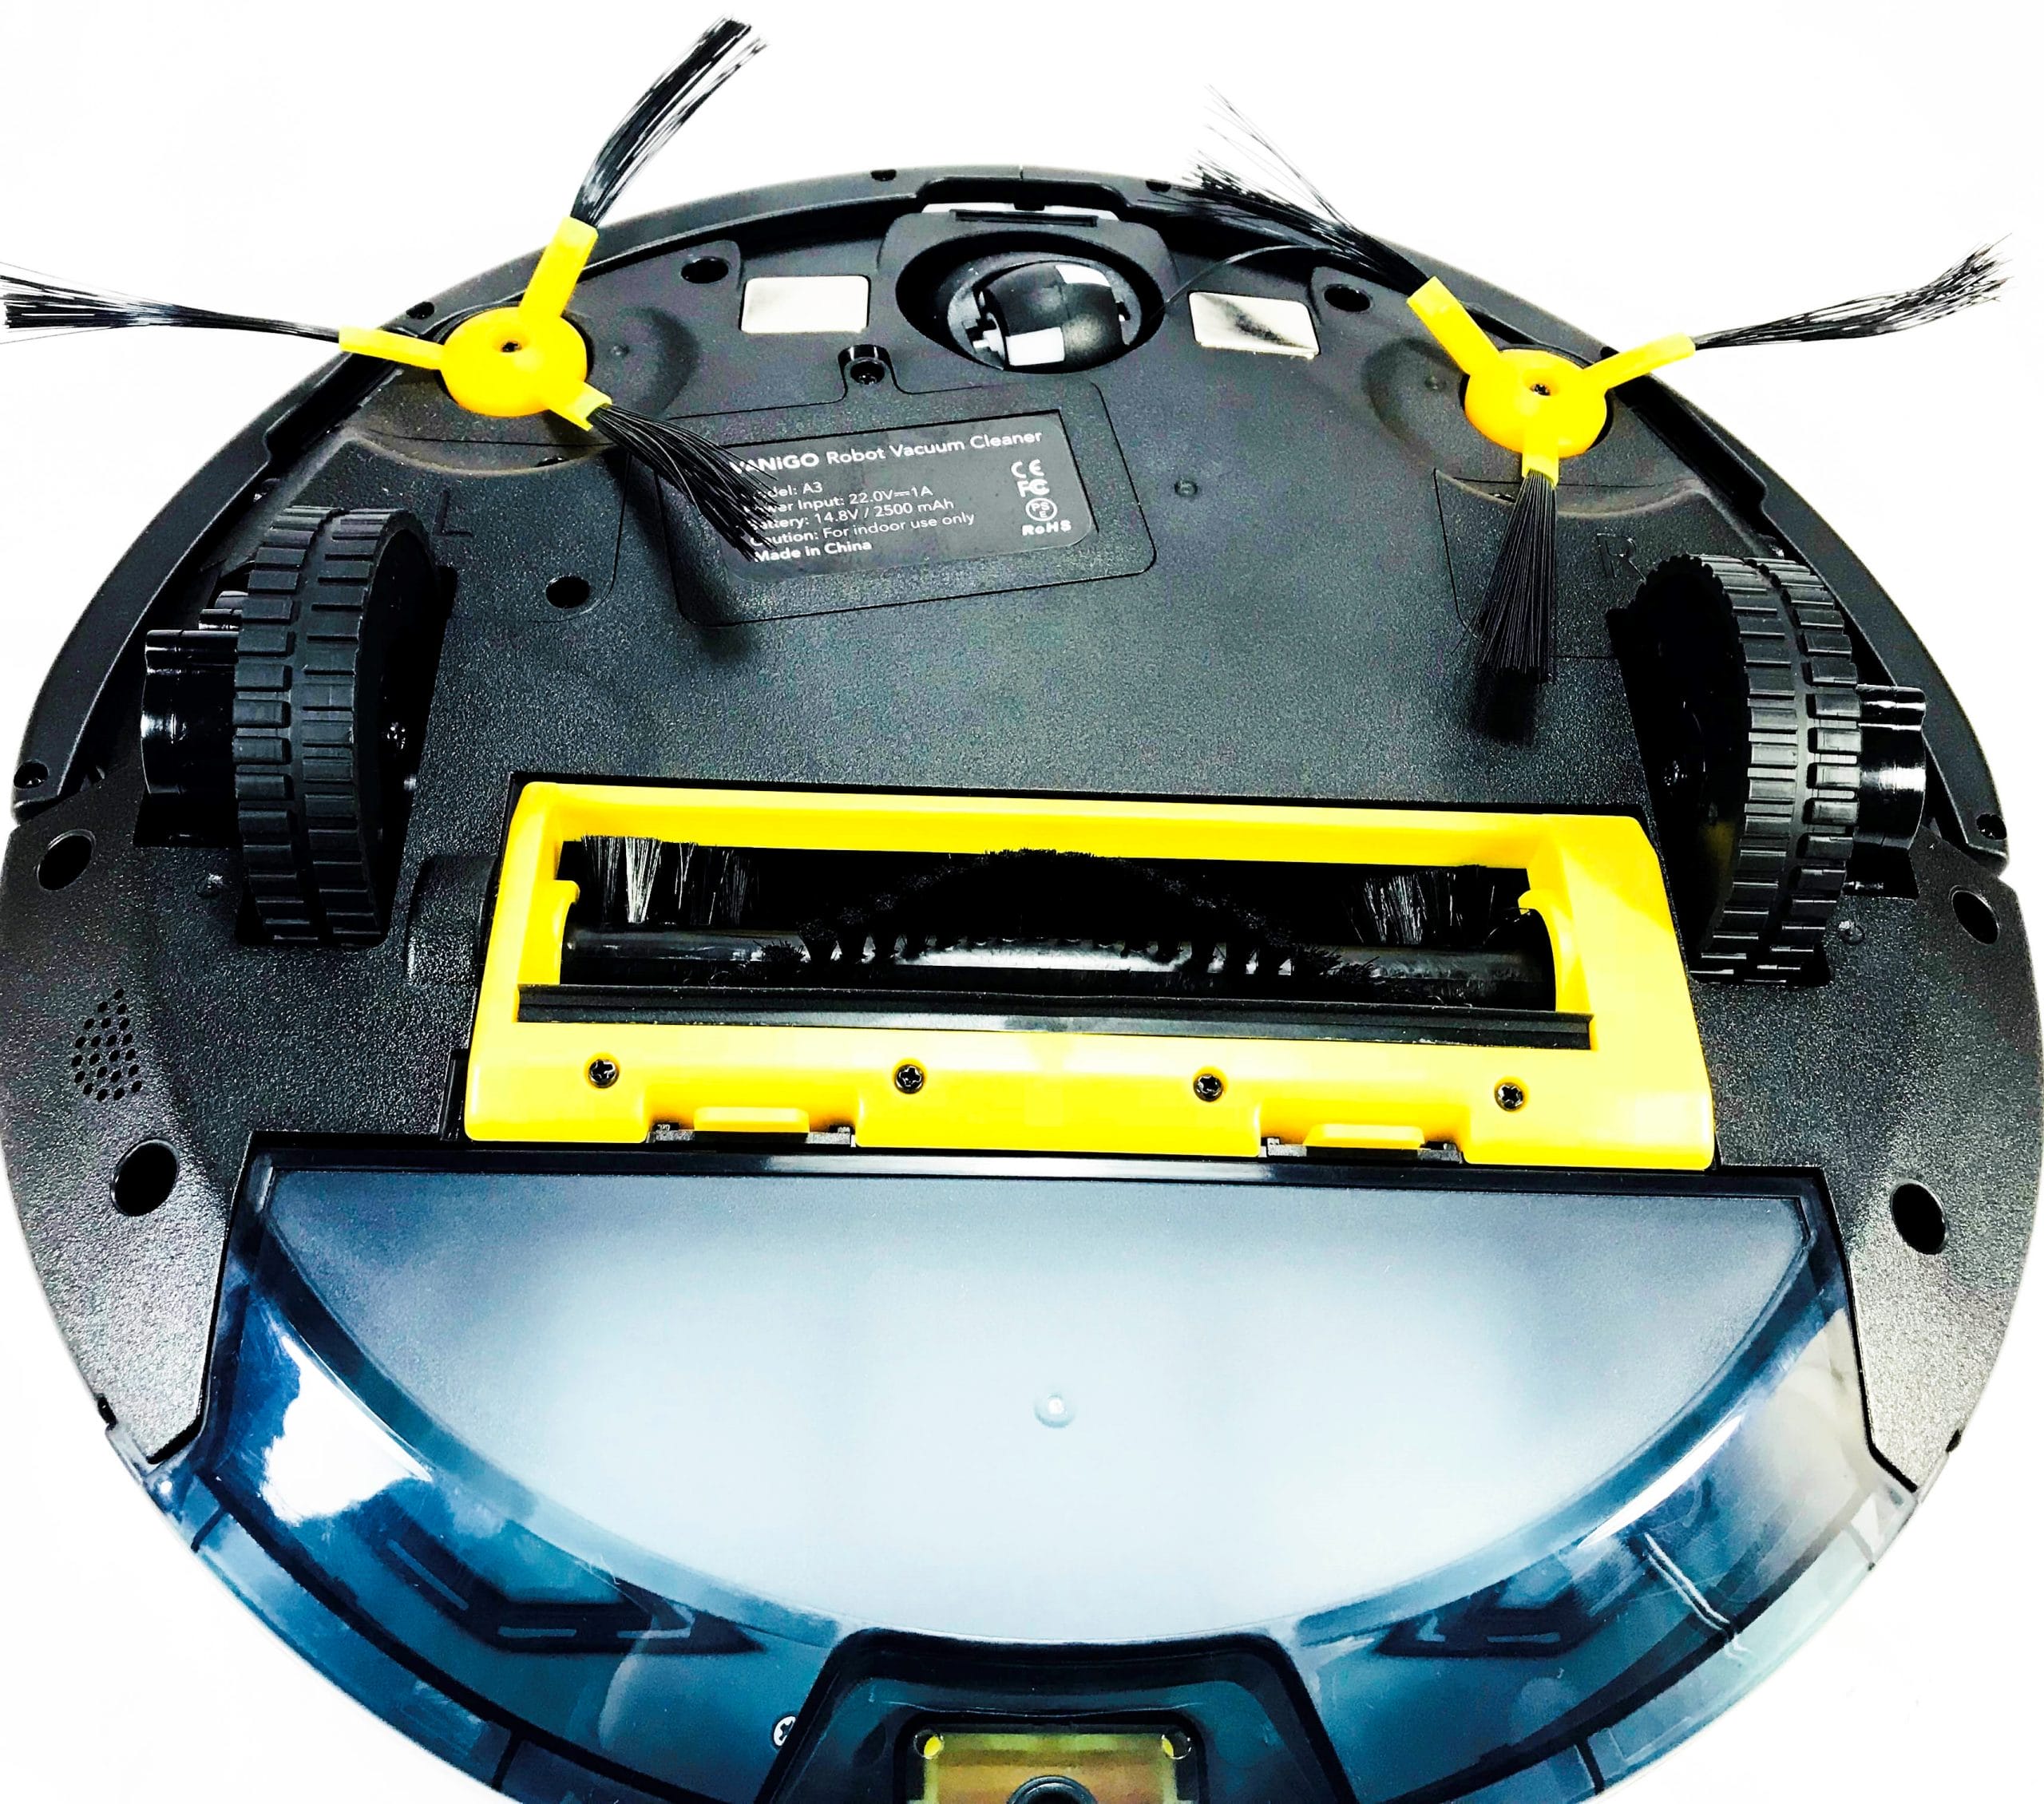
On the underside there’re two rotating cleaning brushes, one motorised brush bar, two independently controlled wheels and sensors.
Charging the VANiGO A3.
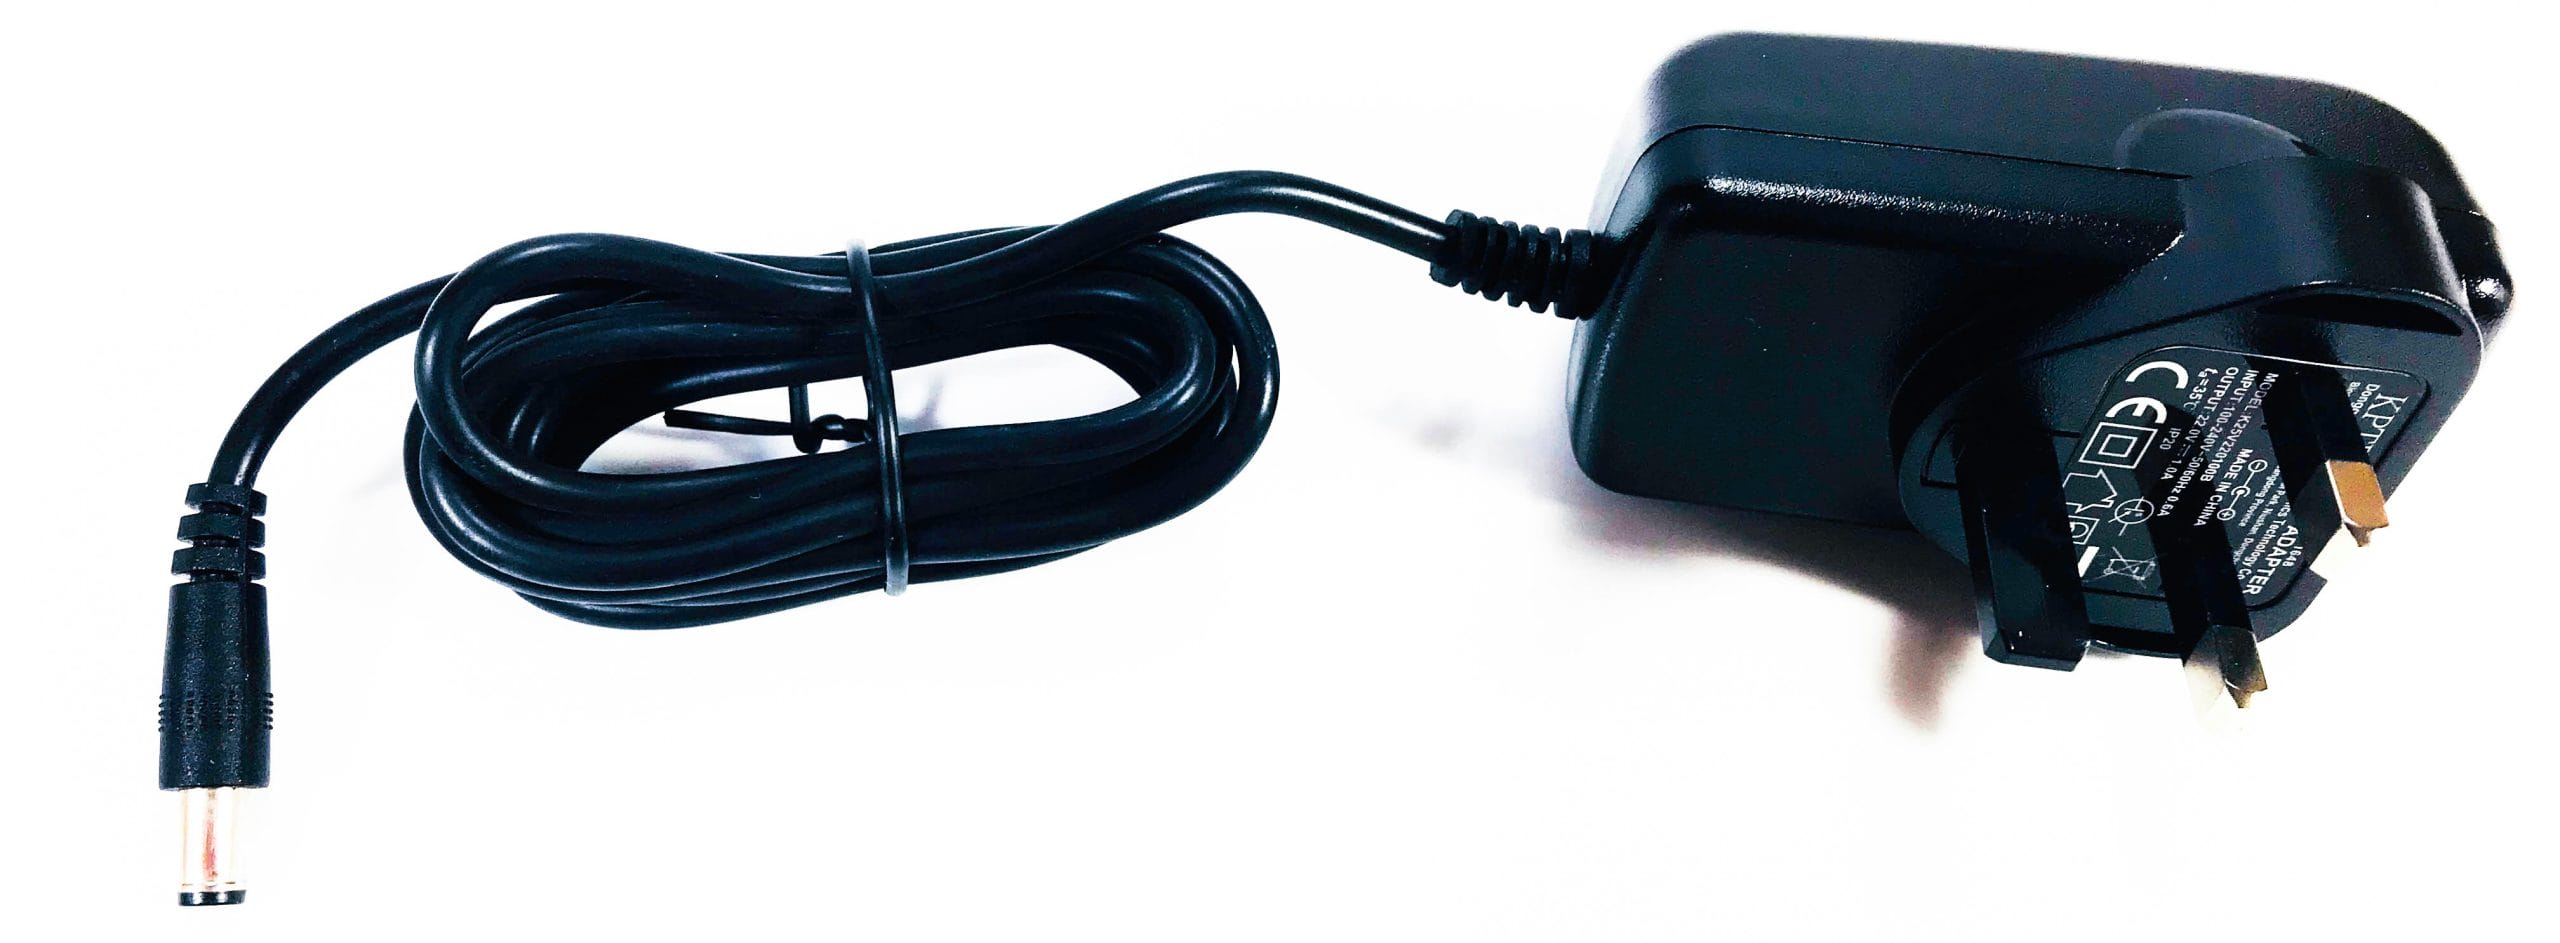
There are two charging methods to recharge the in-built battery. You can directly plug in the AC power lead into the charging port on the side of the A3 vacuum cleaner. But, by far the easiest option is to use the wireless charging dock.
The plug features a 3 pin UK approved AC Power adapter and you get a cable length of around 150.0cm.
The charging docking station features a two-pin charging system, the VANiGO A3 will automatically align itself and charge onto these two pins. Once set up correctly the vacuum cleaner will always manage to locate and re-charge by itself!
The docking station measures 16.5cm in width and has a height of 8.5cm. On the underside there’re 4 rubber feet for grip.
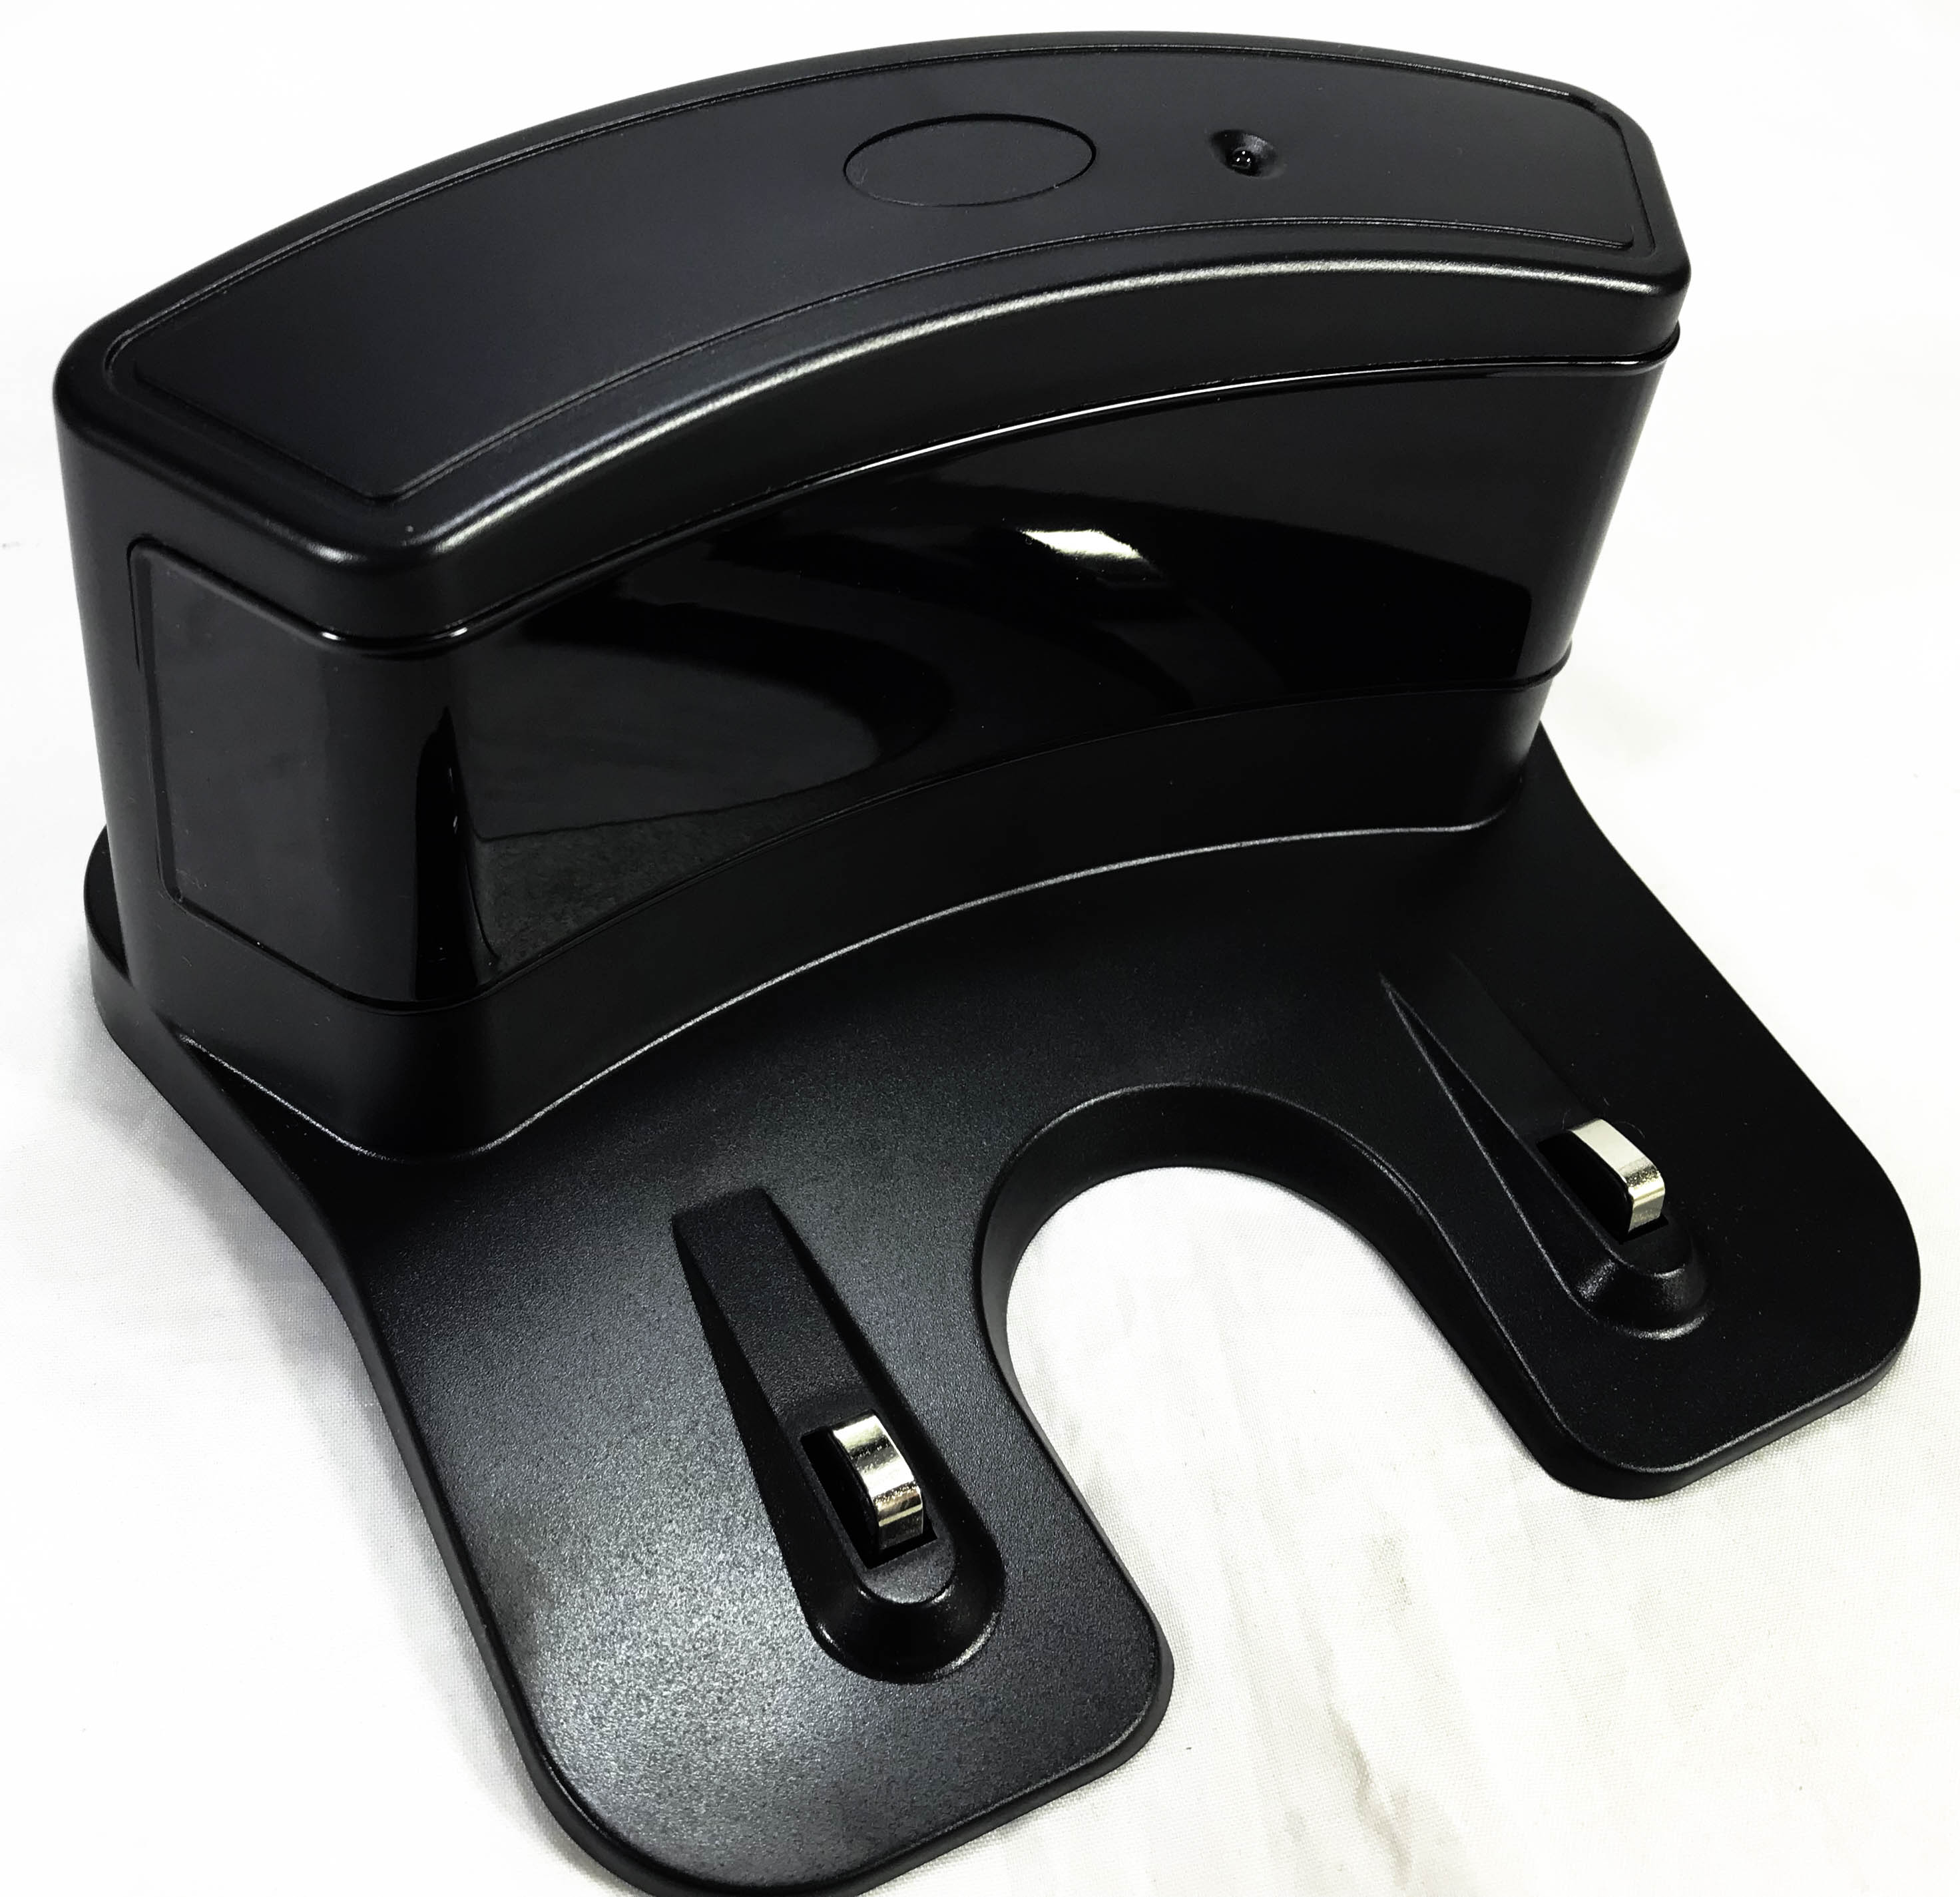
You need to insert the power plug into the port that is located on the right-hand side.

Charging Duration.
The VANiGO takes around 3-4 hours to charge for which the vacuum cleaner will last around 90-120 Minutes (Depending on function and setting).
When in use it will stop at around 20% battery capacity and move off to locate the charging dock without any human assistance required.
Upon docking an automated voice prompt alerts you to the fact your vacuum cleaner is charging. You also get a pulsing LED light on the top. A solid Green light appears to show a fully charged battery.
The battery is a small Li-ion 2500mAh battery. Its located on the underside area. The battery will be best for upto 700 charging/discharging cycles. After a 1000 cycle of charging/discharging has happened the battery capacity will drop compared to a battery of 700 charge/discharges or less but is still useable.
Using the Remote Control.
You get a remote control which can control many aspects of the VANiGO A3. The remote measures 12.5cm x 4.0cm x 2.0cm and will require 2x AAA batteries to function.
To set the time on the remote control you’ll need to press and hold the Clock icon for 3 seconds and press either the Left/Right buttons to set hours. You’ll need to press either the Up/MAX button to adjust the time and press the Clock icon again to confirm.
You can set a cleaning schedule by pressing the Clock icon using the same above method.
To be honest I found the setting a schedule very difficult and decided against it. I was hoping to be able to set an all-day schedule of an on time, auto-recharge and an off time throughout the day. But, this function is not possible, maybe it could be possible in a future VANiGO model.

If you press the Home icon on the remote your VANiGO A3 will trot off and dock itself onto the docking station and start to charge.
Cleaning Modes.
You’re able to set your vacuum to perform different vacuuming patterns too. Below are the actions you can perform.
Auto Cleaning Mode (Default Setting) – This is the most common mode, in this mode the robotic vacuum cleaner will clean in a Zig-Zag pattern and change direction upon discovering an obstacle.
Spot Cleaning Mode – The mode will alert your vacuum to a particular and dirty floor area; the robotic vacuum will clean in a small circumference spiral pattern.
ZigZag Mode – This mode will tell your robotic cleaner to perform in a Zig-Zag pattern within a 1M width.
Edge Cleaning Mode – This mode will tell the VANiGO to vacuum only the edges of your room, where dirt and dust collects the most.
I agree with the VANiGO manual that the AUTO setting is far most the best option. Simply press the AUTO button and the vacuum cleaner will spring into life and start to vacuum.
Using the VANiGO A3.
You can use the VANiGO A3 in two different cleaning modes, the first is the dust/vacuum mode and the other is the mopping mode.
Both require you to fit the required attachment correctly onto the VANiGO and with a simple press on the remote or on top of the vacuum itself it’s good to go.

On both modes the two rotating brushes work, So, if you choose to mop then these will also work as a way of sweeping any debris out of the way and allow the microfibre cloth to work.
Sensors.
The VANiGO A3 is fitted with 16 sets of sensors, these work well. In normal conditions the vacuum cleaner will ride up towards a wall and stop just before it hits the wall and turn around and goes to the other side of the room. If it meets a smaller surface area, like for example a table leg it can’t recognise it before it hits it. It will hit into things like tables legs but will automatically sense an obstruction and reorganise its path. It’s intelligent and although you need to ensure you pick up things like loose cables and doormats the VANiGO can be left to its own devices and clean a whole floor area.
The VANiGO create a real-time map of your home using an intelligent mapping system which can map at a rate of 2000 times per second. ESLAM Positioning System combined with IEC Gyro Navi, creates a panoramic map for 99.9% of your home.
It can be quite worrying though seeing your robotic chum hitting into smaller objects, but rest assured its fine and will continue without any issues. I do think a softer foam layer would be handy on the front to absorb some of the impact and dampen some of the collision noise.
The VANiGO was tried out on Lino, Laminate and Carpet without any issues whatsoever. I even tried it upstairs in my home and it stops just before falling of the top step. This I found out is due to a clever cliff-sensor that detects when the vacuum is about to fall down a step and will stop it from going over that edge.
Vacuum Mode.
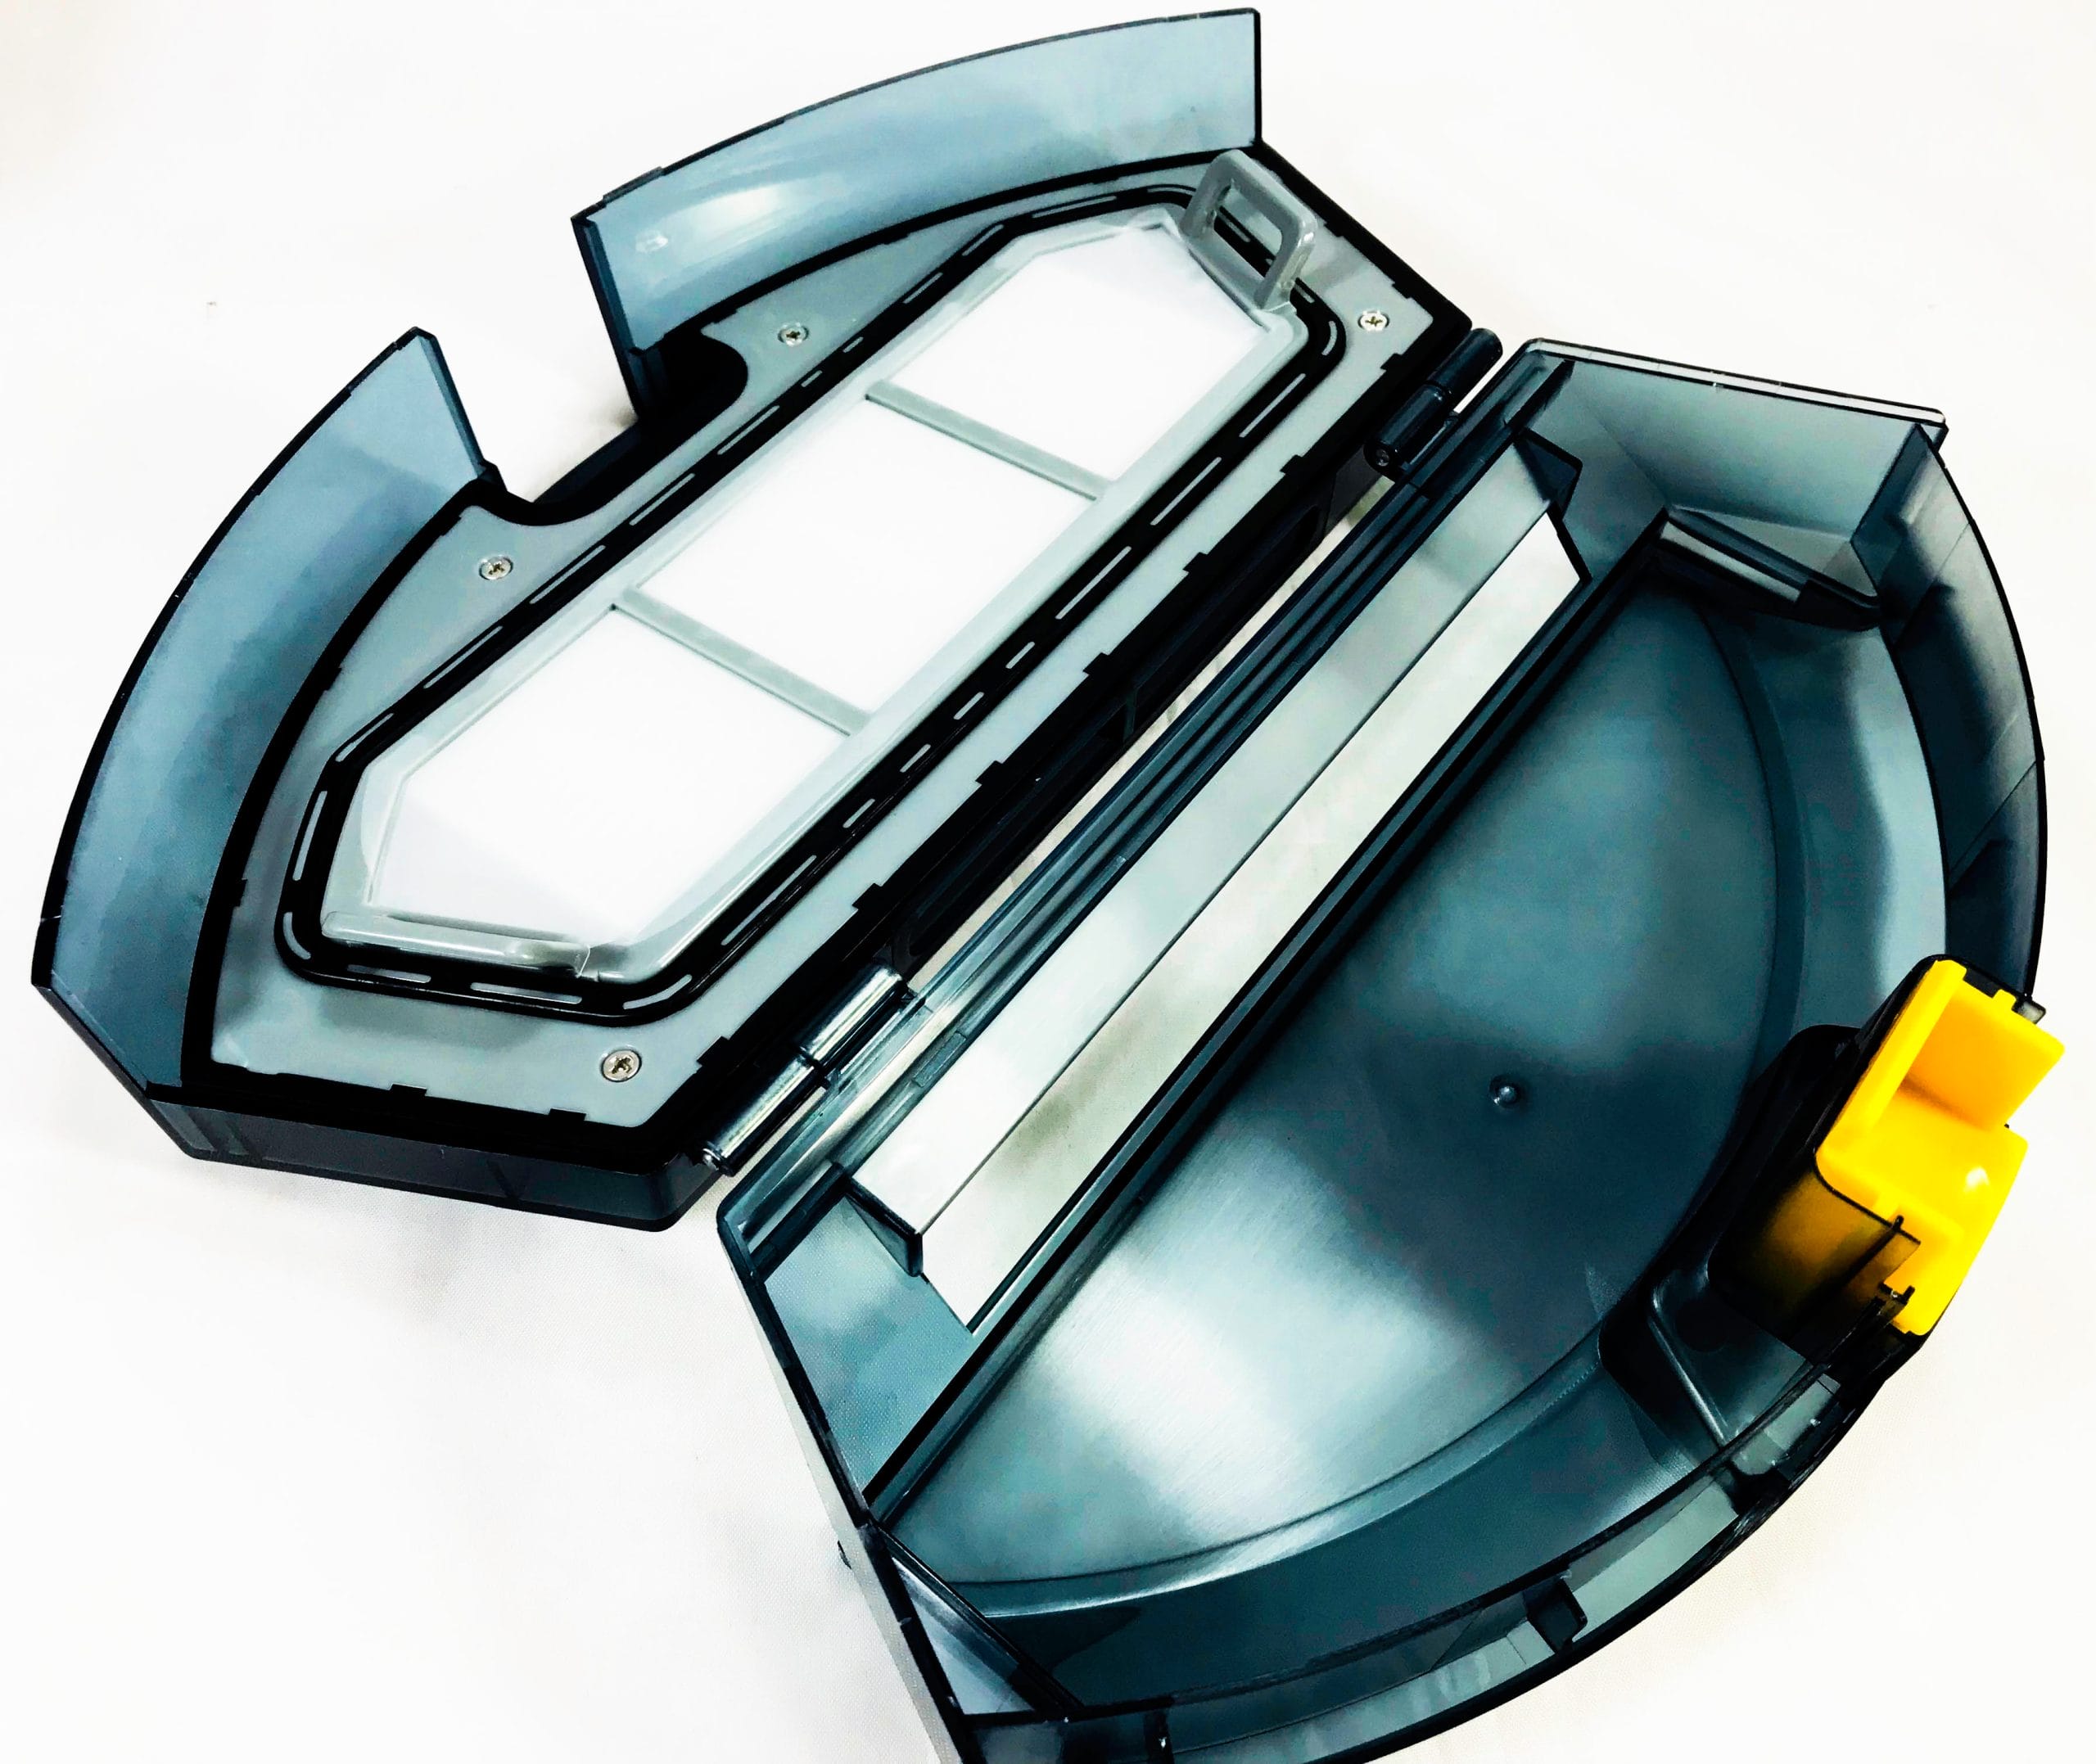
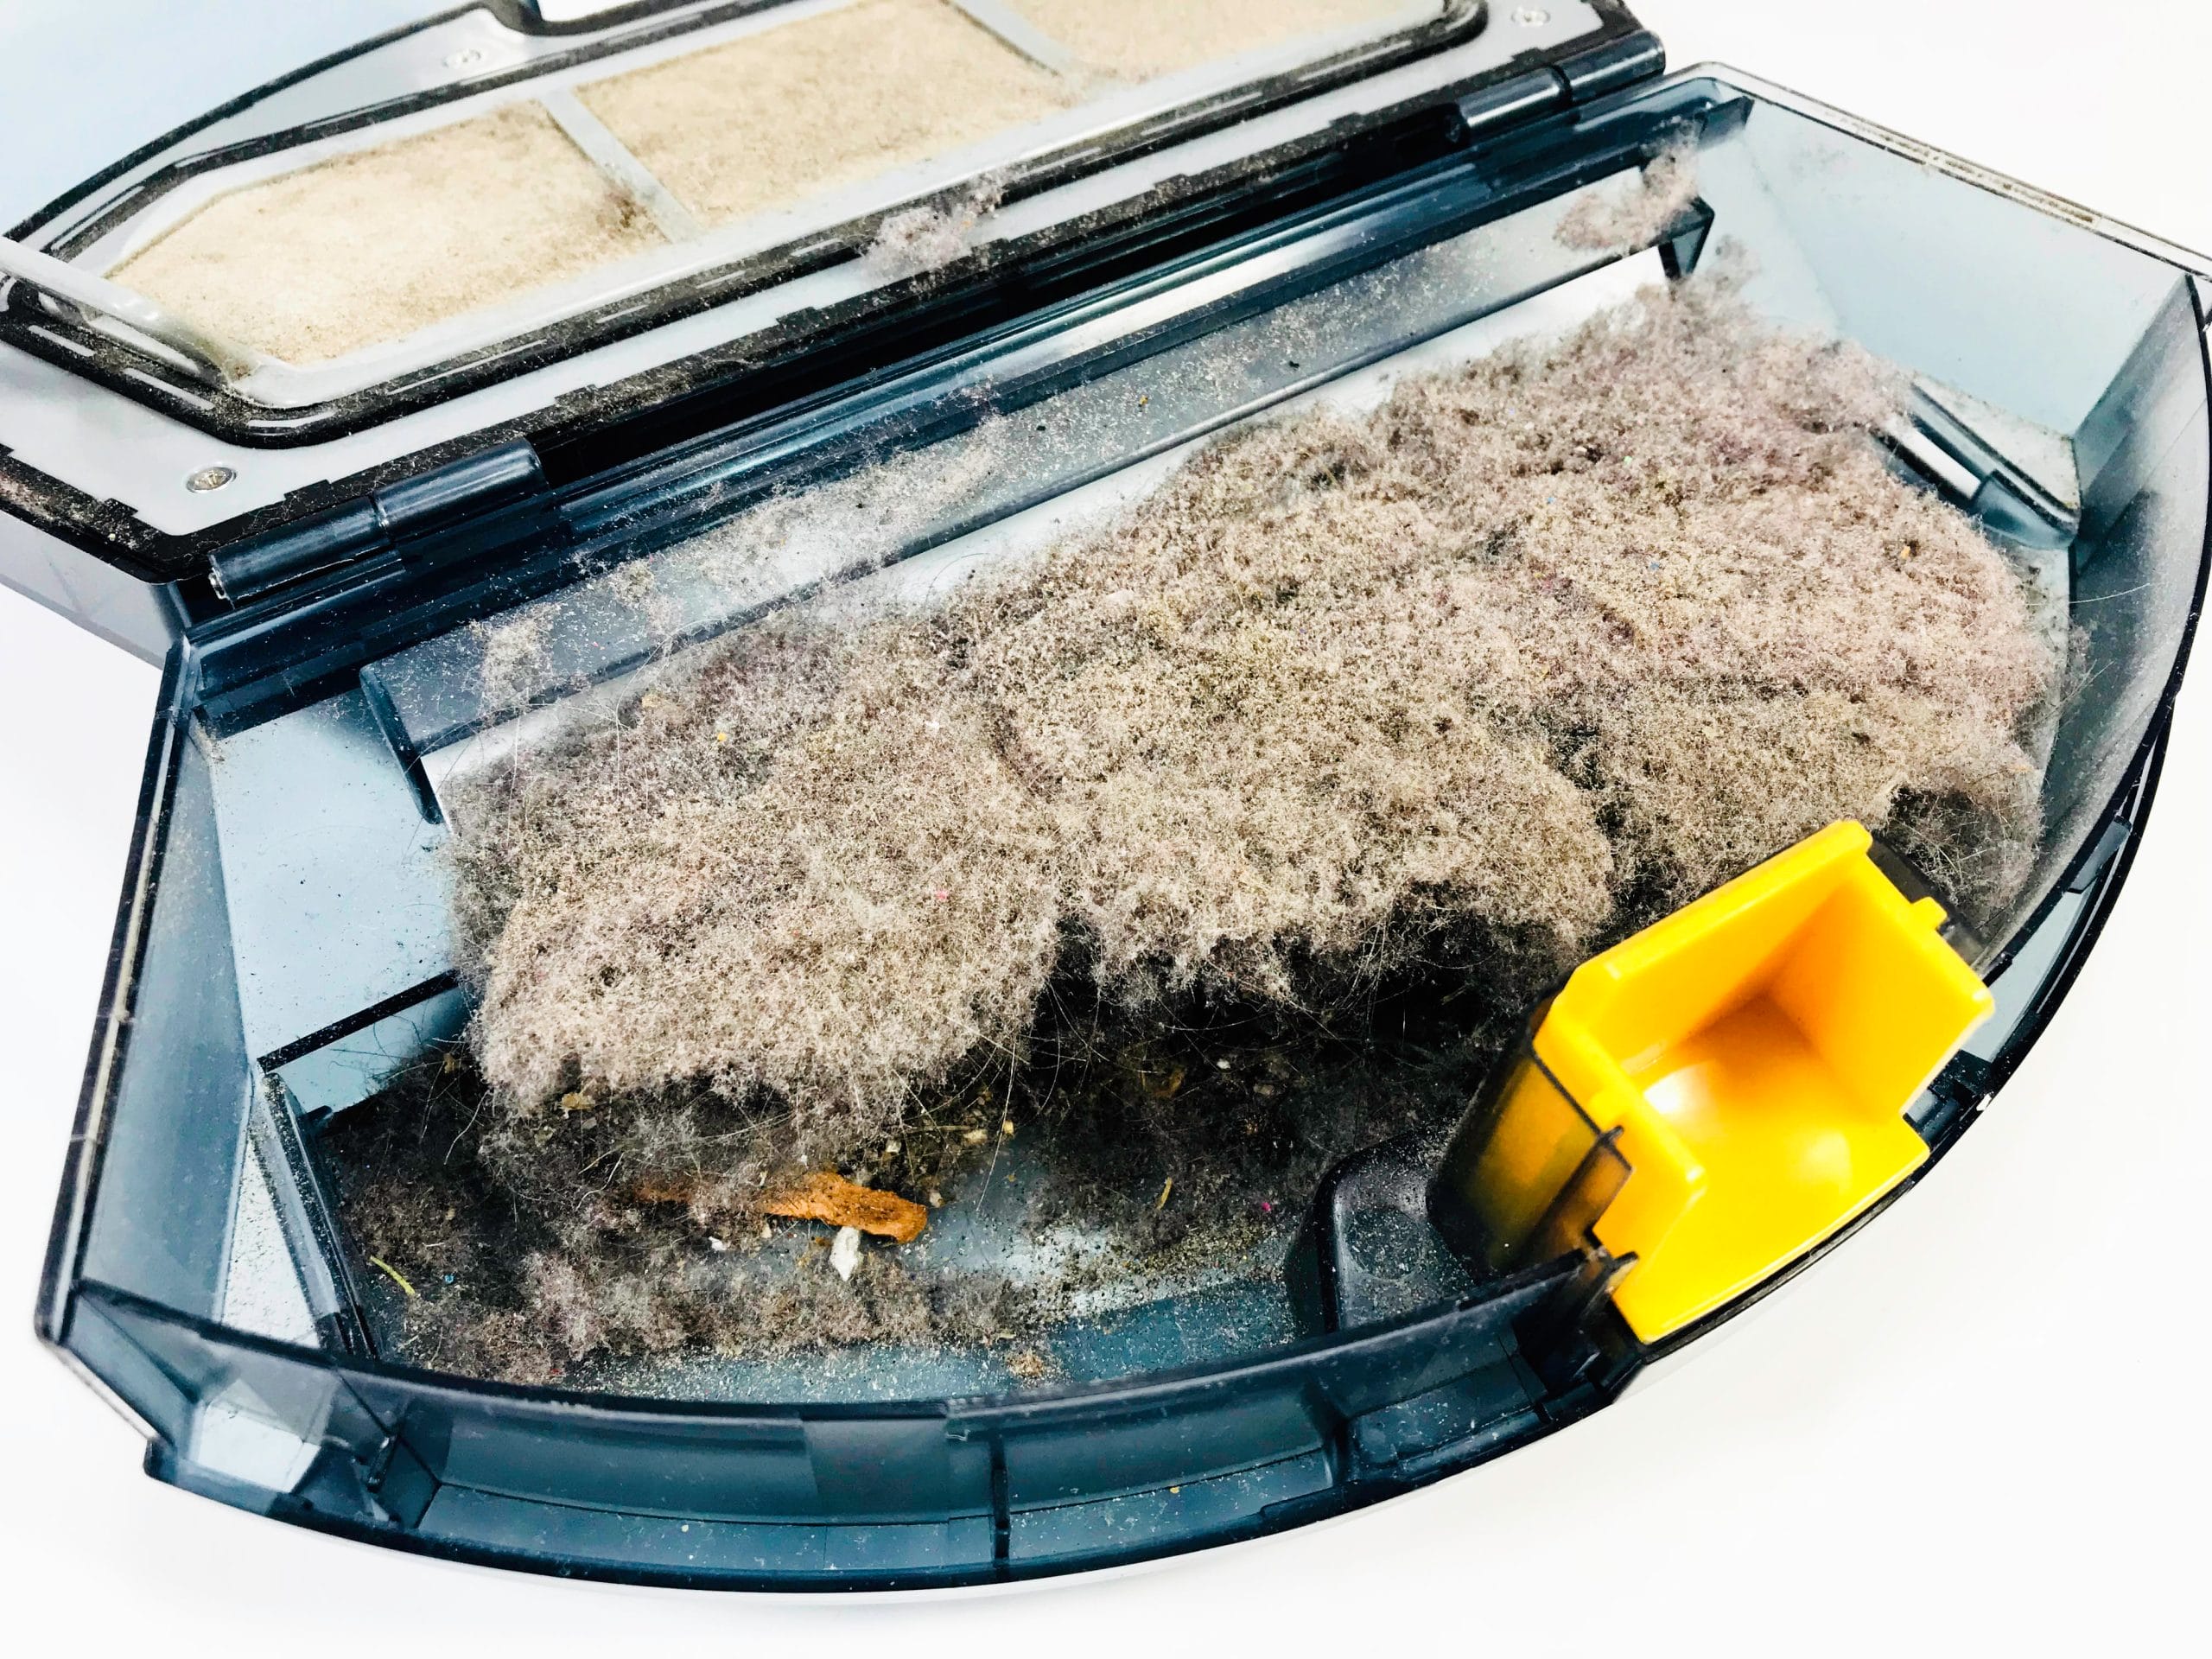
This is probably the most used mode in my household. I found the AUTO function to work best. The two brushes sweep any surface dust/debris into the middle of the VANiGO and gives the brush bar a chance to collect it all up. The dustbin container fills up quickly and can hold 800ml of dust/debris. You also get a double dust filtration system too.
Within a normal vacuum cycle, which lasts around 90~120 minutes, you will easily fill the dustbin attachment. I think the combination of the rotating brushes along with the suction and brush bar is an excellent design idea which works well. You’ll be surprised too at the amount of dust/debris which is collected.
Once the VANiGO A3 has finished it’ll make its own way back to the dock and automatically charge.
To empty the dustbin attachment simply push down on the Yellow tab and empty into your regular household bin. You can use the supplied cleaning brush to also clean the filters if needed.
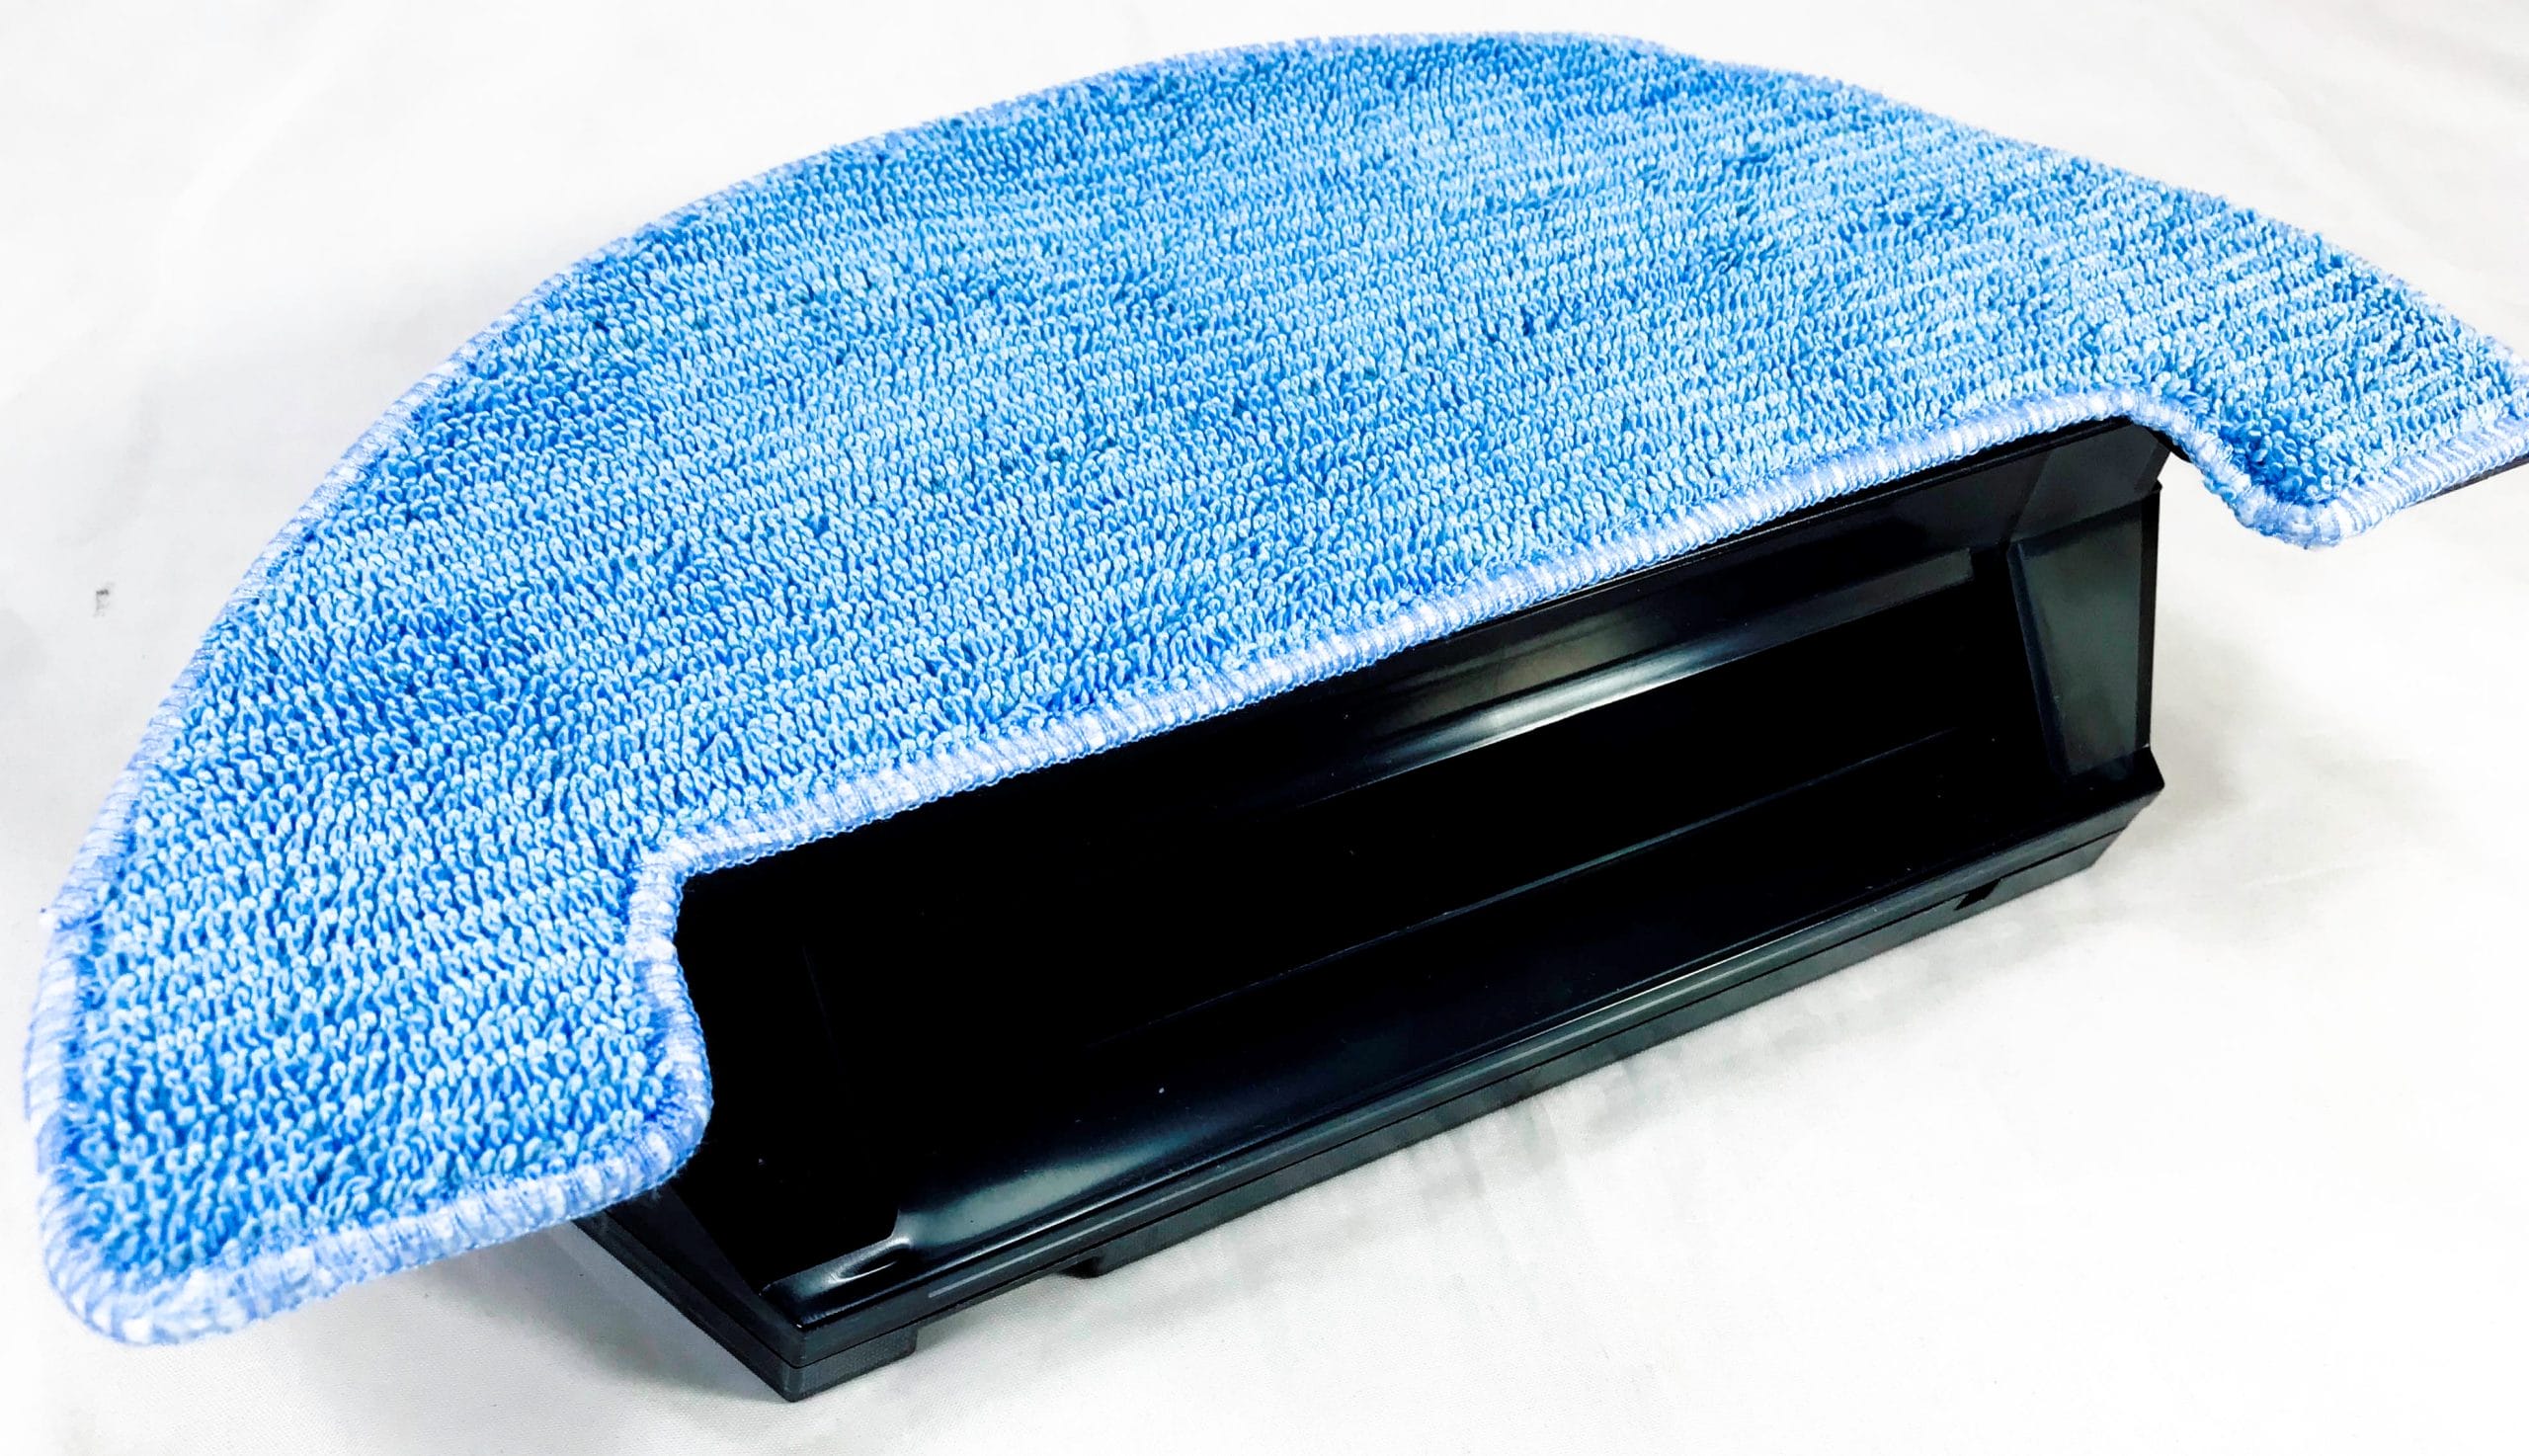
Mopping Mode.
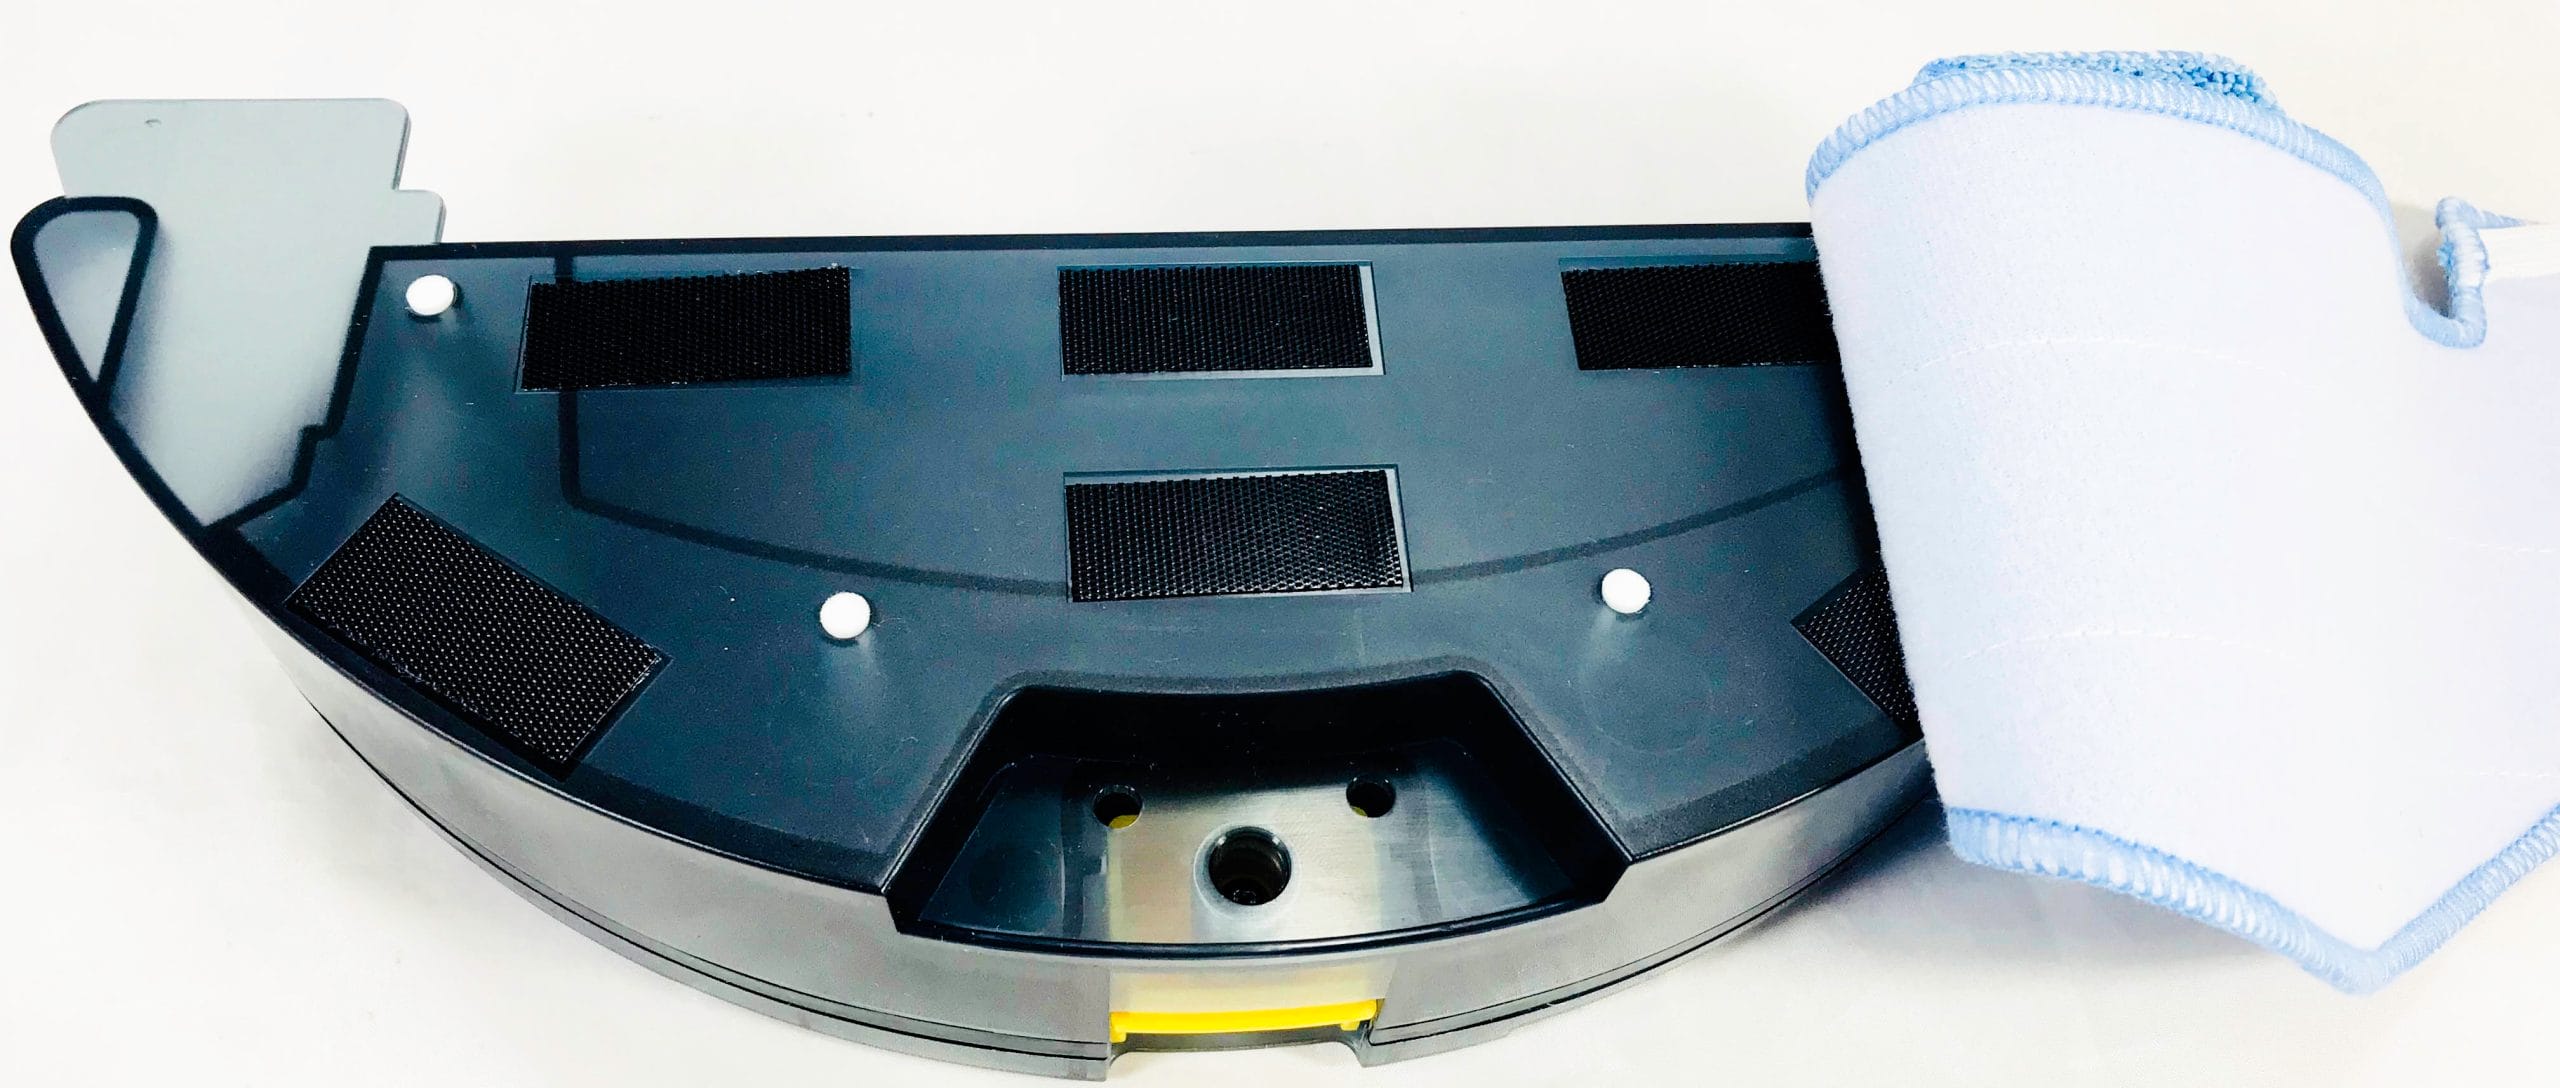
Fill up the tank using your normal floor cleaner and tap water and attach the microfibre cloth using the elasticated hooks.

There’re 4 White fabric drip plugs that allow water to slowly drip onto the cloth and keep it moist. But, I found the water flow to be very low and would prefer a more wetter mopping function. On laminate flooring it barely even gets wet!
Prior to mopping though you’ll need to pick up the charging dock, as the VANiGO might run over it with water from a wet cloth. And, we all know water and electricity don’t mix!
I found to get a decent job mopping to soak the cloth beforehand and allow the drip plugs to keep the cloth to a moist level suitable enough to clean.
The VANiGO A3 will sweep/vacuum debris and collect it into a special collection area, so in effect it will vacuum and mop at the same time. But, this will not be filtered and merely is a way of collecting debris like food particles etc.
A funny point to note is that when you remove the charging dock due to the above explanation, upon completion the VANiGO will simply play an audible tune. This tune will be familiar to all Nintendo gaming fans. It’s the theme tune to Super Mario Bros!
Maintenance.
Although fully robotic your vacuum cleaner still requires some human interaction and care.
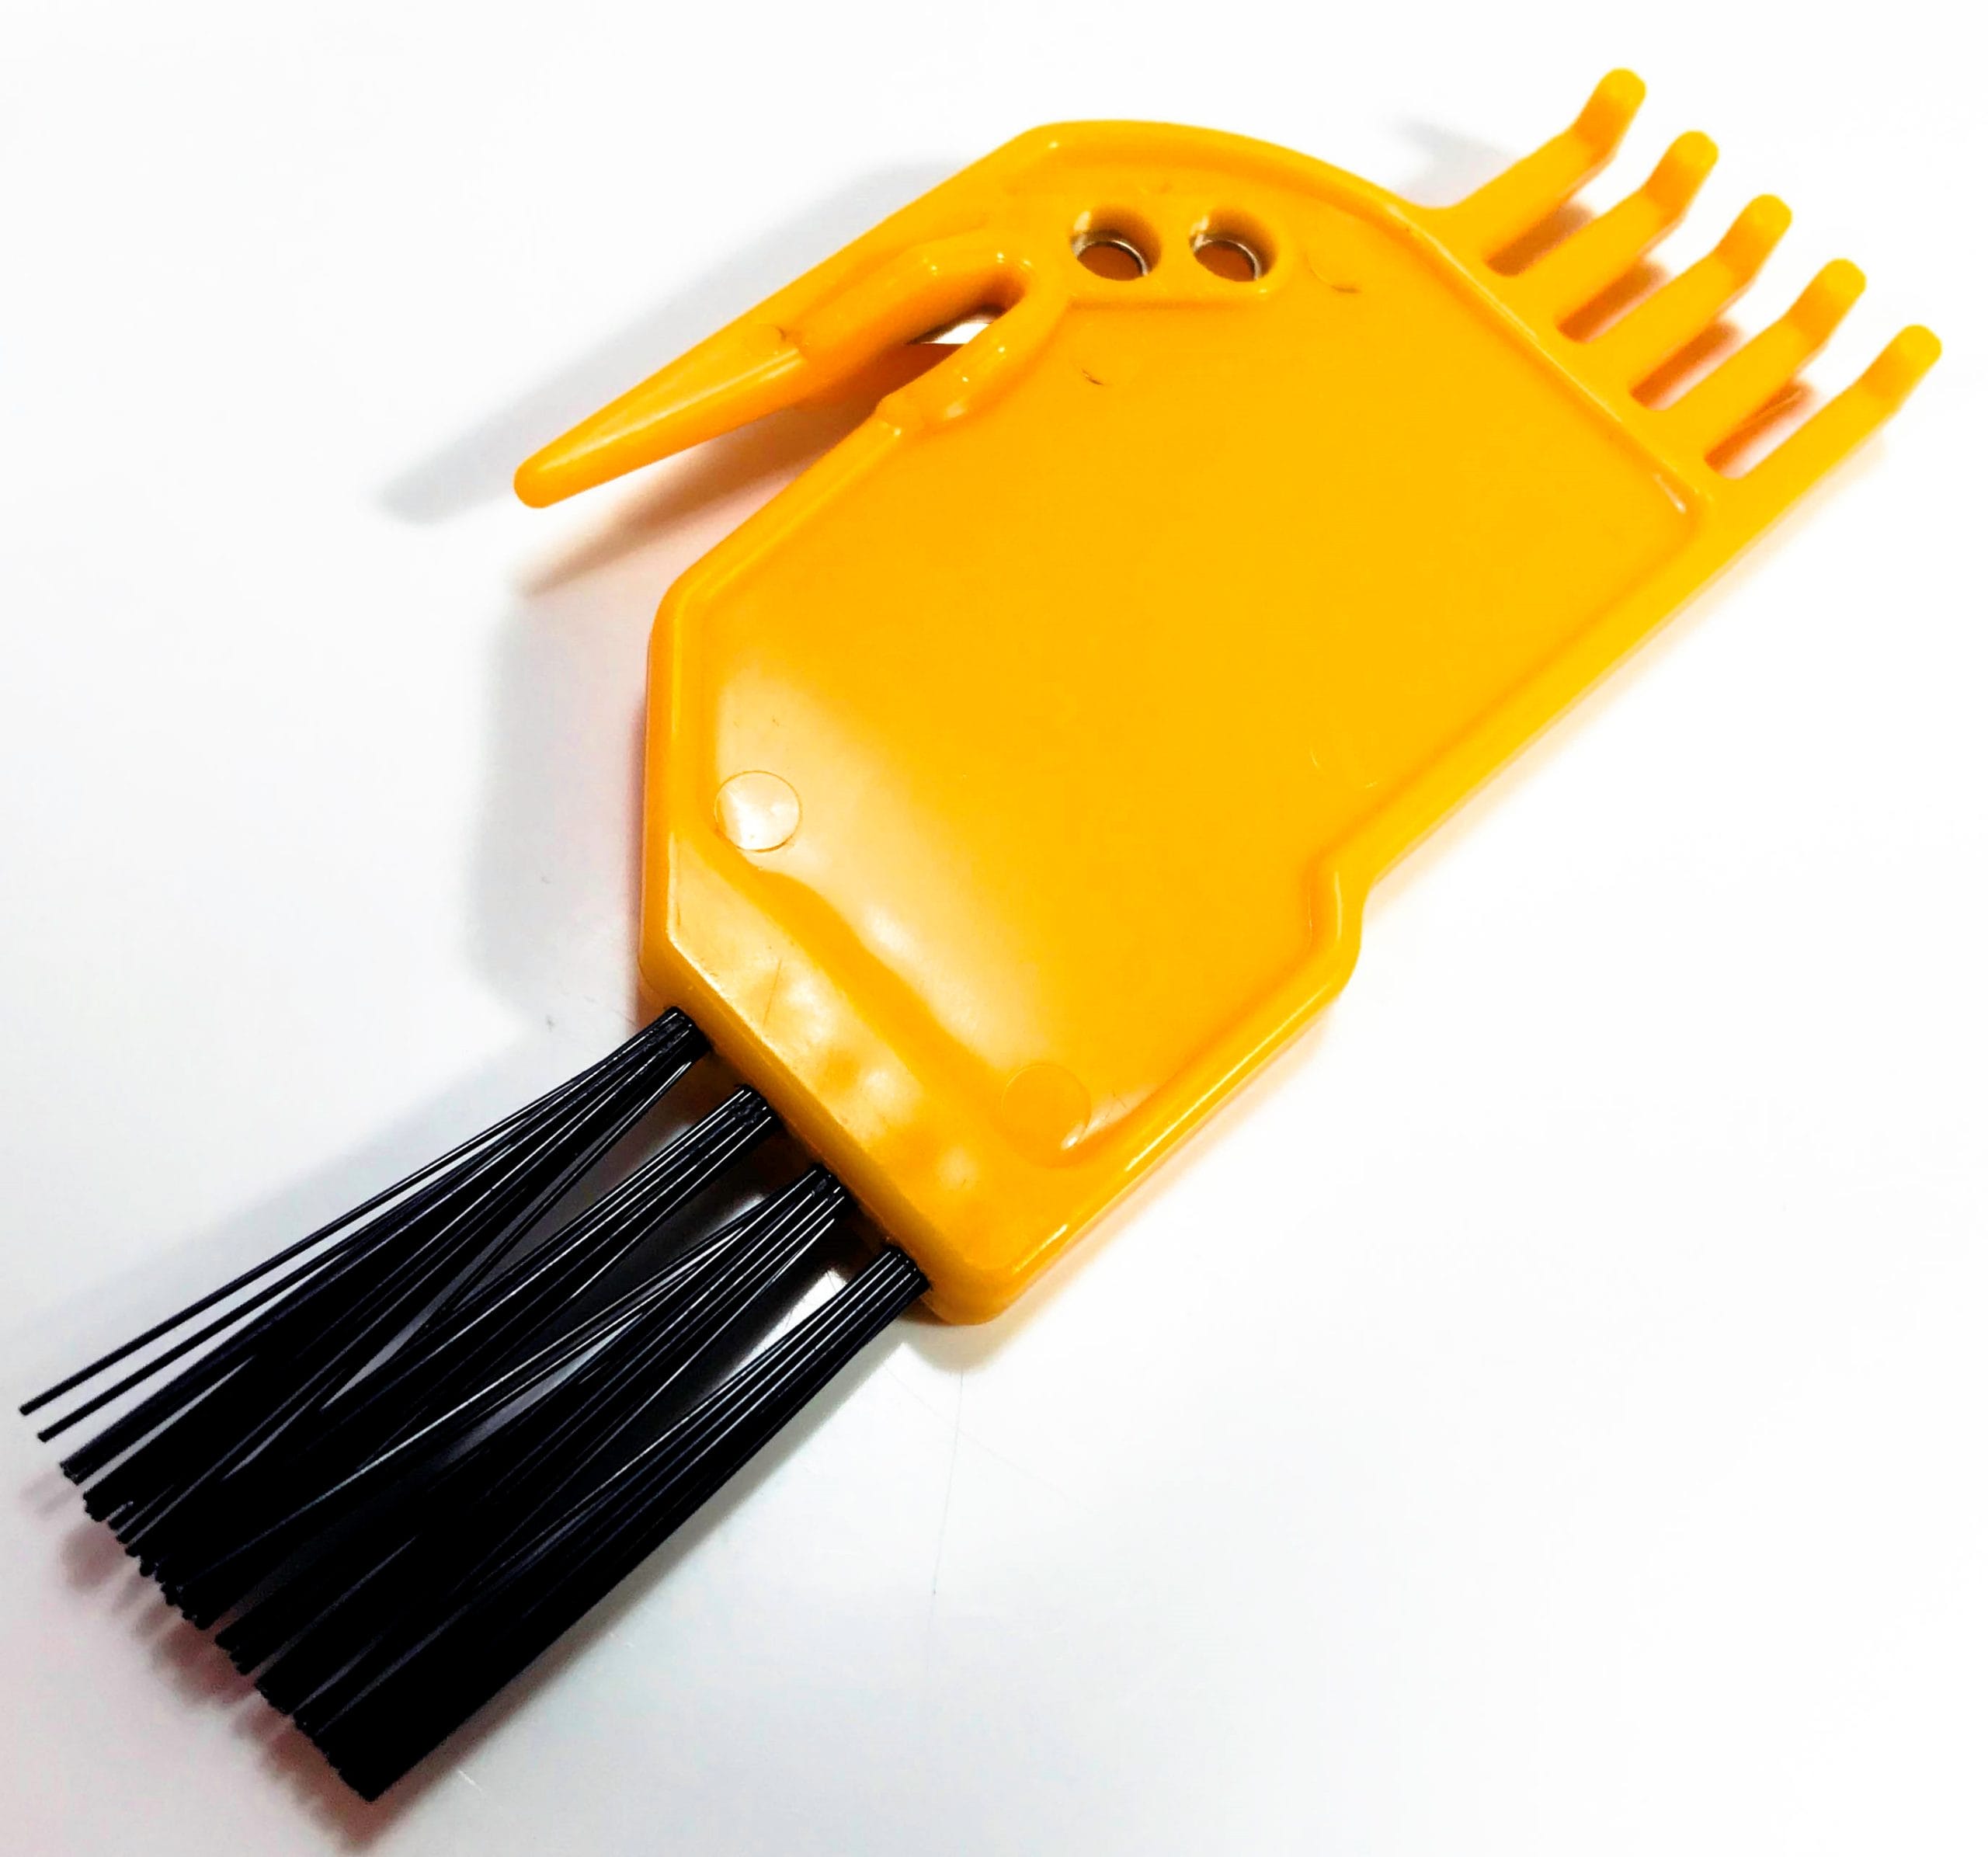
You’ll have to clean out the dustbin attachment regularly and from time to time clean both sets of filters. VANiGO have supplied a cleaning tool to do this task and it’s actually a very good tool. It’s a multi-cleaning tool that can remove hair, dust, and debris.
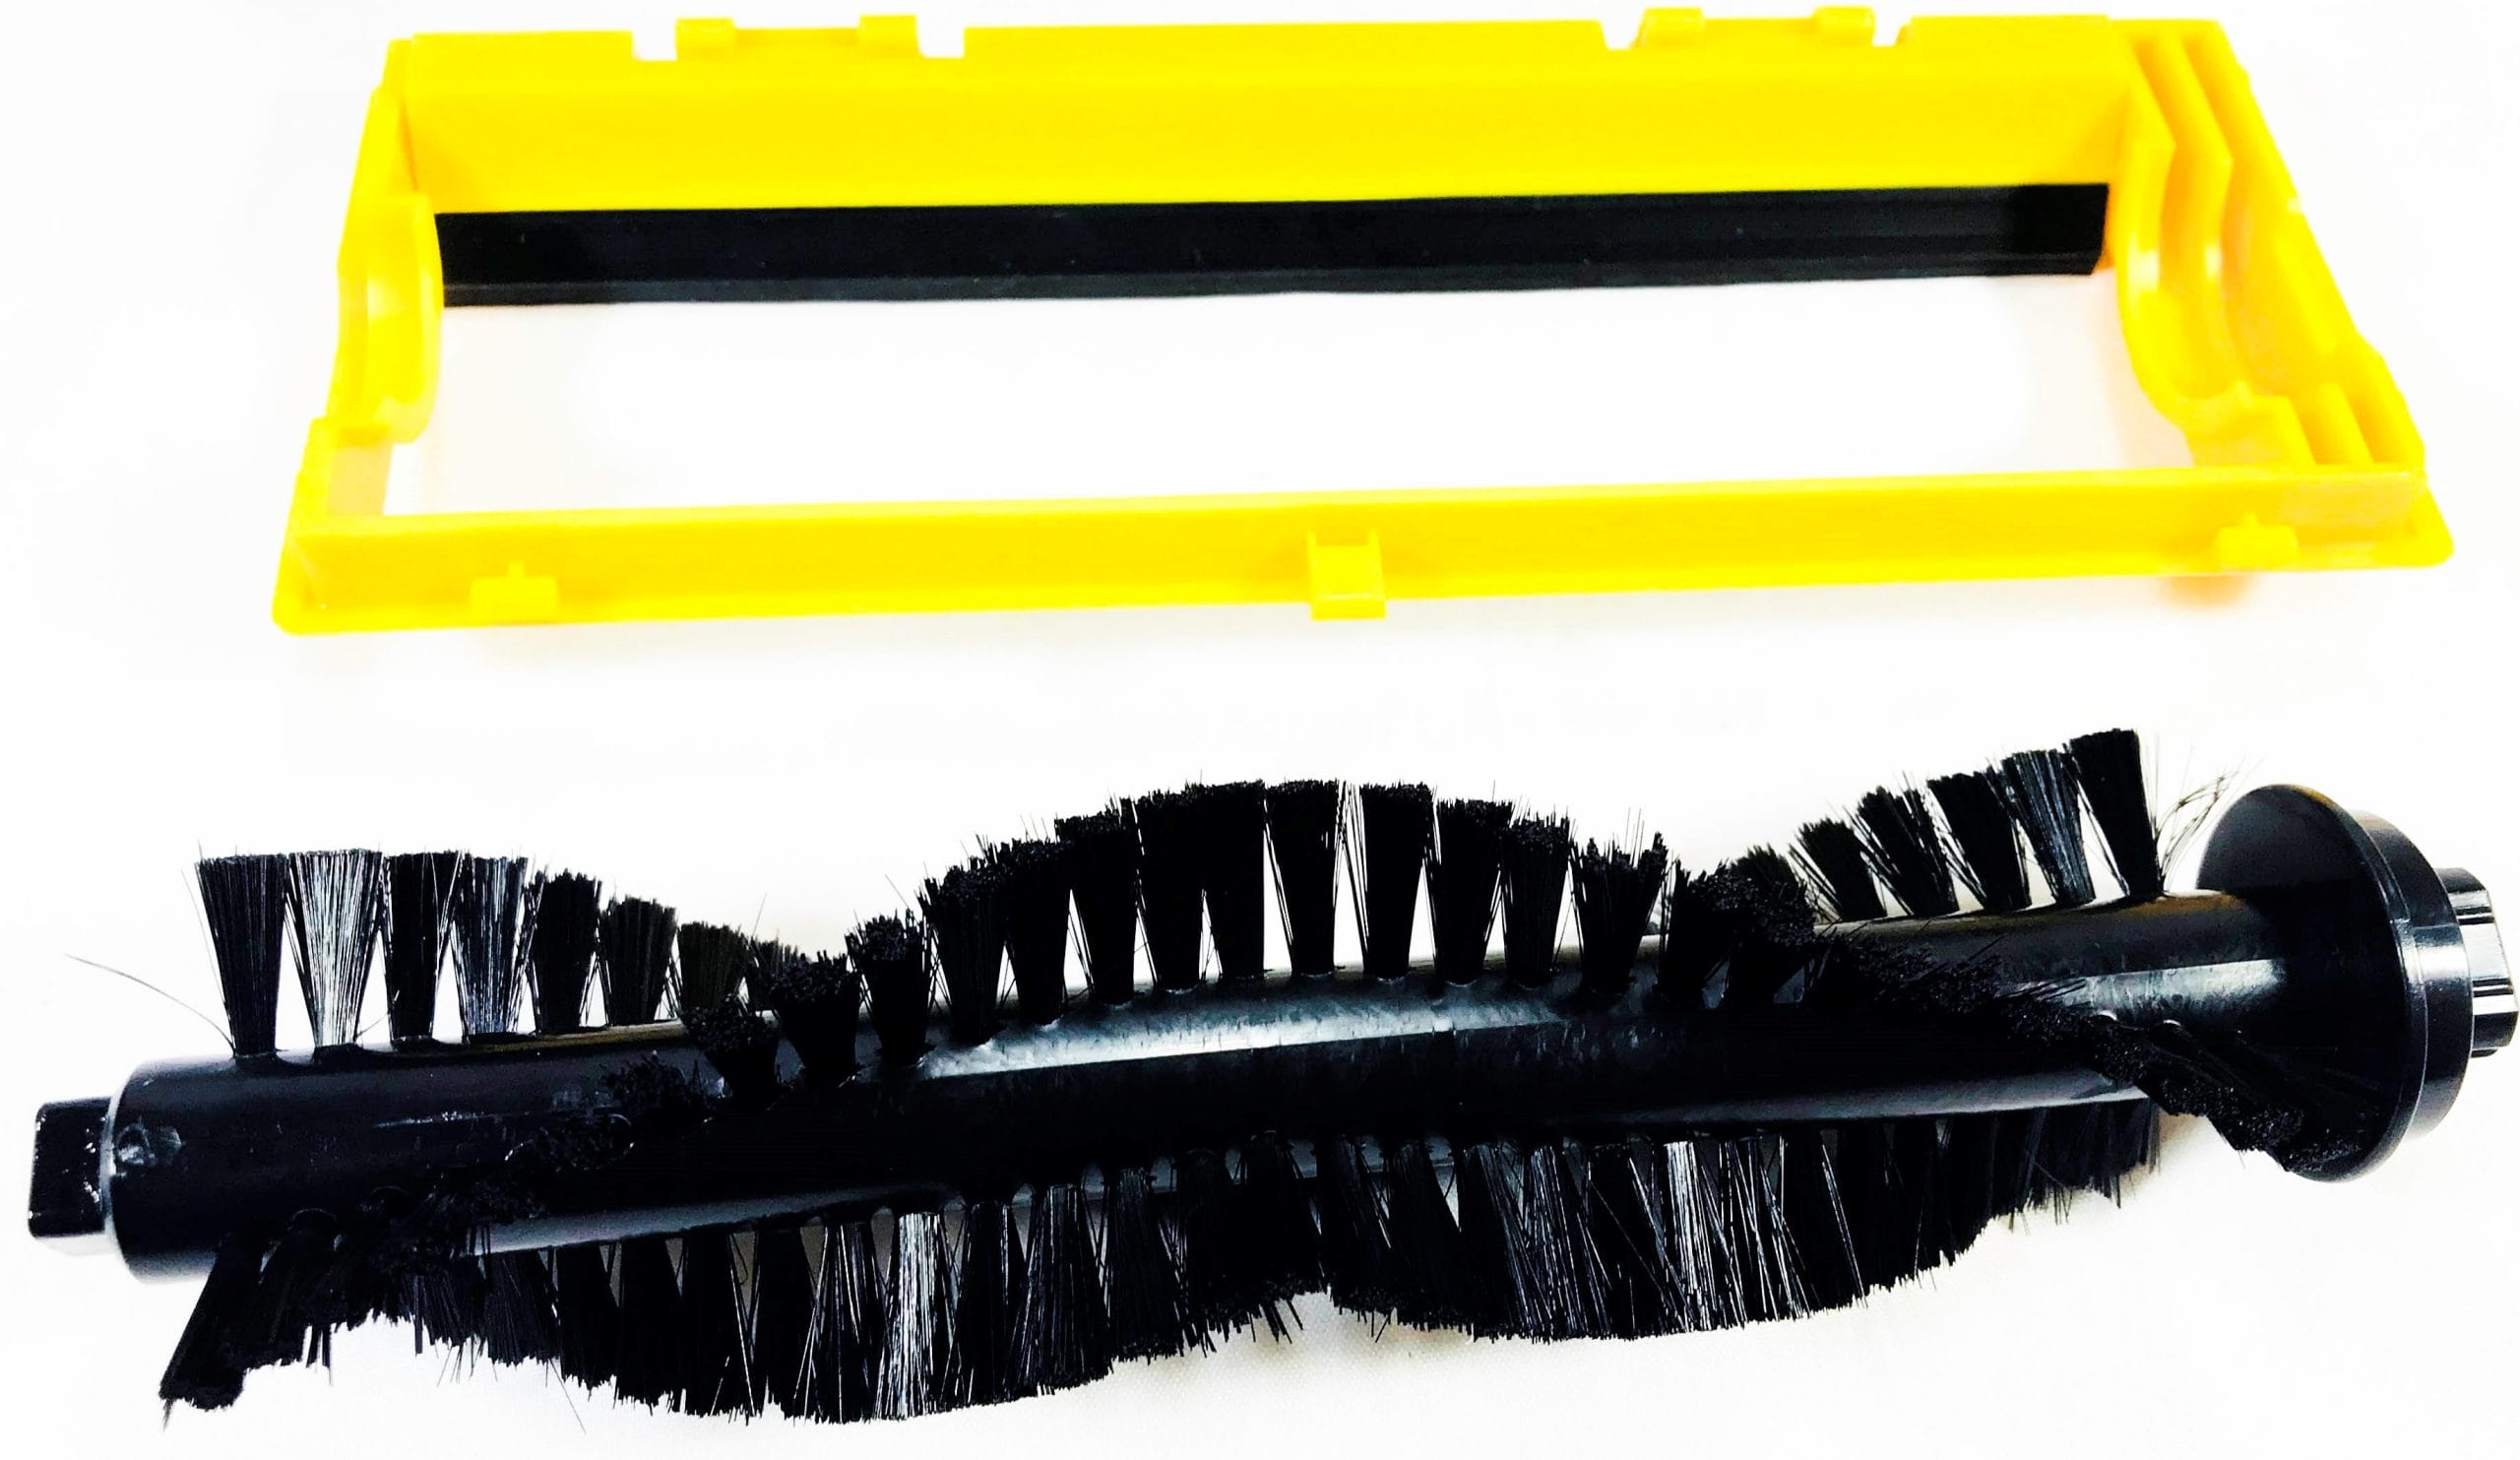
I live in a house with three females, and their hair gets clogged easily on brush bars of vacuum cleaners and the VANiGO was no exception. When the brush bar becomes clogged and tangled with hair the VANiGO alerts you with an audible voice alerting you the main brush bar has been stopped and for you to investigate this matter.
To remove the brush bar simply unclip the Yellow guard and pull out the bar. Use the tool to with the bladed section to cut away any hair and insert again. Once all has been removed press AUTO on the remote control again and the VANiGO will go about cleaning again!
You also get two replacement sweeping side brushes, I’m not sure how long these last for before you need to change them, but they seem easily enough to replace.
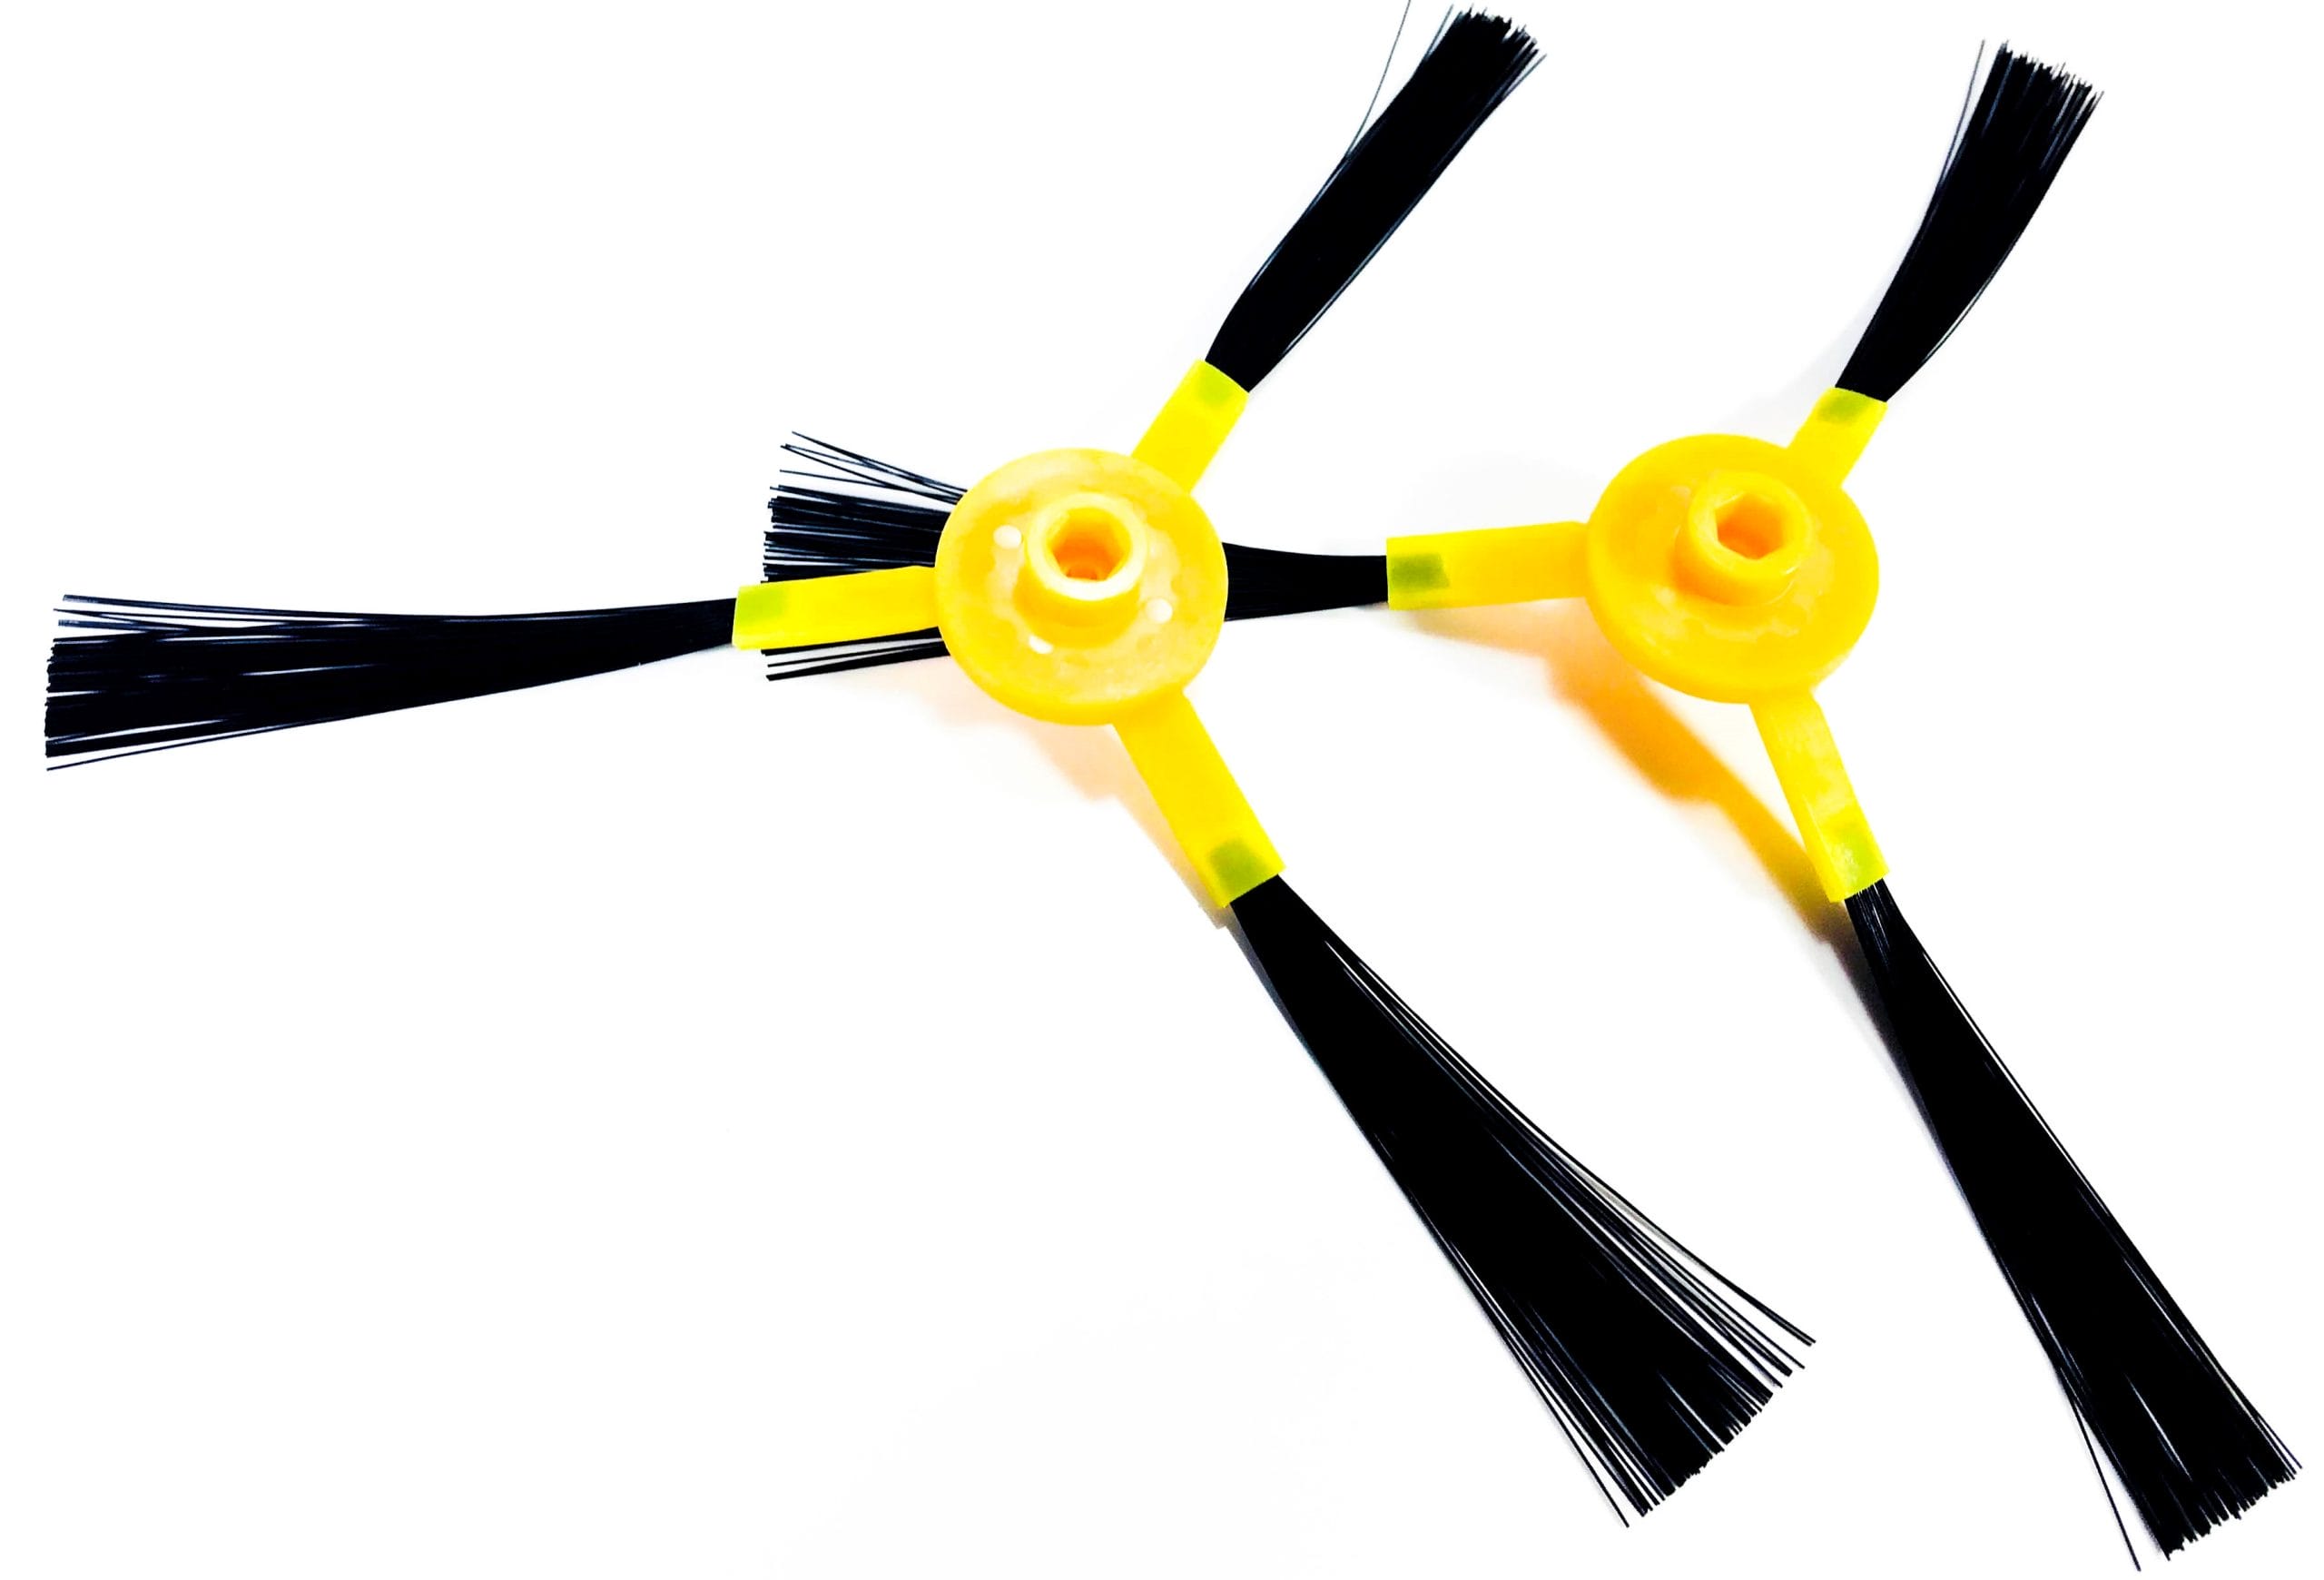
Turn the VANiGO over and you’ll see a small screw holding them into place.

Technical Specifications.
- Brand: VANiGO
- Model: A3 Smart Robot Vacuum Cleaner
- Model Code: A3
- EAN: N/A
- ASIN: B07DC38L5R
- Dustbin Capacity: 800ml
- Power: 30W
- Water Tank Capacity: 350ml
- Cleaning Modes: Vacuum, Sweep, Mop
- Suction Power: 1200PA-1400PA (Depending on settings)
- Noise Level: ≤60dB
- Charging Time: 3-4 hours
- Continuous Working Time: 120~180 minutes
- Working Area: 100-150m²
- Sensor: 16 sets
- Battery: 14.8V 2500mAh
- Charging Dock Output: 22V/1A
- Compliance: CE, FCC
Conclusion.
I absolutely love the VANiGO A3 Smart Robot Vacuum Cleaner. It’s made a big difference to my household and I wouldn’t be without it! It’s good at collecting dust and debris, even food dropped on the floor by the kids is no match for the VANiGO A3.
I would like to see some little improvements though. Firstly, a proper programmable schedule would be great. Secondly, a controlling app would be also be good, so you’d be able to tell the VANiGO to start when you’re out of the house via WiFi or 3G and upon returning home all the cleaning has commenced. And, thirdly I would’ve have liked the addition of another moping cloth.
The VANiGO is slim too, so it can get underneath your furniture and chairs with ease and clean everywhere. The brush design also ensures this vacuum cleans right upto the edge of your floor area.
I’m very impressed overall and I honestly cannot praise this vacuum cleaner up enough, it’s a great product!
If you want the VANiGO A3 for yourself, it’s available for purchase only on Amazon. The RRP for this product is £159.99.
Product sample provided by VANiGO in exchange for a detailed, unbiased review.
Thank you for taking the time to read my post. If you’d like to add a comment or thought on this post, please use the section below. I can also be contacted via the online contact form. Please subscribe for the latest reviews, news, and discounts. Please follow My Helpful Hints on Twitter, Instagram & Facebook too!