

Energenie MiHome Smart Radiator Valve
£97.25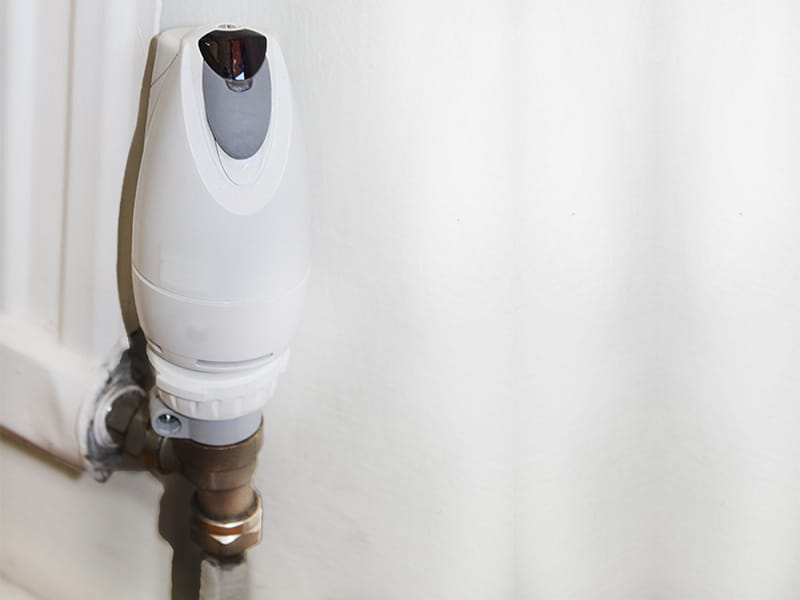
Pros
- Great App
- Easy to Fit
- Part of a Connected System
- Energy Saving Idea
Cons
- Maybe the Price
- Requires the Gateway
The Energenie MiHome Smart Radiator Valve allows you to take control of your heating, saving you energy and money.
It’s easy to fit these radiator valves onto without needing to use a plumber, simply unscrew your existing Thermostatic Radiator Valve (TRV) and screw these on in their place. That’s it!
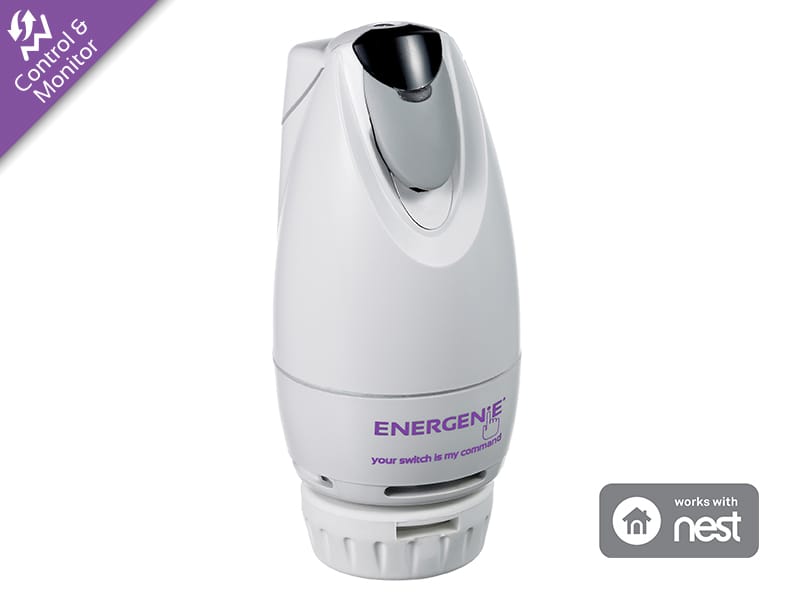
You can set different temperatures in different rooms using Zonal heating and these valves are compatible with both Amazon Alexa, Nest, and Google Home.
Requires the MiHome Gateway to function (See my Gateway review).
Packaging and Contents.
The Energenie MiHome Smart Radiator Valve comes very well packed in a frustration free packed cardboard sleeved box. Unfortunately, Energenie didn’t send me the valves in their original packaging so I can’t write the usual packaging measurements and weight.
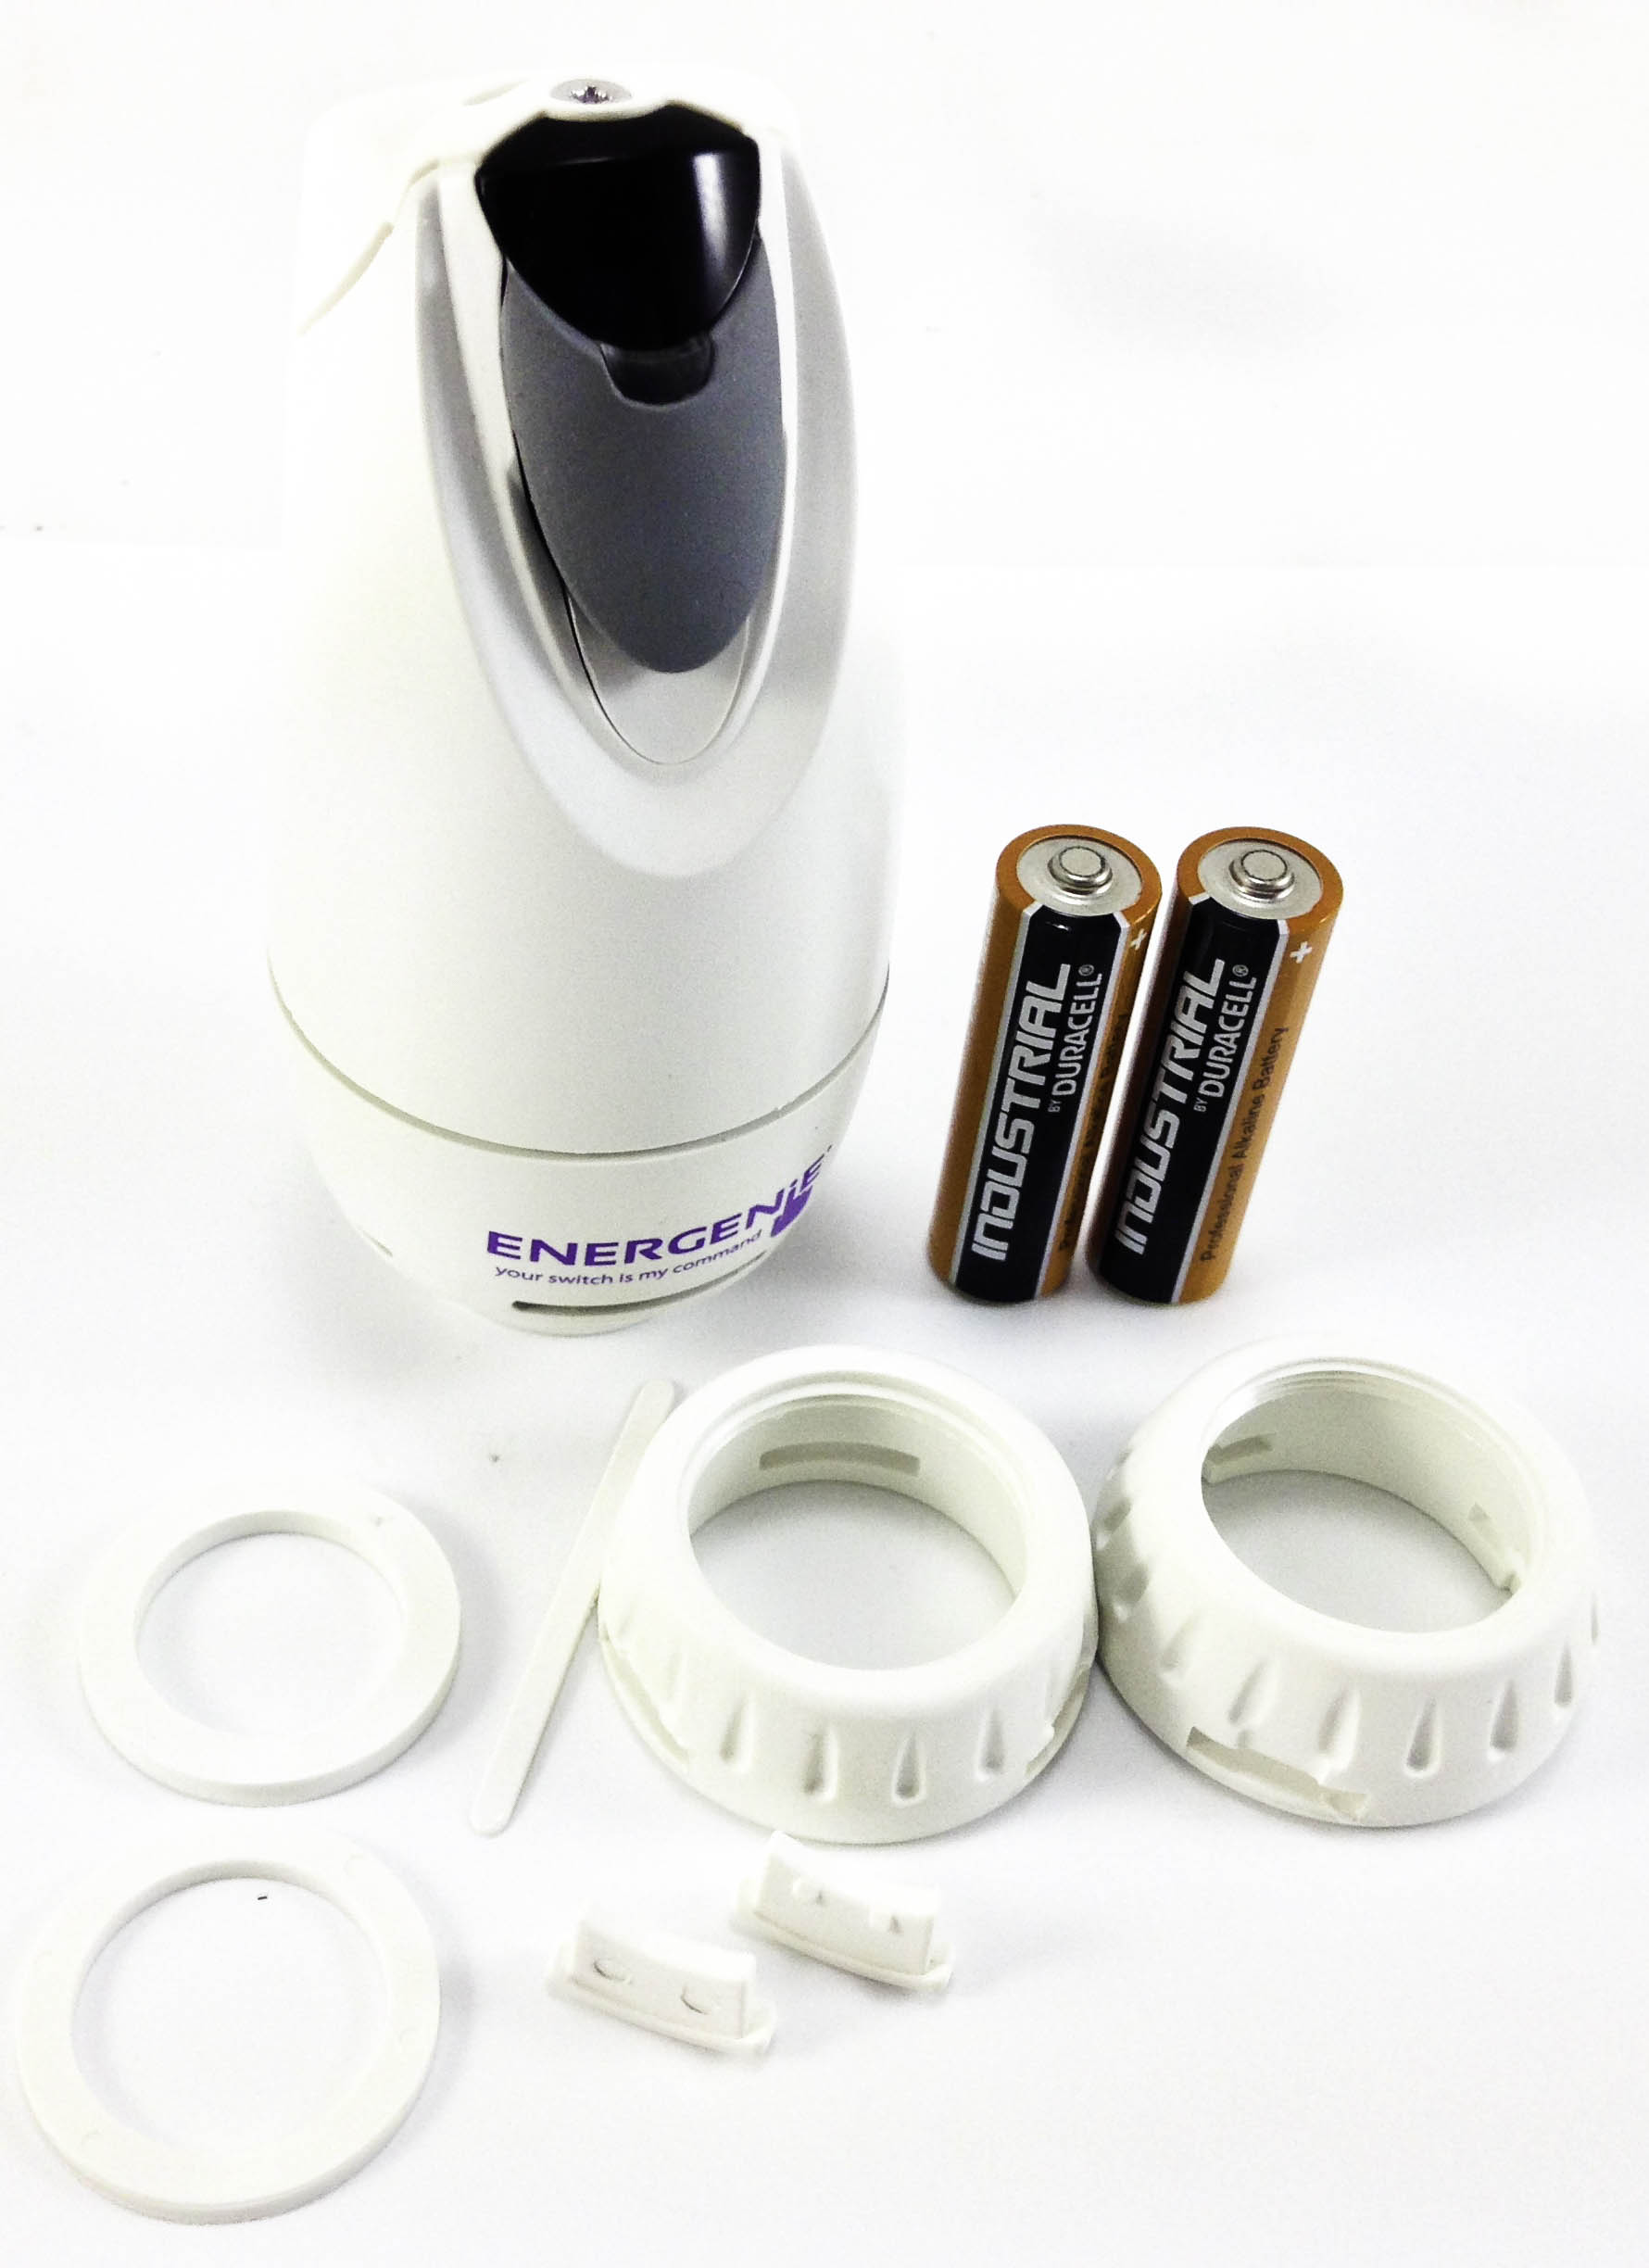
When you open the box you’ll find: 1x eTRV, 3x Base-Ring Pegs, 1x 28mm Base Ring, 1x 20mm Base Ring, 1x 2mm Spacer, 1x 3.5mm Spacer, 2x AA Batteries, 1x English Written User Guide.
Energenie MiHome Smart Radiator Valve.
The Energenie MiHome Smart Radiator Valveis White in colour with a Grey push button. Each valve measures 10.3cm x 4.5cm and they weigh 140G.
Installation.
To install these valves, you’ll need a small Phillips screwdriver and possibly an adjustable spanner to remove your old TRV.
The first step is to remove your existing TRV head.
- Turn the TRV thermostat anticlockwise as far as it will go.
- Release the base by turning it anticlockwise, by hand or with a spanner.
- Pull the existing TRV thermostat off the valve.
Now you’ll need to insert the two supplied AA batteries, to do this you’ll need to.
- Using a Phillips screwdriver (one with a cross tip), unscrew the screw at the top of the battery compartment, but do not remove the screw.
- Remove the battery compartment cover, with the screw still in it.
- Insert the two AA (LR6) batteries that came with the eTRV into the battery compartment as shown. Make sure you put the batteries the right way around. Inside the battery cover there is a diagram showing which way to fit the batteries when looking from the front of the eTRV.
- Put the battery compartment cover back on. Hold it in place while you gently tighten the screw. Overtightening may crack the screw seating. After 5 seconds the motor will start up to exercise the valve stem. You’ll need to wait several minutes for this process to complete. You will see the LED lamp on the unit flashing red as this motor is driven. You will then see the green led flash 3 times when the stem is finally full retracted. The LED lamp should then flash orange slowly indicating it is ready to install on the radiator. Important – The batteries provided with the eTRV will last for up to 1½ years, depending on how often the motor runs. When you need to replace the batteries, insert new high-quality AA alkaline batteries. Do not use rechargeable batteries.
Choosing and Fitting a Base Ring.
The base-rings and spacers allow your eTRV to fit to either 28mm or 30mm radiator valves, whichever is already on your radiator. The 28mm ring has notches inside it. It is important that you use the correct size base ring for your valve.
In most cases (where the valve pin is taller than 14mm), you will need to fit a spacer inside the base ring. The spacer comes in two thicknesses, 2mm and 3.5mm. It is important that you use the correct size spacer.
Fitting to a Radiator.
Before you attach the eTRV, it is important that the stem is fully retracted (in), not extended (out). LED lamp will be flashing orange when the unit is ready for installation.
You can now attach the eTRV to the radiator valve. Remember to position it with the LED indicator and button facing outwards.
- Place the eTRV on the valve.
- Carefully screw the base ring clockwise by hand until it is firmly in place.
- Now press the button on the unit for 4 seconds. The lamp should now change from orange to flashing slowly red and the motor should start driving the stem of the valve to set the initial default temperature to 16°C. It may take a minute or so. When this has happened, the LED should stop flashing.
Please ensure the TRV is not blocked by furniture, curtains and so on to limit localised heating effects and ensure optimum communications to the Gateway controlling device.
Installing on the MiHome Network.
The eTRV now needs to be installed to the MiHome network. This will allow remote control from a smart device such as a smartphone or tablet or from any browser connected directly to the MiHome server.
Pair with your MiHome Gateway Once installed the device must be paired with your MiHome Gateway device which you should have already successfully installed. You will need to select the eTRV device to be paired in your smart device App or in the internet browser. Follow the instructions to install the eTRV.
This will involve pressing and holding the grey button on the top of the unit for 4 seconds to place it into its pairing mode. The LED will go briefly green then flash red indicating that pairing has started.
Pairing is complete when the red LED lamp flashes more quickly and turns off.
Boost Control.
Pressing the grey push button and holding it in for two seconds boosts the eTRV to the comfort temperature setting (21°C) for one hour.
1. During normal operation press and hold for 2 seconds for 1 hour boost.
2. During 1 hour boost press and hold for 2 seconds to restart boost.
3. During normal operation press and hold for 4 seconds to initiate pairing to the Gateway.
4. During 1 hour boost press and hold for 4 seconds to cancel 1 hour boost and initiate pairing.
Technical Specifications.
- Brand: Energenie
- Model: MiHome Smart Radiator Valve
- Model Code: MIHO013
- EAN: N/A
- ASIN: B00V52HDD4
- Radio Remote Control: FSK, 434.3MHz, 2 way
- Protocol: OpenThings
- Radio Range: Approx. 25m in open air
- Set Temperature Range: 0°C to 30°C
- Reported Temperature Range: -10°C to 30°C
- Temperature Range for Storage: -20°C to +60°C
- Temperature Range Working: +5°C to +40°C
- Maximum Circulation Temp: 90°C
- Comfort Temperature (Boost): 21°C
- Application Group: Central Generation
- Zone Type: Maintained or Intermittent
- Batteries: Two 1.5V AA alkaline LR6
- Size without base-ring (HxWxD): 103 x 45 x 45 mm
- Size with base-ring (HxWxD): 120 x 45 x 45 mm
- Protection Class: IP20
- Compliance: CE, RoHS
Conclusion.
I really like the Energenie product range, it’s simple to set up and installation is a breeze. This Smart Radiator Valve is simple to install and use in a matter of minutes.
Overall though I do recommend the MiHome Smart Radiator Valve to be added onto your Energenie MiHome range and build up a complete connected home network.
If you want the Energenie MiHome Smart Radiator Valve for yourself, it’s available for purchase only on Amazon. The RRP for this product is £97.25
Product sample provided by Energenie in exchange for a detailed, unbiased review.
Thank you for taking the time to read my post. If you’d like to add a comment or thought on this post, please use the section below. I can also be contacted via the online contact form. Please subscribe for the latest reviews, news, and discounts. Please follow My Helpful Hints on Twitter, Instagram & Facebook too!